It’s starting to feel like fall!
Oh wait. No it isn’t.
Even if you doused the scorching earth with iced pumpkin spice lattes pumped straight from gushing firehoses across the entire God-forsaken state of Texas, it wouldn't cool down here until late October and sometimes well into November.*
But these vibes ain’t gonna change themselves, so the time is NOW to get some fall feelin’ up in herr (not a typo).
I’ve been telling you for decades that I love shortcuts, and this change-over to fall decor is Exhibit A.
I’m not interested in having bins of decor that I have to pull out and then spend the next week decorating, only to have to pack it all away again.
I’m all about being quick and easy 😏 AND YEAH, I KNOW HOW IT SOUNDS, but I embrace it because it’s TRUTH.
Here’s how you can quickly change your home over to its fall look:
Candles
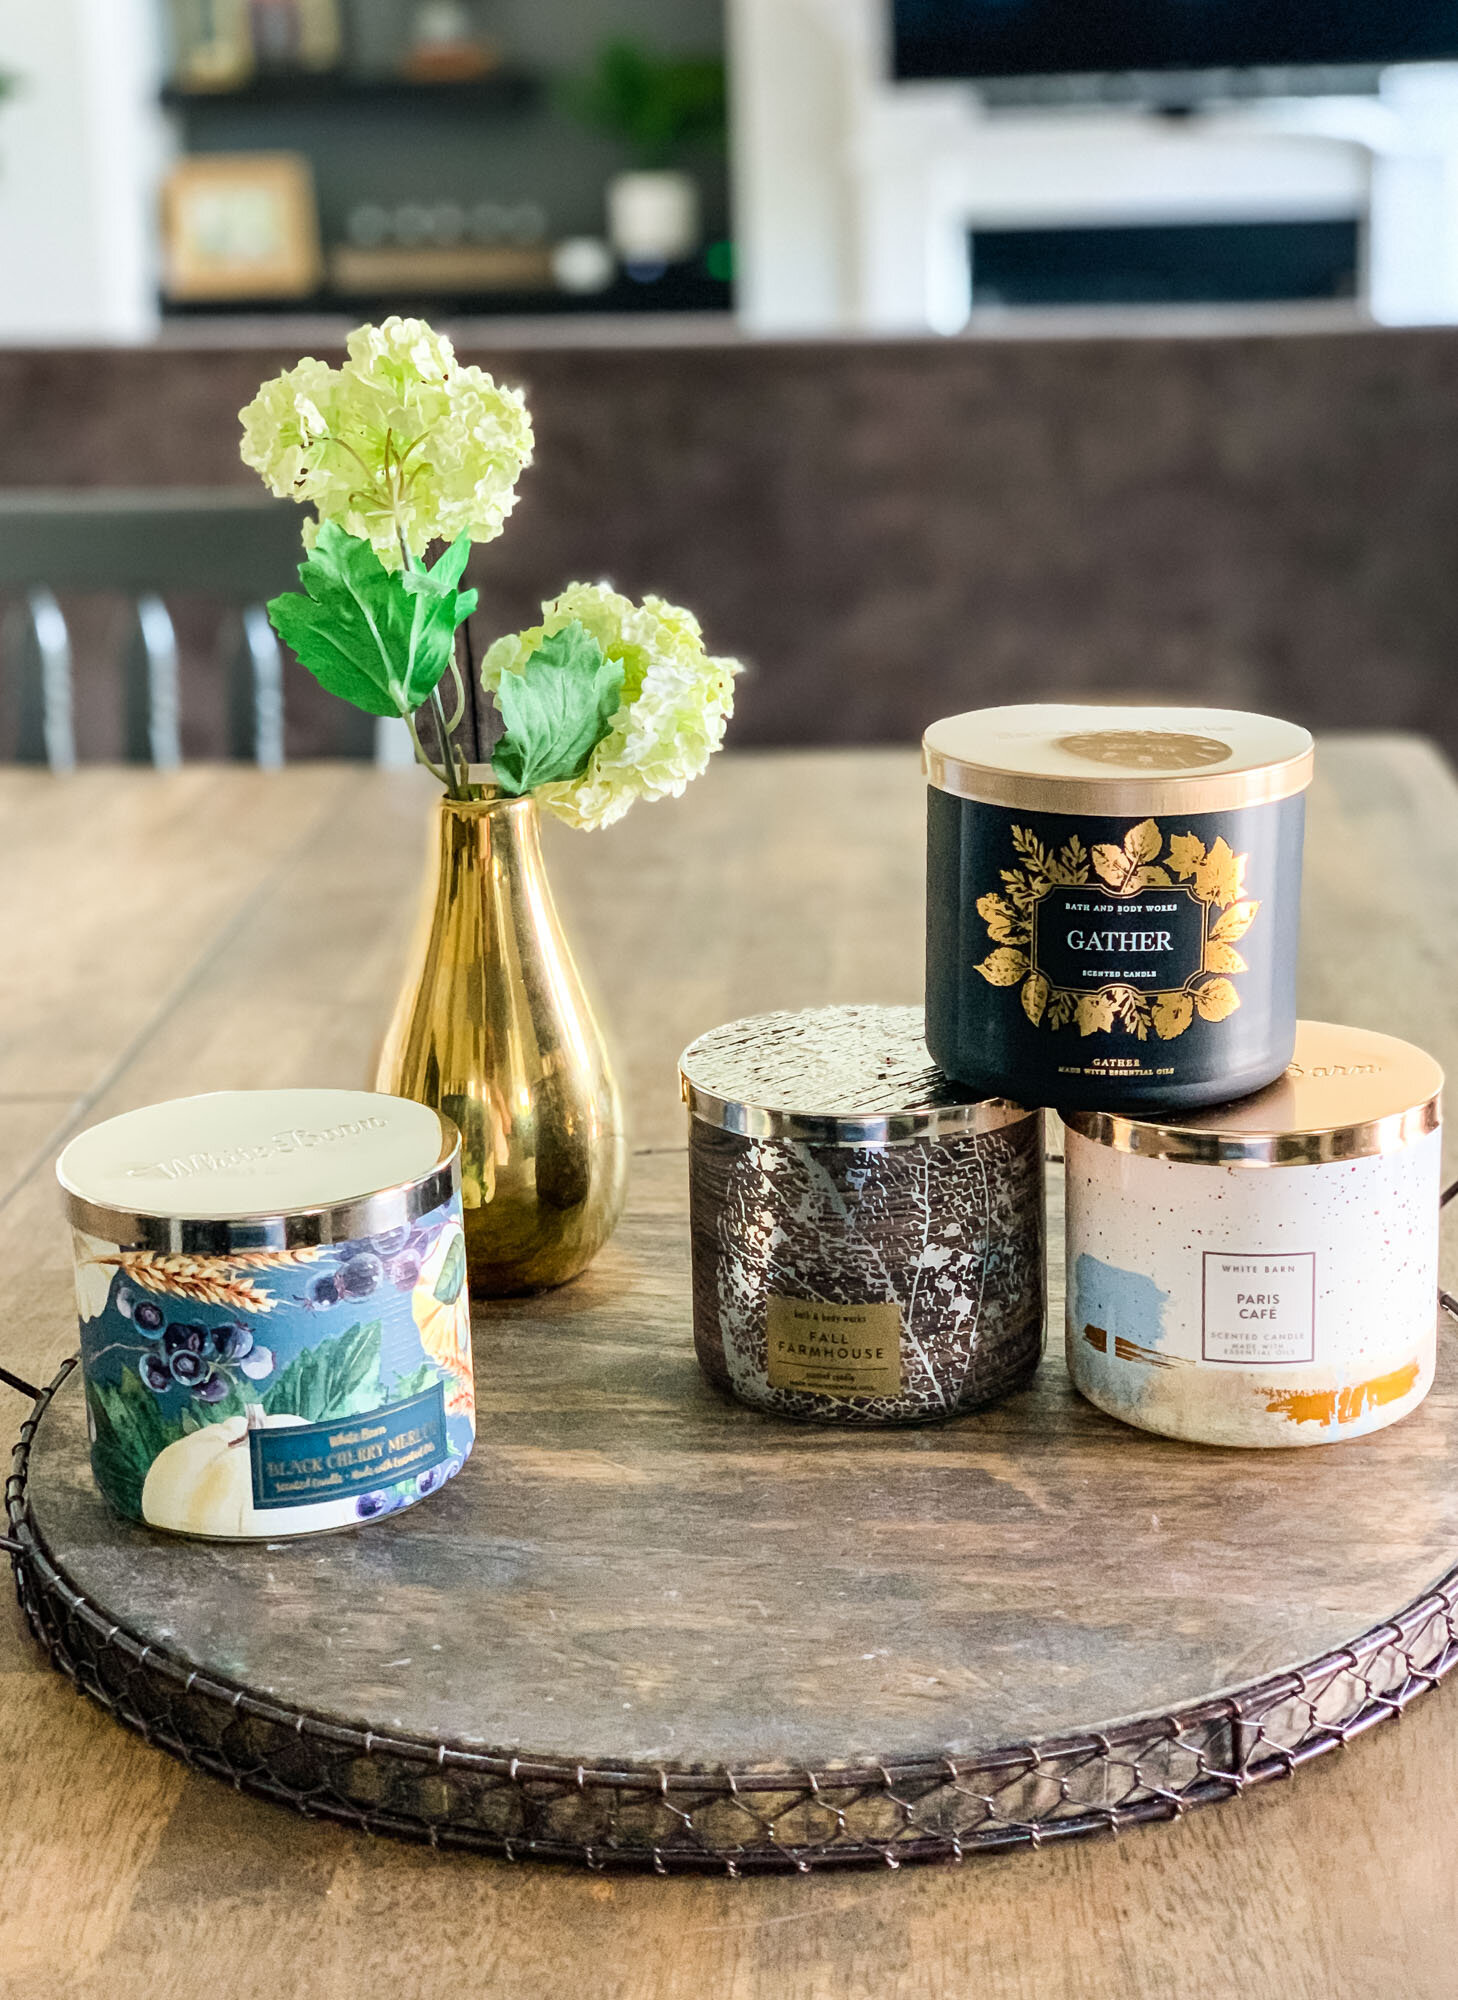
The fastest way to get those fall vibes are through your nose. Rich scents of pumpkin and apple, or sugary-sweet and buttery caramel, reminiscent of the delicious bounty of fall foods coming in hot.
My favorites are the Mrs. Meyer’s Apple Cider Soy from Target and Gather from Bath & Body Works.
I also love the coffee ones because there’s nothing cozier to me than a comfy cup of coffee. Paris Cafe from Bath & Body Works is a-flippin-mazing.
Or if you’re not into food-related scents, WE HAVE NOTHING IN COMMON, but you can choose an earthy scent, like Bath & Body Works’s Fall Farmhouse or this one from Target’s Threshold line, Whiskey & Oak, which also has a wooden wick so you’ll get the sounds of a crackling fire when you burn it.
And I actually think that all of Target’s Hearth & Hand line of candles are just perfect for fall, especially Harvest and Fireside.
Fall stems
This is the easiest part of my entire transition to fall. For the bigger flower arrangements, I just tuck in a few seasonal stems into the existing arrangement, like I’ve done on the arrangement pictured at the left, where I tucked in some small, knobby pumpkins (from Hobby Lobby).
For the vases around the house, where I have just a few stems, I pull the existing stems out completely and exchange them for seasonal ones, like the vase pictured at the right, and the before-and-after pictures below.
By the way, Target has seriously upped their game with their florals. They’re realistic looking and a nice quality that lasts through the seasonal rotation of being on display and then being in a Target bag for storage. (I just put the stems that I’ve pulled out into a giant Target bag and lay the whole thing flat on a shelf in the closet until it’s time to change everything back again.)
Before
After
Vase filler change-outs
I keep the dough bowl shown here on this hutch (which my dad made for me shortly after we moved to Austin in 2002, and has since been repainted in the white that you see here, but still has a secret message written in Sharpie by my first-born to a girl he pined for when he was just maybe 12 or so) filled with vase filler throughout the year, and then toss in seasonal items to dress it up.
I took wire cutters and snipped off the stems from the bottom of the pumpkins, which were designed to go into flower arrangements, and then I just tossed them into the bowl, as shown.
For most of the year, this candle lantern from Kirklands is bare, except for a candle in the glass part. To dress it for fall, I take wire cutters and go all Edward Scissorhands on some seasonal floral stems.
Here, I arranged the cut stems around the base of the lantern and then popped on a few of those little pumpkins that I’d cut stems off of.
I love the contrast of the navy and pumpkin colors together!
The table runner is the Black Villa Striped Table Runner from World Market.
Change out printables in frames
Find a few frames that coordinate with the rest of your decor and change out what’s inside based on the season.
I made the one pictured here as part of two packs of fall printables, which you can grab fo’ FREE! The one pictured is from the Fall Quotes Printables Pack, which has four designs, and there’s also a Fall Chalkboard Printables Pack, which has three designs.
The printables are 8x10’s, which is the size of the frame pictured above, but if you want a bigger impact or have a larger area you need to cover, you can get a frame that is much larger, with an 8x10” mat.
Don’t print them on regular printer paper, unless you have no standard of quality.
I admit that I’m all about shortcuts, but even I draw the line at framing regular copy paper. Print these out on #65 bright white cardstock (this is what I use).
Now that your house is all decorated, you can curl up on the sofa and enjoy it for just a minute until it’s time to start bringing out the Halloween decor. I’ll share with you what I do for that in a few weeks!
*Forgive me if you subscribe to my emails and you’ve noticed that this paragraph was recycled from last week’s email. I’m sure you’re used to me cutting corners occasionally, and this is admittedly a new low, even for me. I should be rewarding you with original content, seeing that you are committed to reading my blatherings wherever they appear, and - while I do appreciate you for this - I have to also tell you that I am not a circus monkey. I can’t possibly crank out new material every time the wind changes direction. It isn’t plagiarism if I’m copying my own damn words, after all.


