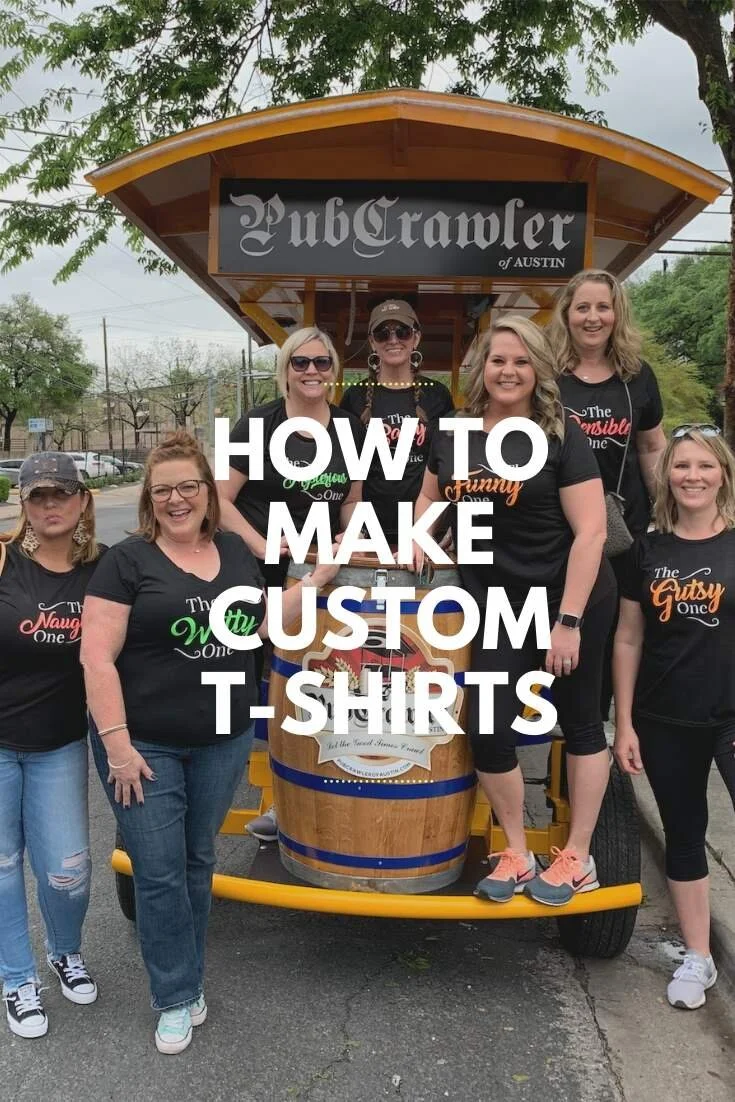
When my group of girlfriends get together for any kind of trip or special event, we have to have matching t-shirts because our seventh-grade selves are desperate for a do-over, now that we have the confidence and sense of belonging that comes way after junior high, AND we have the matching shirts to prove it.
Our husbands are not on board with this matching shirt business, but we force them into it.
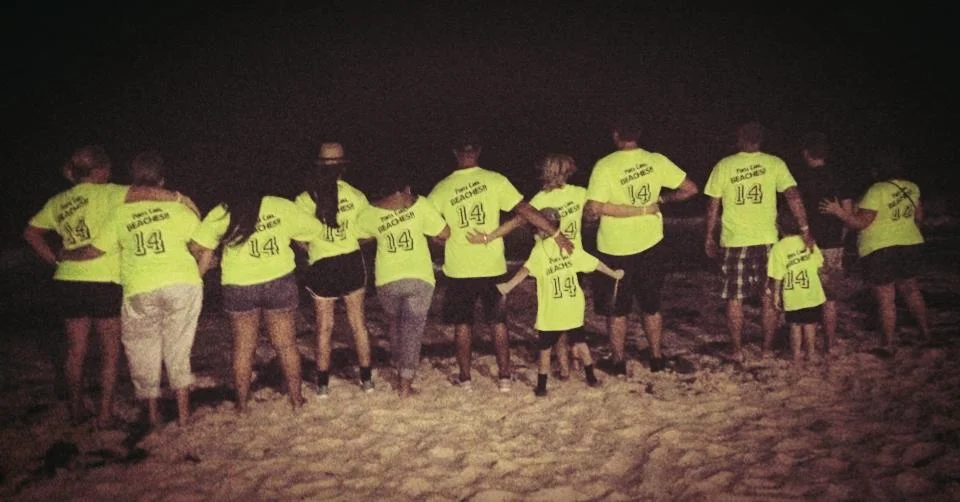
Here are some of the vacation shirts we’ve done in the past:


This post uses affiliate links, which means that I will earn a small commission at no additional cost to you if you make a purchase from any of the links I’ve provided.
We’ve always designed these ourselves using Canva and PicMonkey using the process I’ve described below, and then we’ve sent the designs to an online store and ordered the shirts from there.
But I gifted myself with a shiny new Cameo Silhouette last year so that I could make fun crafty things, and making t-shirts has become one of my most favorite projects.
Here’s a tutorial on how to make your own custom t-shirts
1. Wash Your T-Shirts
Don’t skip this step! Your vinyl won’t stick if you don’t wash the shirts first. And don’t use fabric softener or dryer sheets, because this will also keep the vinyl from adhering.
2. Create Your Design In Canva or PicMonkey
In the video tutorial, I use Canva, but PicMonkey is just as easy to use for a project like this.
3. Pull Design Into Silhouette Studio And Cut Out Your Designs On The Cameo Silhouette
After you download the final design from Canva or PicMonkey and save it to your desktop or some other place you can easily find it, open up that file in Silhouette Studio.
4. Weed The Vinyl
After the Silhouette has cut out the designs, trim around each design and then pull off all the excess vinyl surrounding the part that will be ironed on.
5. Iron Your Designs Onto T-Shirts
Follow the instructions on the package of vinyl because the instructions are different for each brand.
Here’s the full video tutorial