You probably remember that we moved into a new house last summer, and if you’re going to ask how we’re doing now that we’re “all settled in,” let me stop you to say that I have a stack of wall hangings shoved in the back of a closet that I’m still trying to gather enough emotional energy to deal with.
I’ll get to it, geez. I just have other projects that keep grabbing my attention.
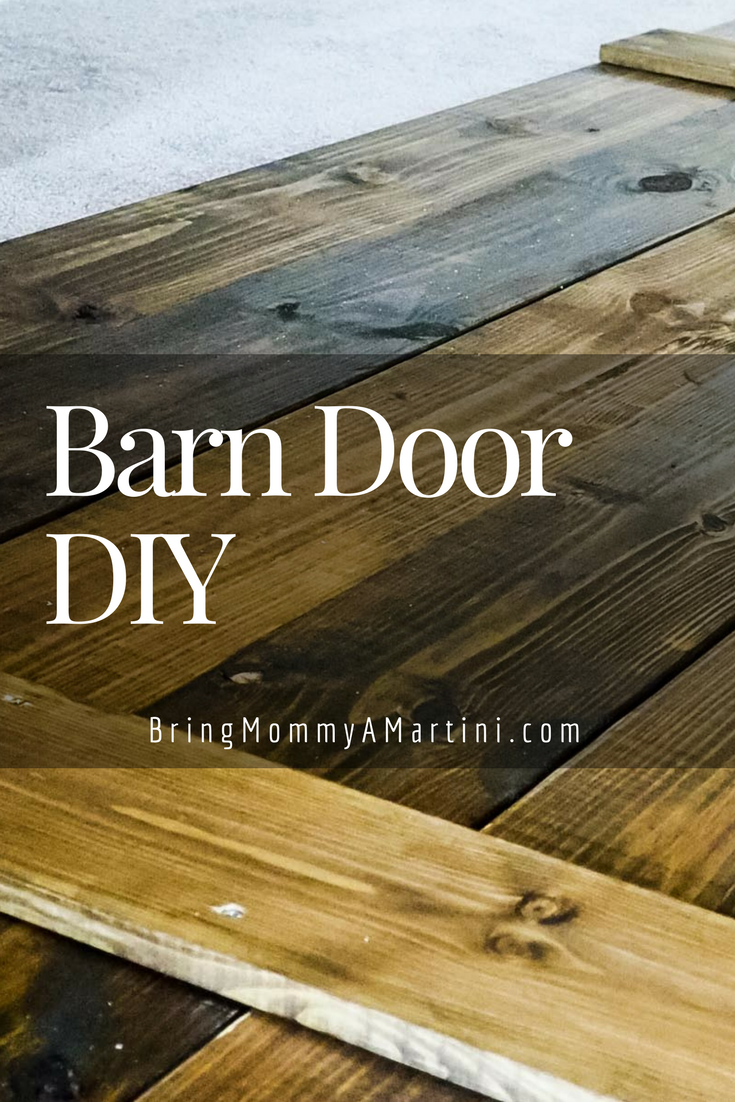
Like this Barn Door DIY.
Our new house is 99% one-story, with only a living area and bathroom upstairs.
When we moved in, we envisioned that upstairs to be the perfect space to send the kids and their friends. It had a half-wall, making it nice and open, but the very first time we sent the teenager and his friends up there to play poker, we knew we’d have to take that wall all the way up because their filthy language echoed over the half-wall like a bull horn toward the downstairs.
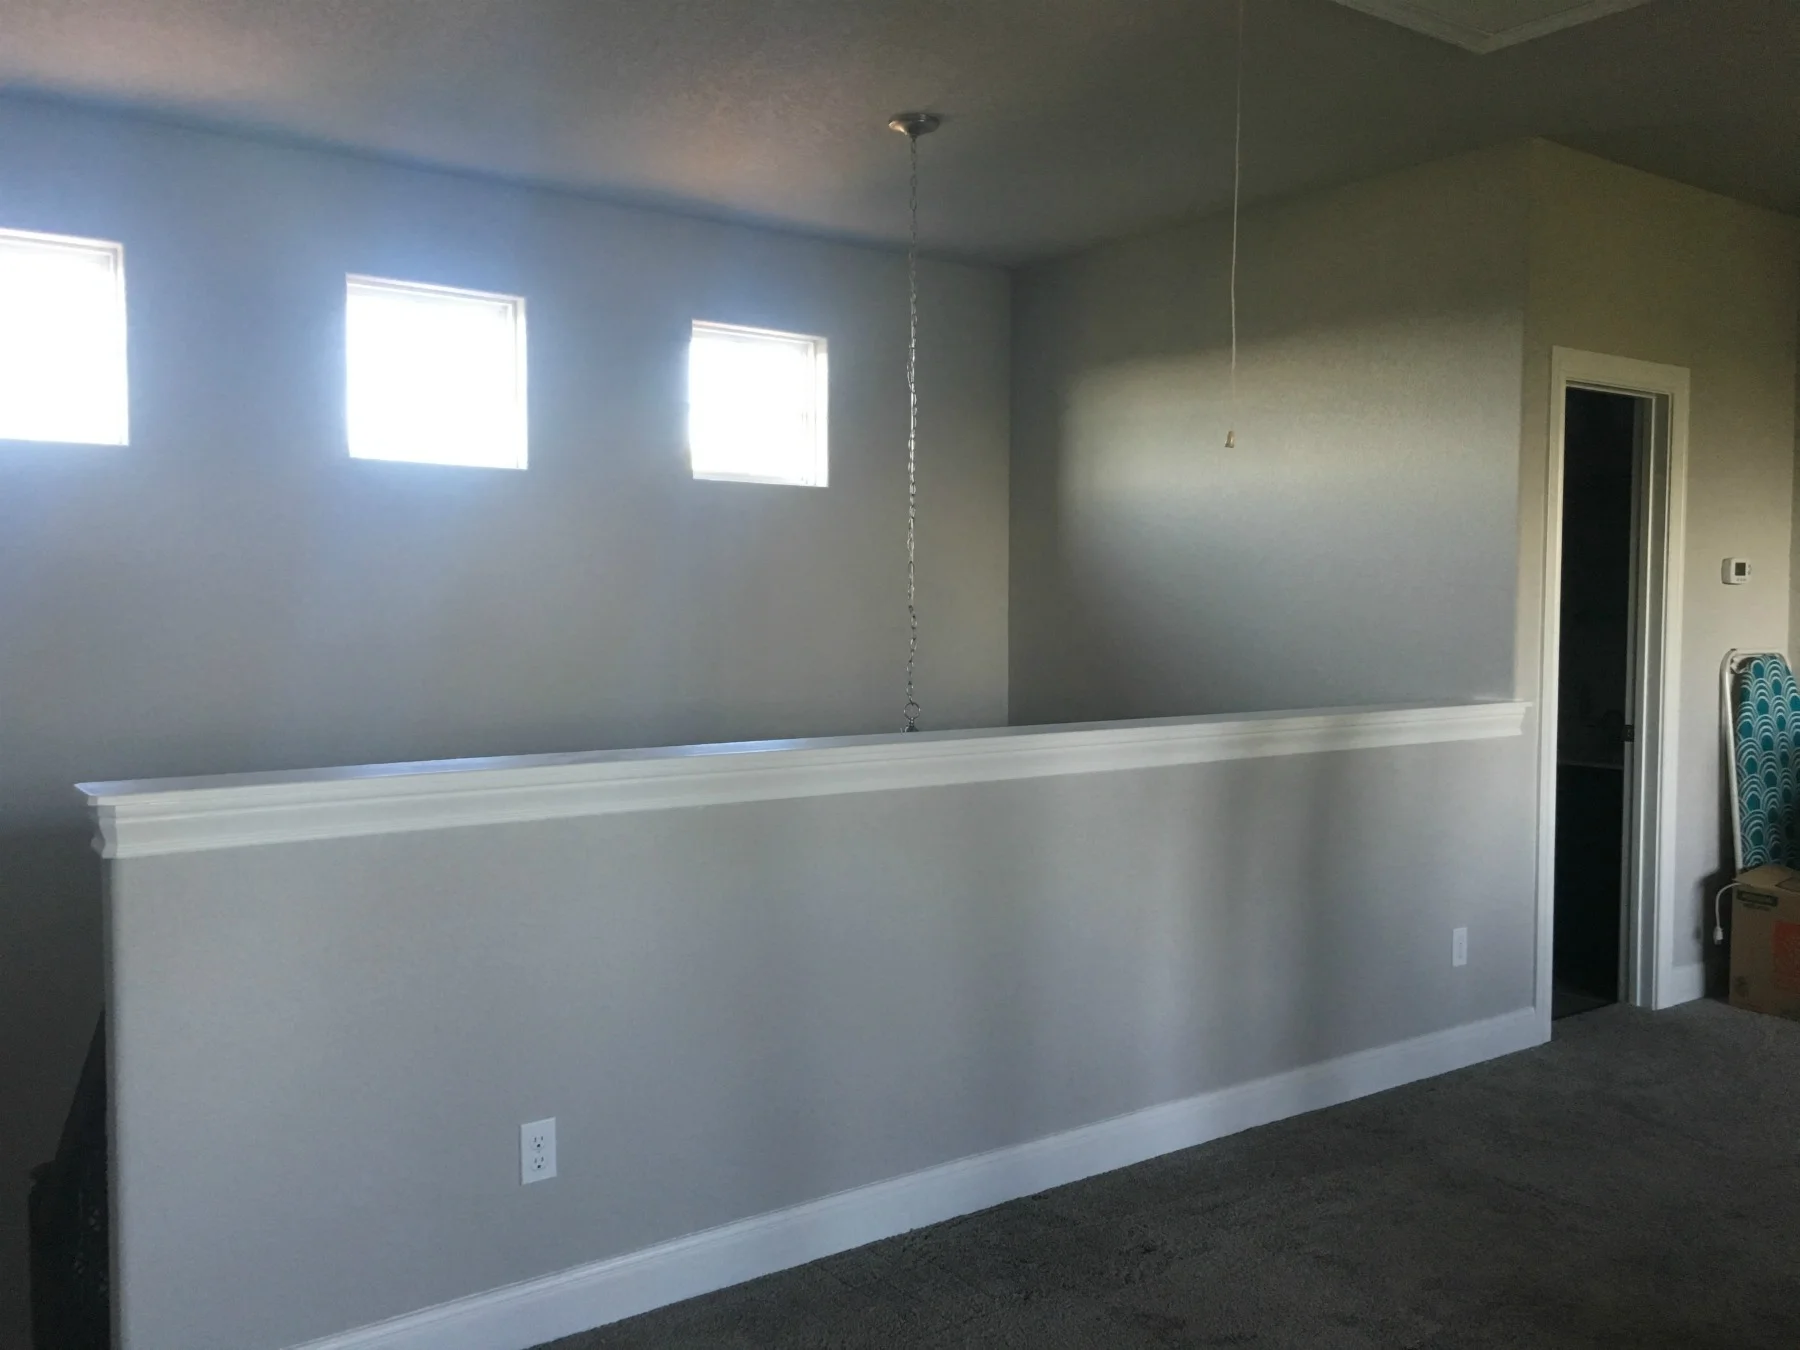
The half-wall that "closed in" the upstairs living area. That's the opening to the stairs on the left, the door to the bathroom (and some junk we hadn't put away, yet) on the right.
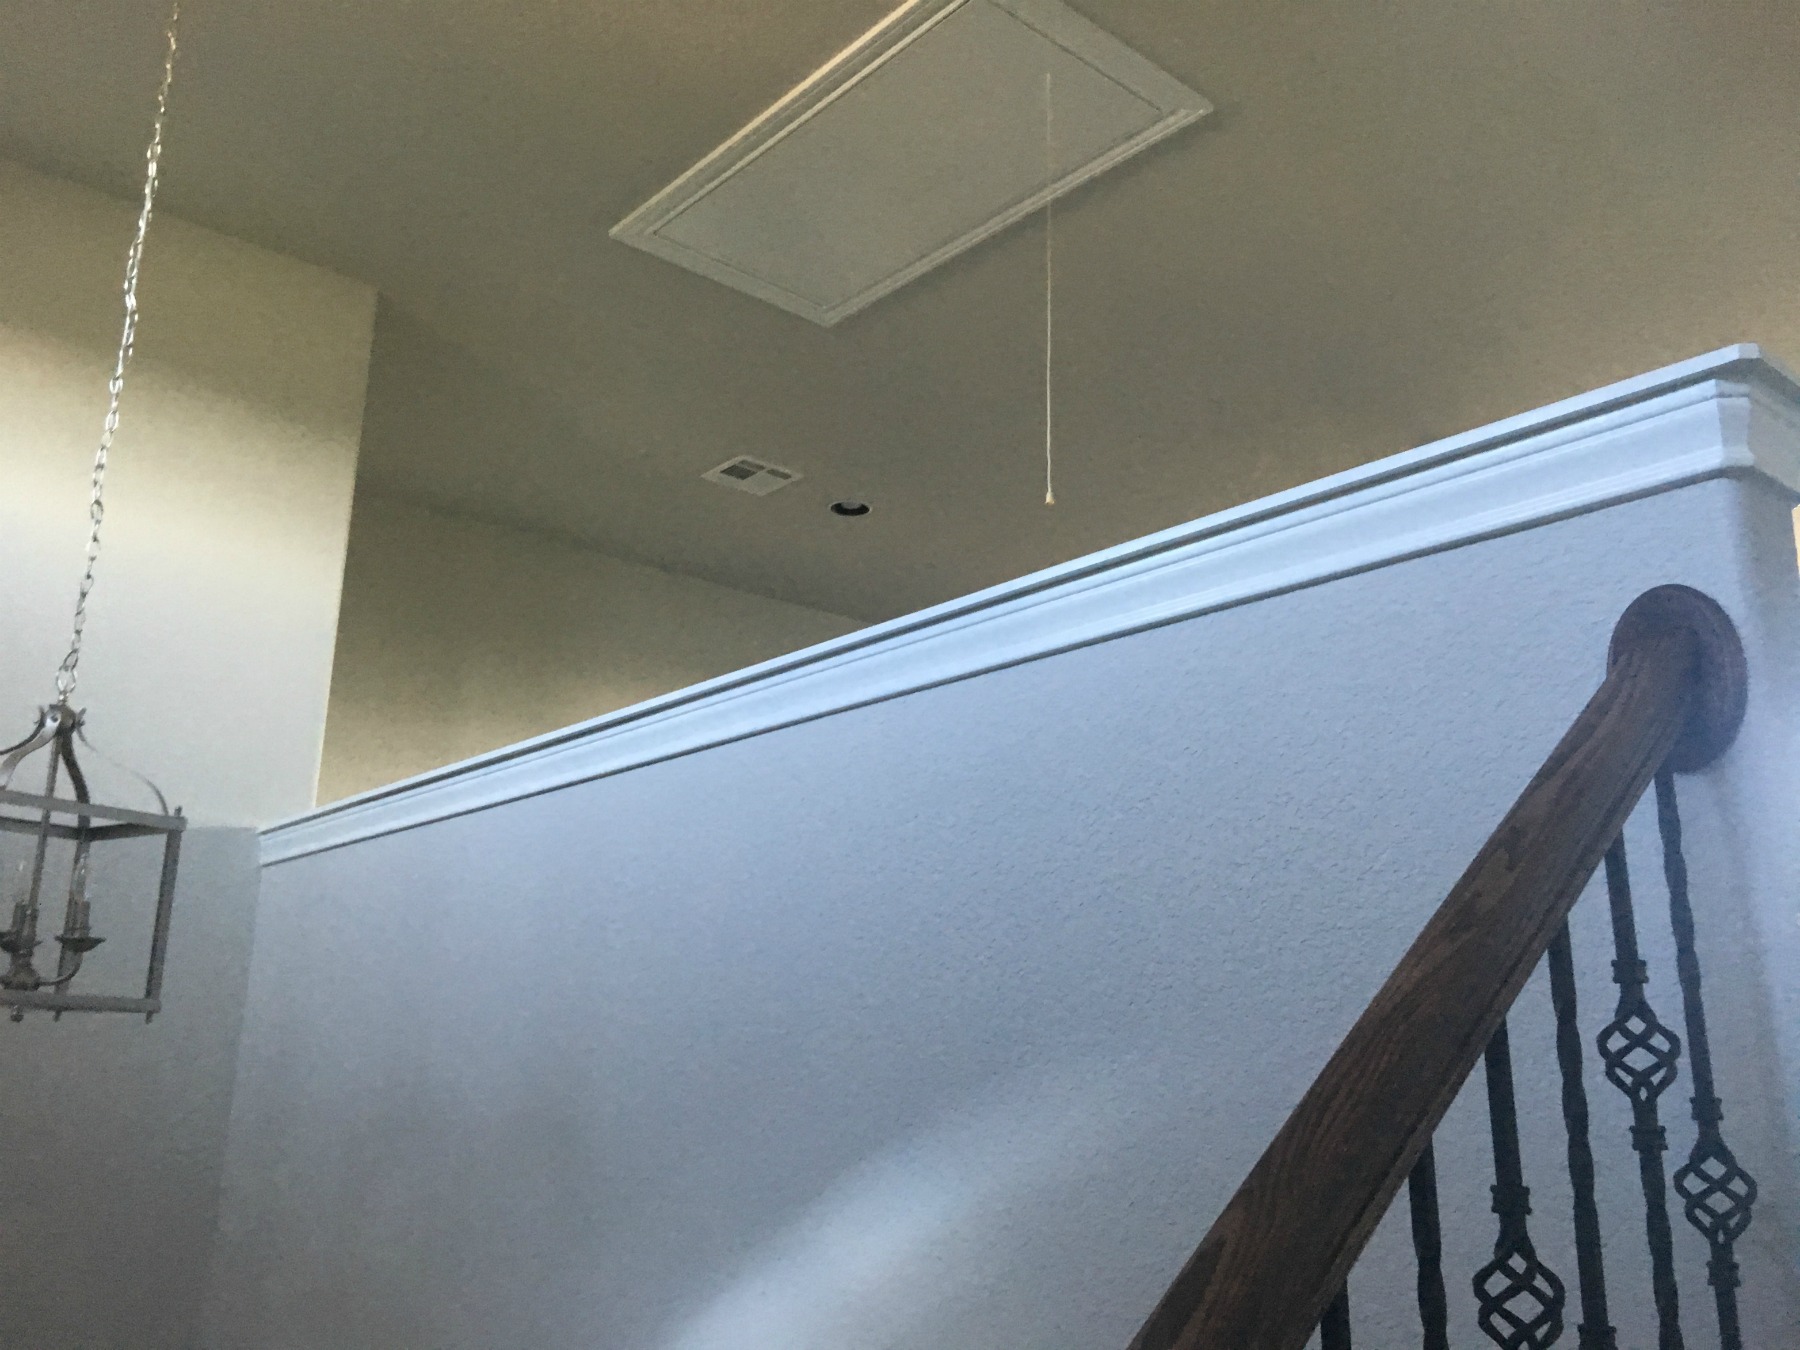
The view of the half-wall from the stairs landing

Half-wall removed, here's the framing for the new wall that will go up to the ceiling (we called in a friend who does remodel projects like this). We then had a sheetrock guy come out to sheetrock, tape-and-float, and paint the new wall.
Unfortunately, taking the wall all the way up didn’t help much.
The opening for the door now served as a noise funnel. Besides, we wanted to be able to offer privacy if we have guests who want to stay up there. Since it has a full bathroom, it has the potential for being a nice guest suite.
We'd have to put a door on there. A barn door.
Our new house has much more modern lines than our old one, and - especially since my go-to style is rustic - I try to add some slightly worn and weathered pieces where I can, to help make our house feel homey, while staying with the contemporary feel of the house's design.
That upstairs area is home to a set of IKEA "built-ins," which I still owe you a post on (Jesus, I have got to get my life together), and a few other IKEA pieces - all of them white and with a sleek, Scandinavian feel - so the room needed the warmth of a rustic barn door.
Some important notes about this project:
The barn door should be at least three or four inches wider than the opening for the door so that it overlaps the opening.
This tutorial “recipe” is based on a rustic look, which is my favorite because the need for precise measurements is pretty low (for the most part).
We made a few mistakes and just sort-of finagled some work-arounds to fix them. I’ll point them out as we get to them.
The specifics of our barn door project
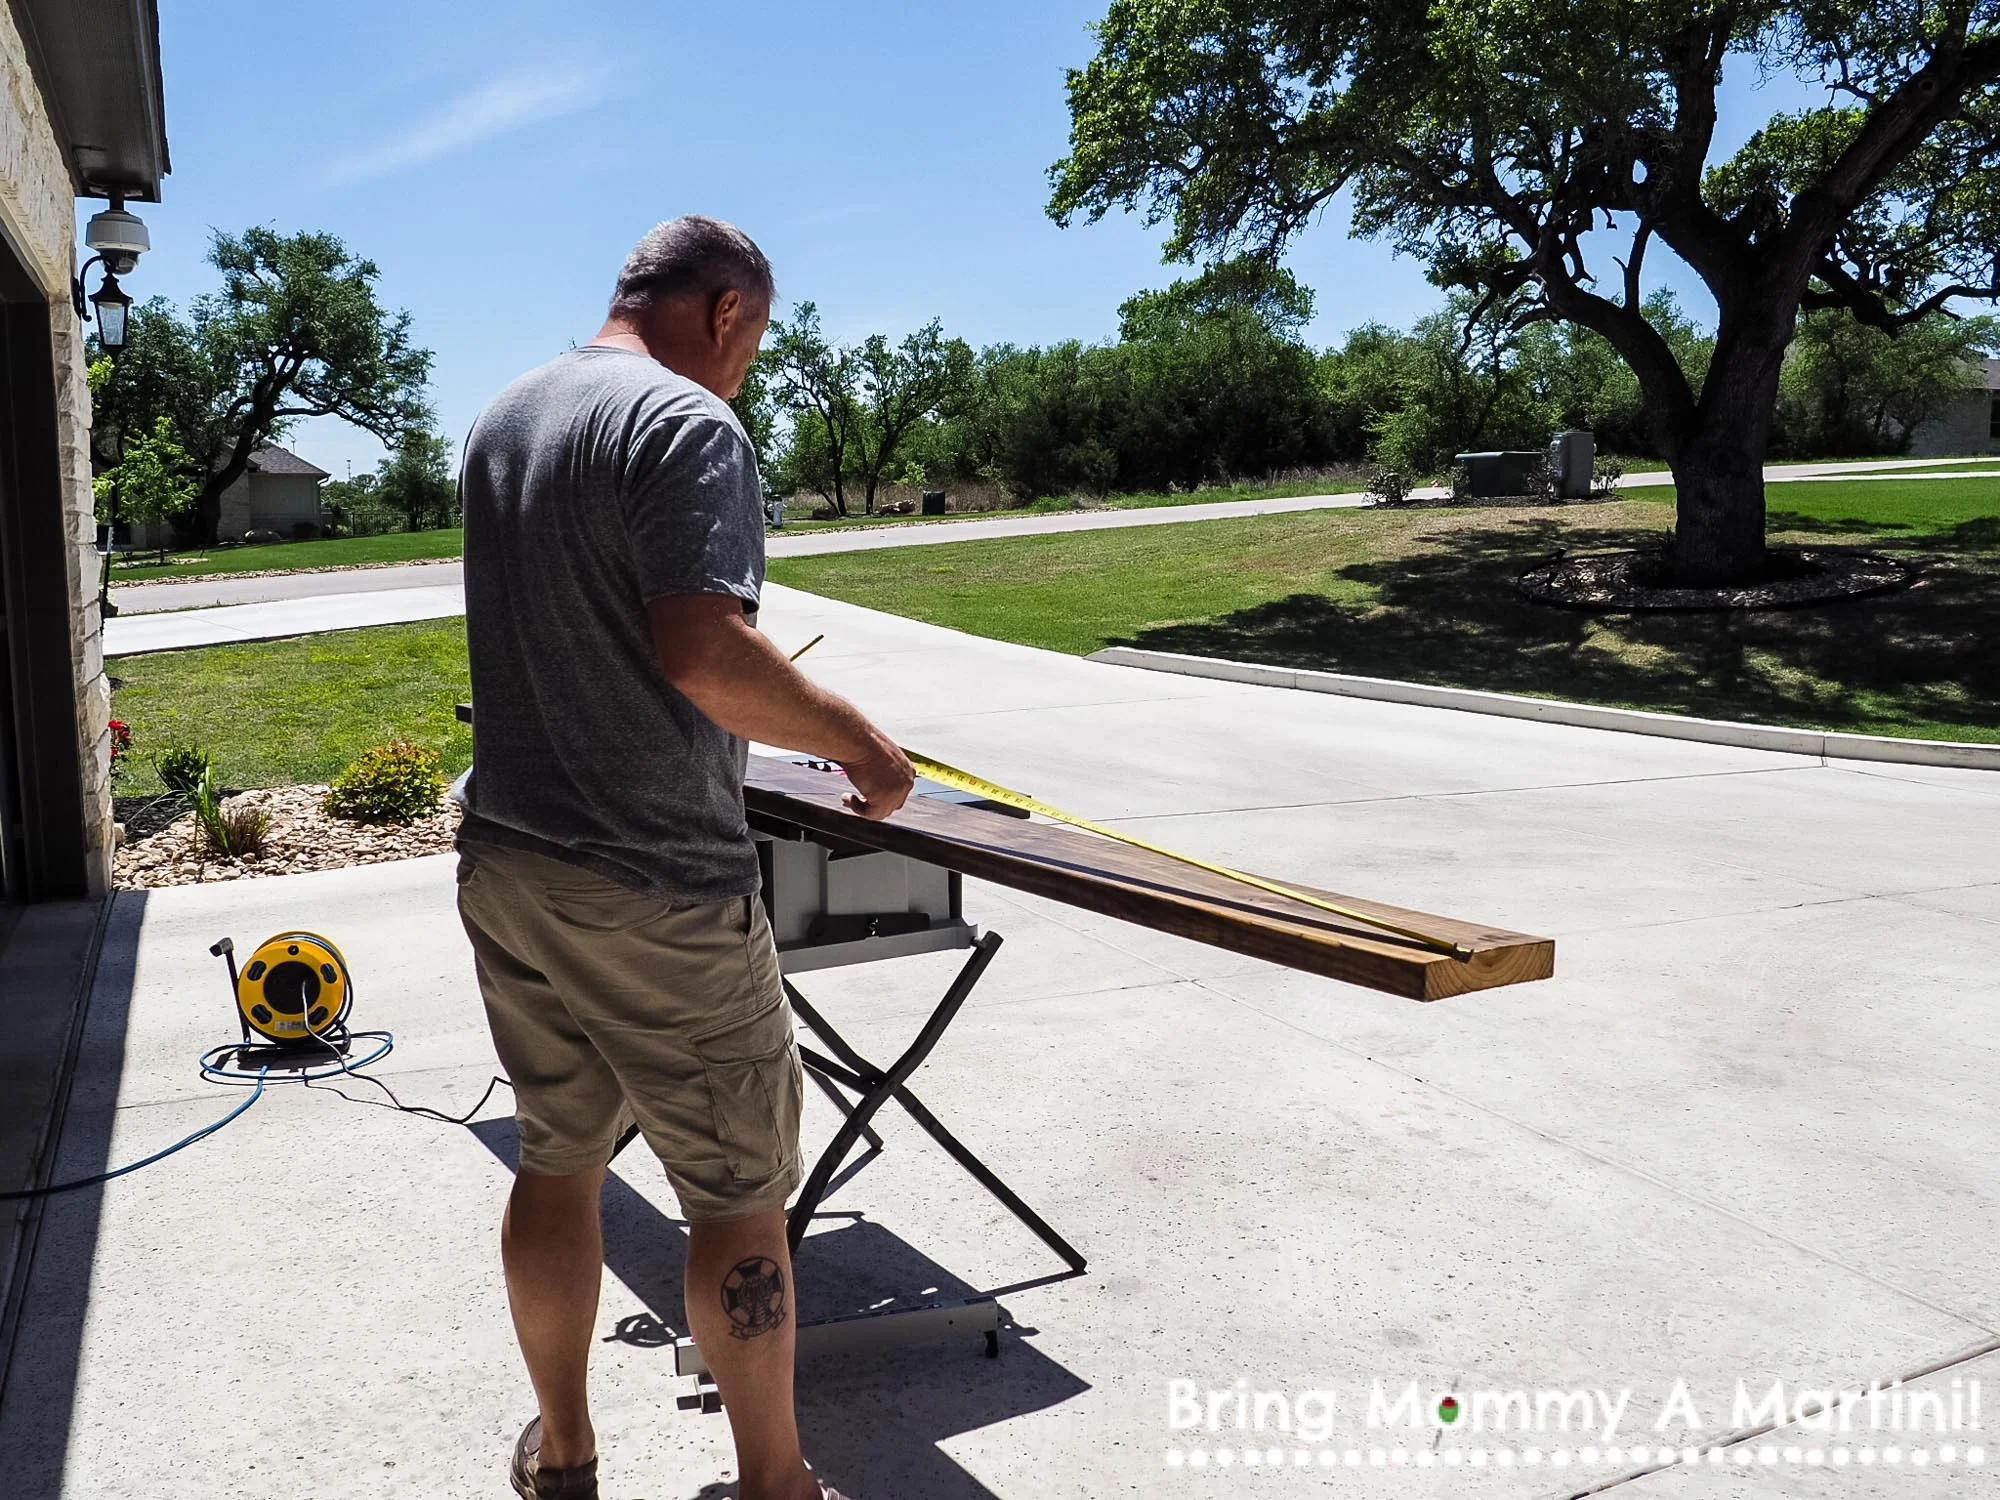
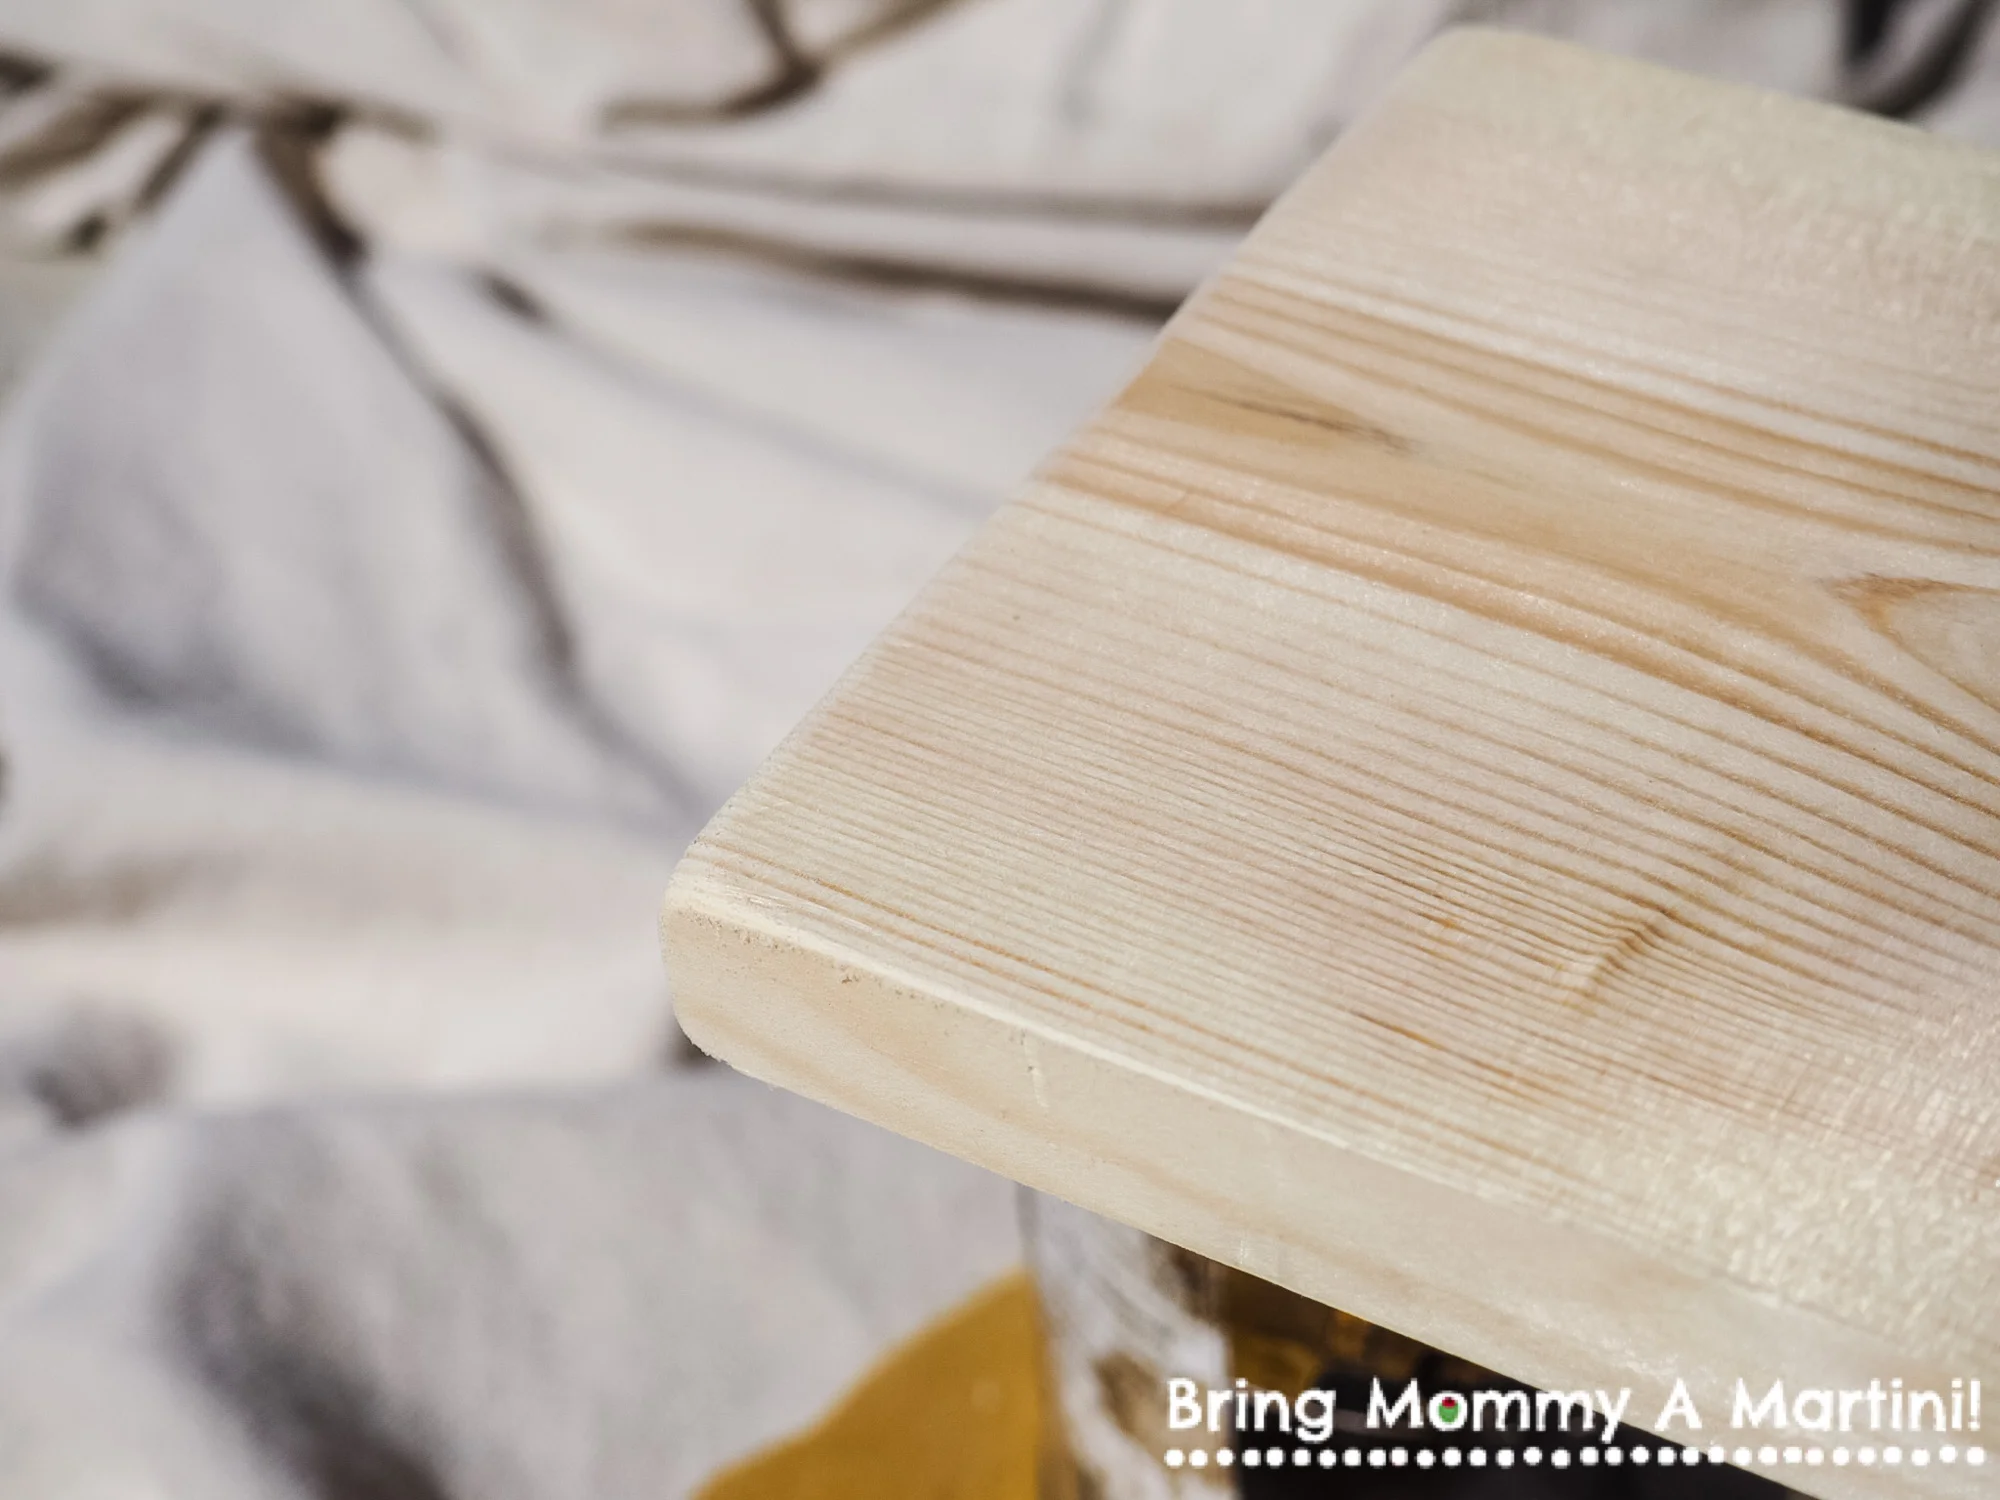
The walls are tall in our upstairs room, and we didn’t want the door to weigh a ton, but I wanted the hefty look of wide planks. We chose 2x8” planks of pine, one of the lighter-weight woods available.
Even with a “lighter-weight” wood, each plank weighs about 25 or so pounds, so we carried the pieces of wood upstairs individually and built the door up there so that we weren’t having to haul a 150-pound monstrosity up the stairs.
The door opening is 38” wide by 95” tall. The finished door is 44” wide (except it's really 43.75”) by 97” tall.
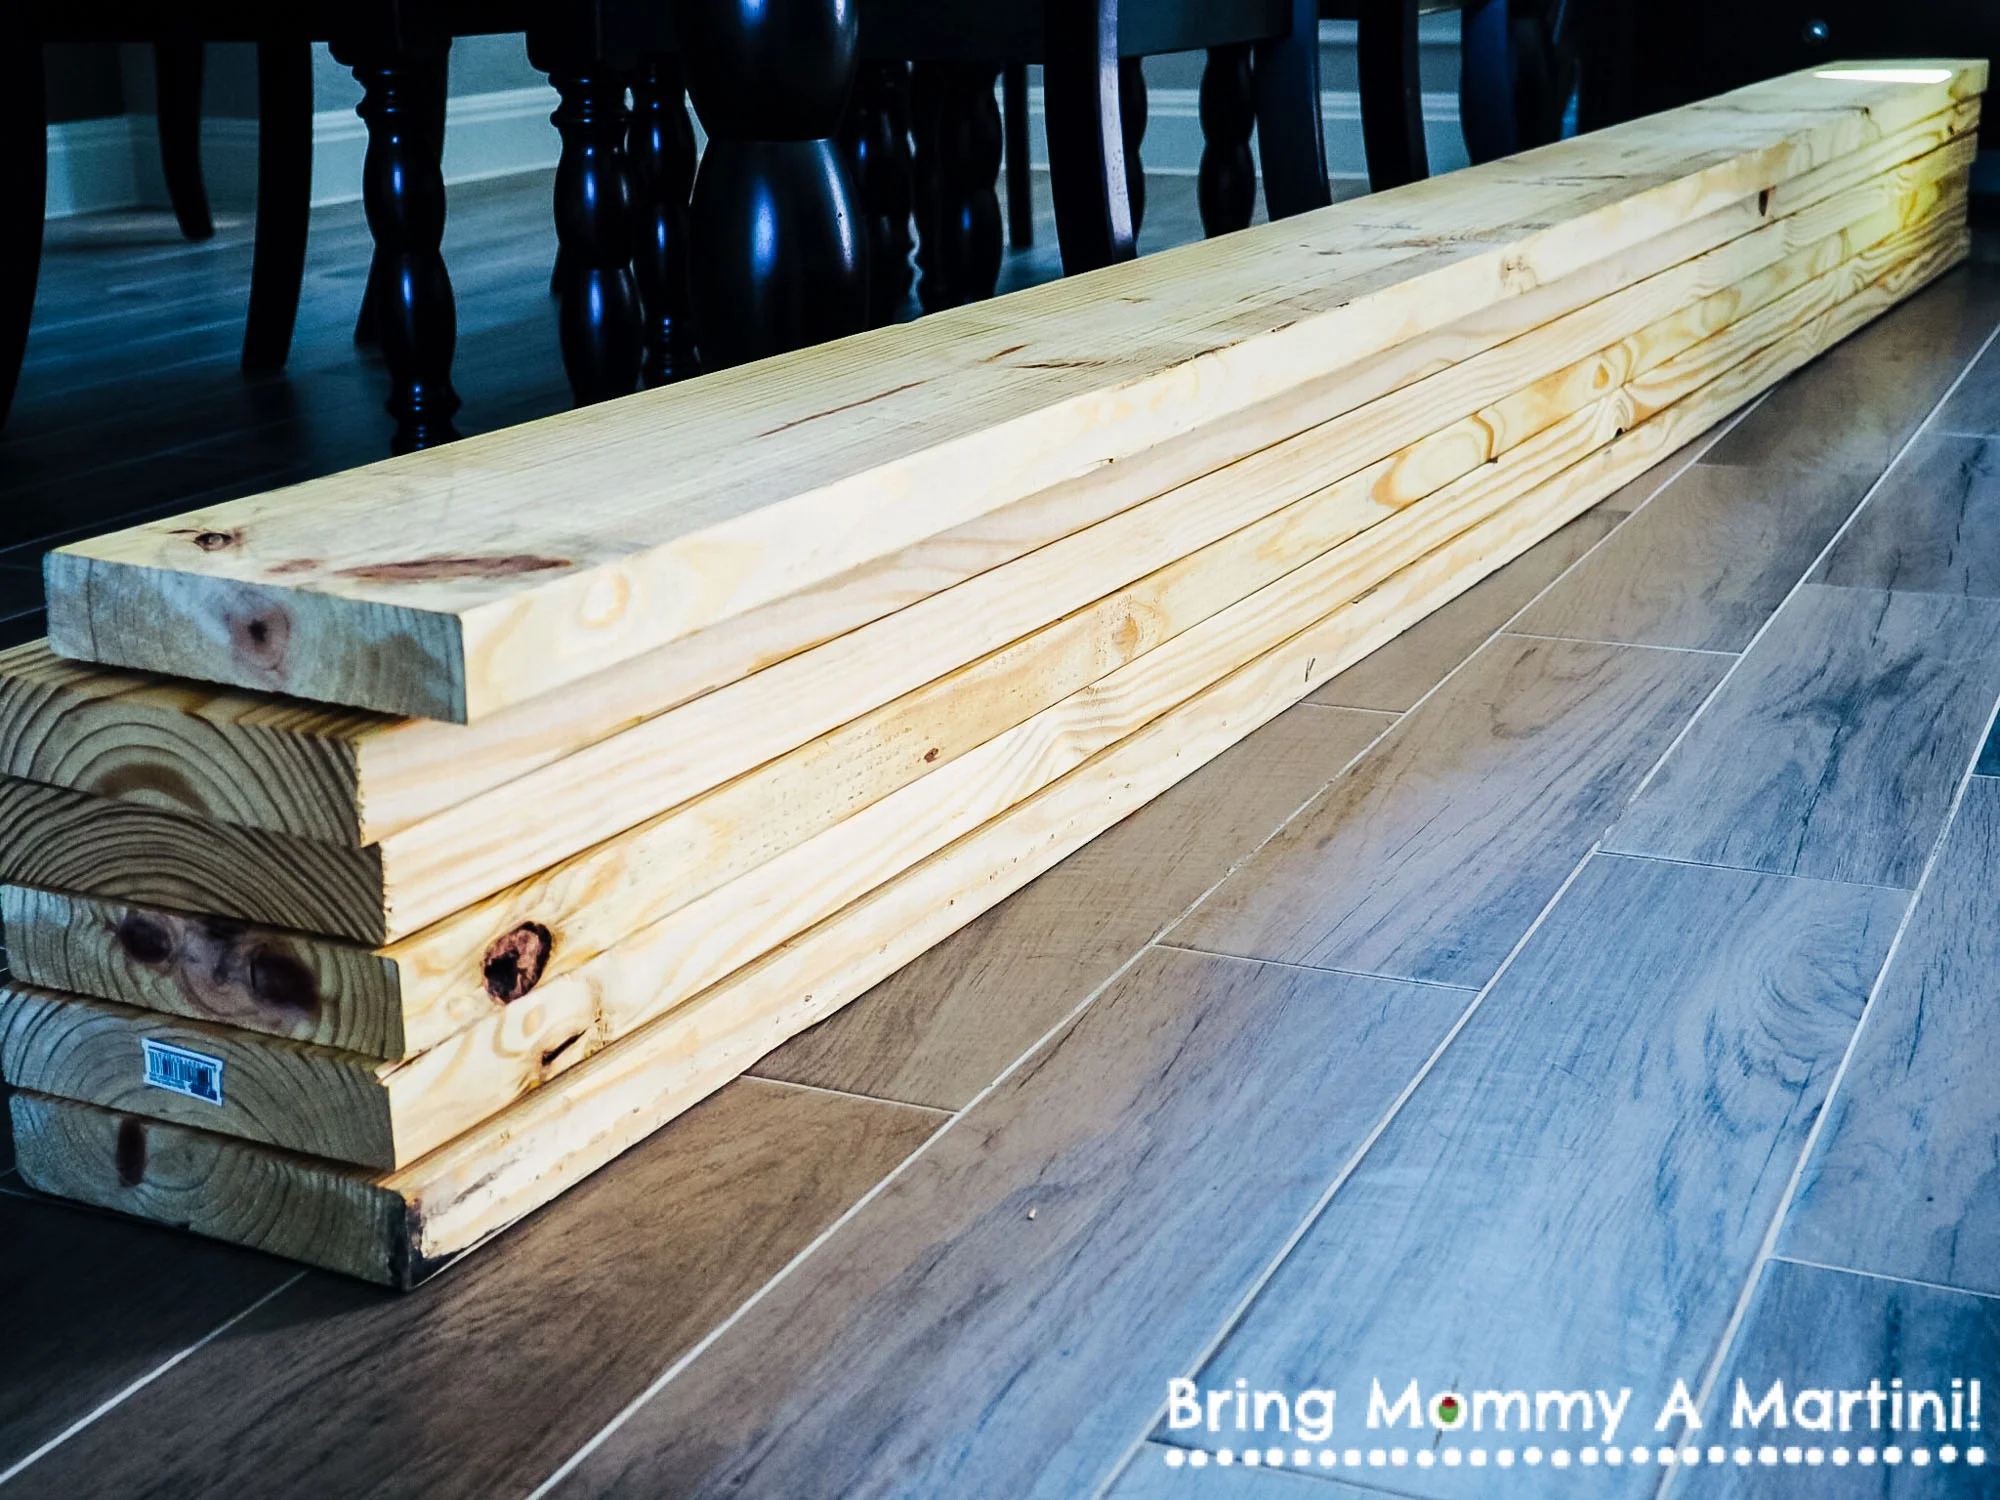
We brought the wood inside our home for a few days to acclimate to the humidity before we started building
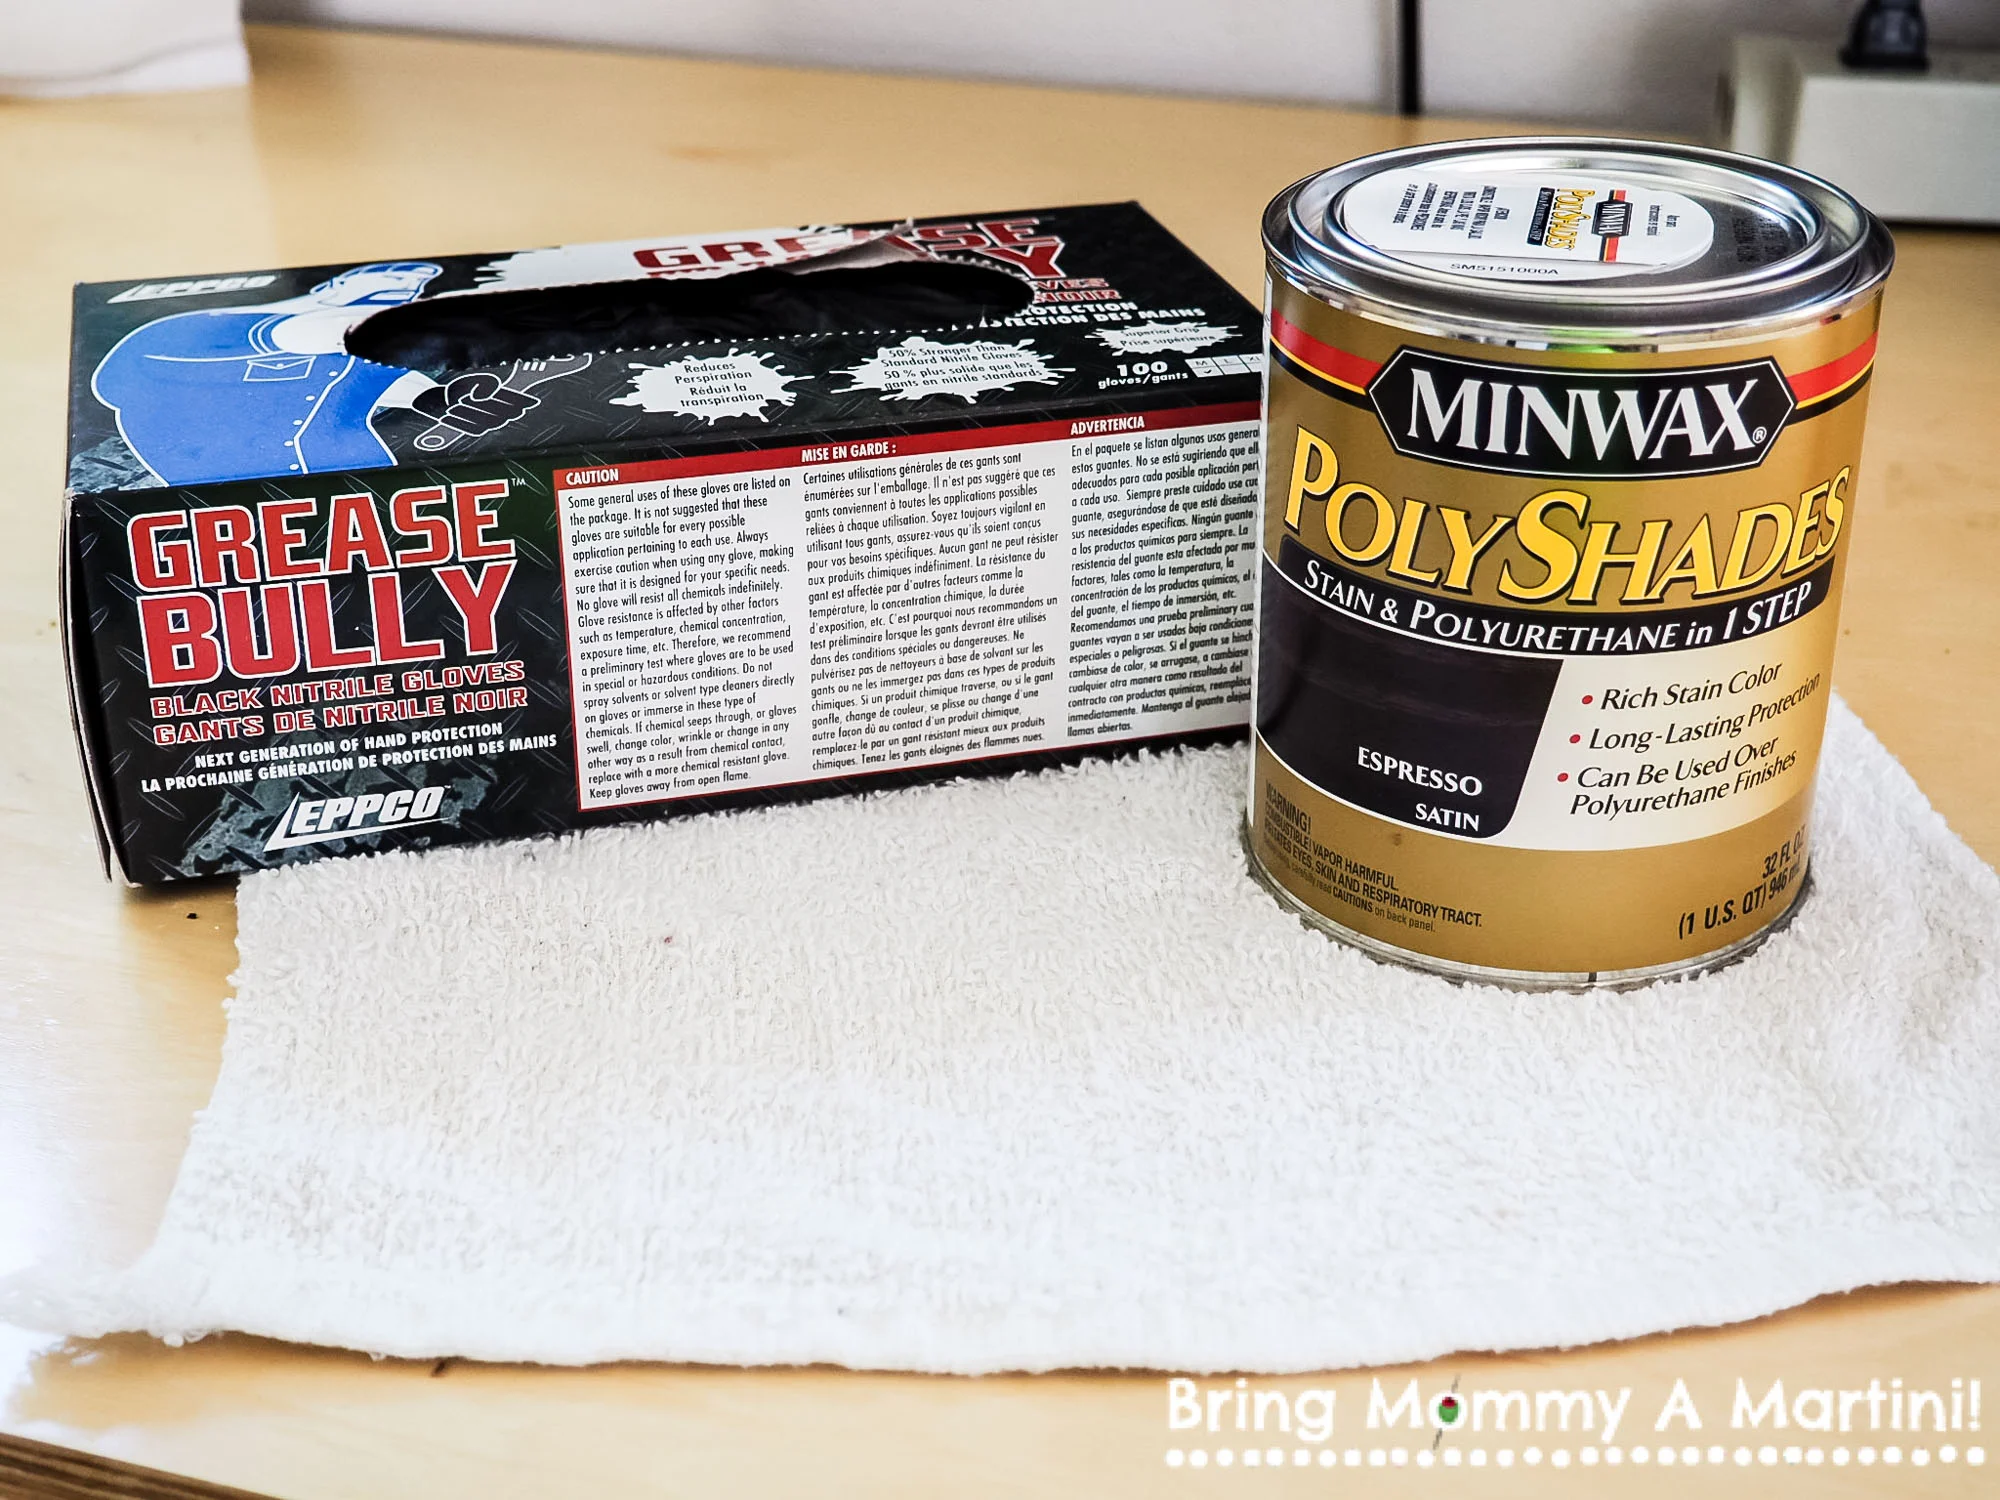
Supplies (in addition to the wood, of course): latex gloves, Minwax PolyShades in Espresso Satin, and a terry cloth.
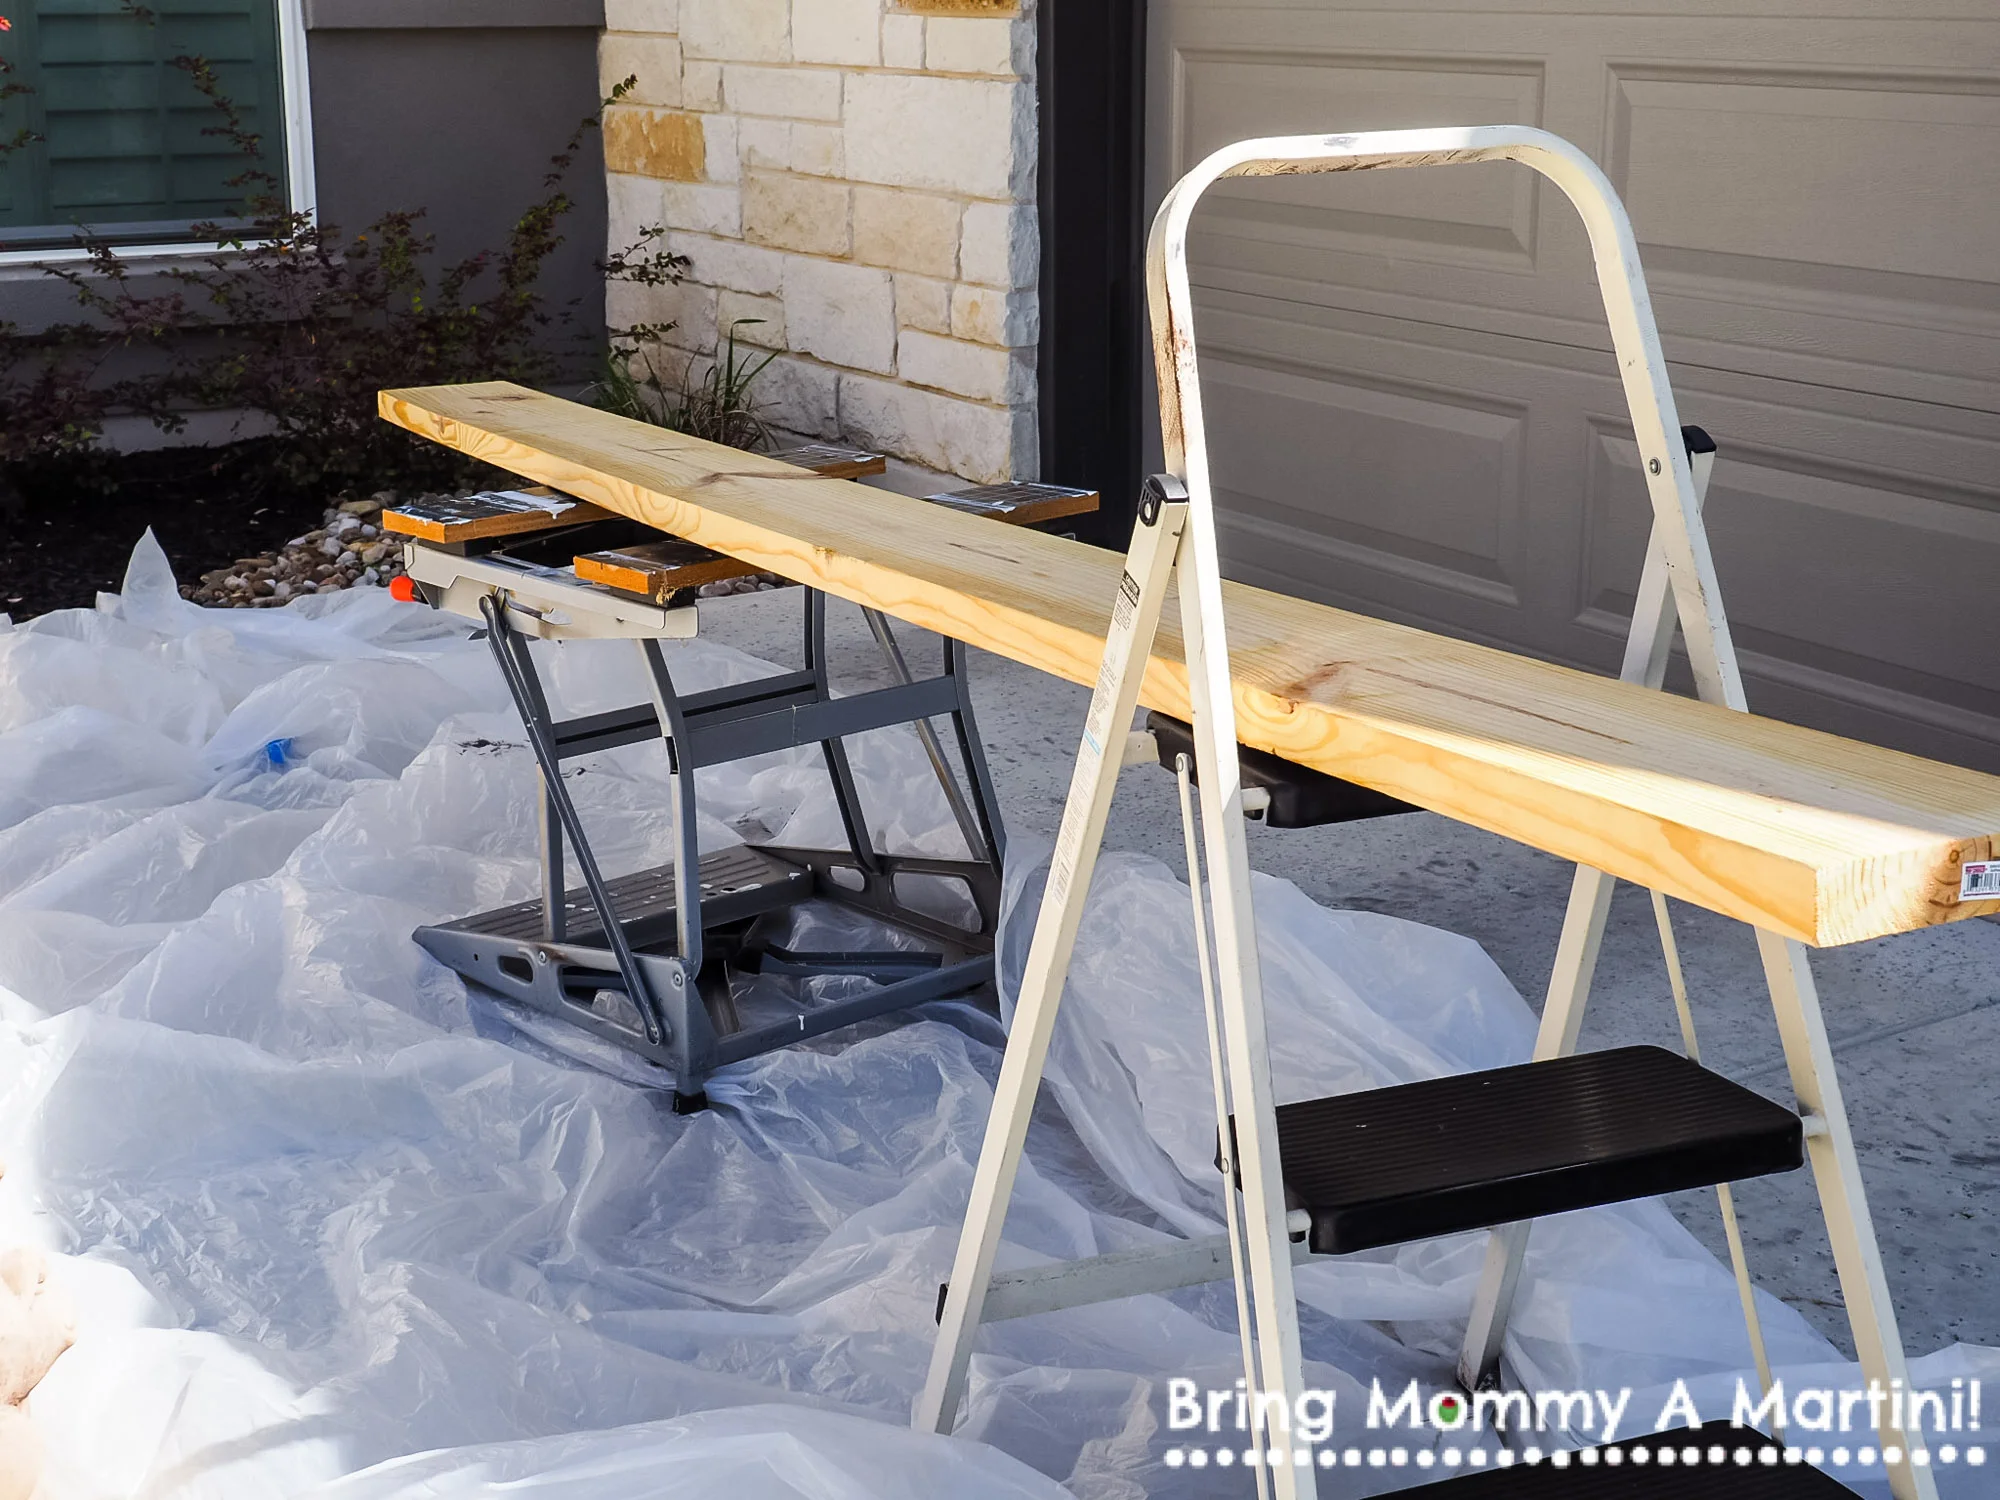
My very fancy set-up for staining: a workshop table and a step ladder served as my "table."
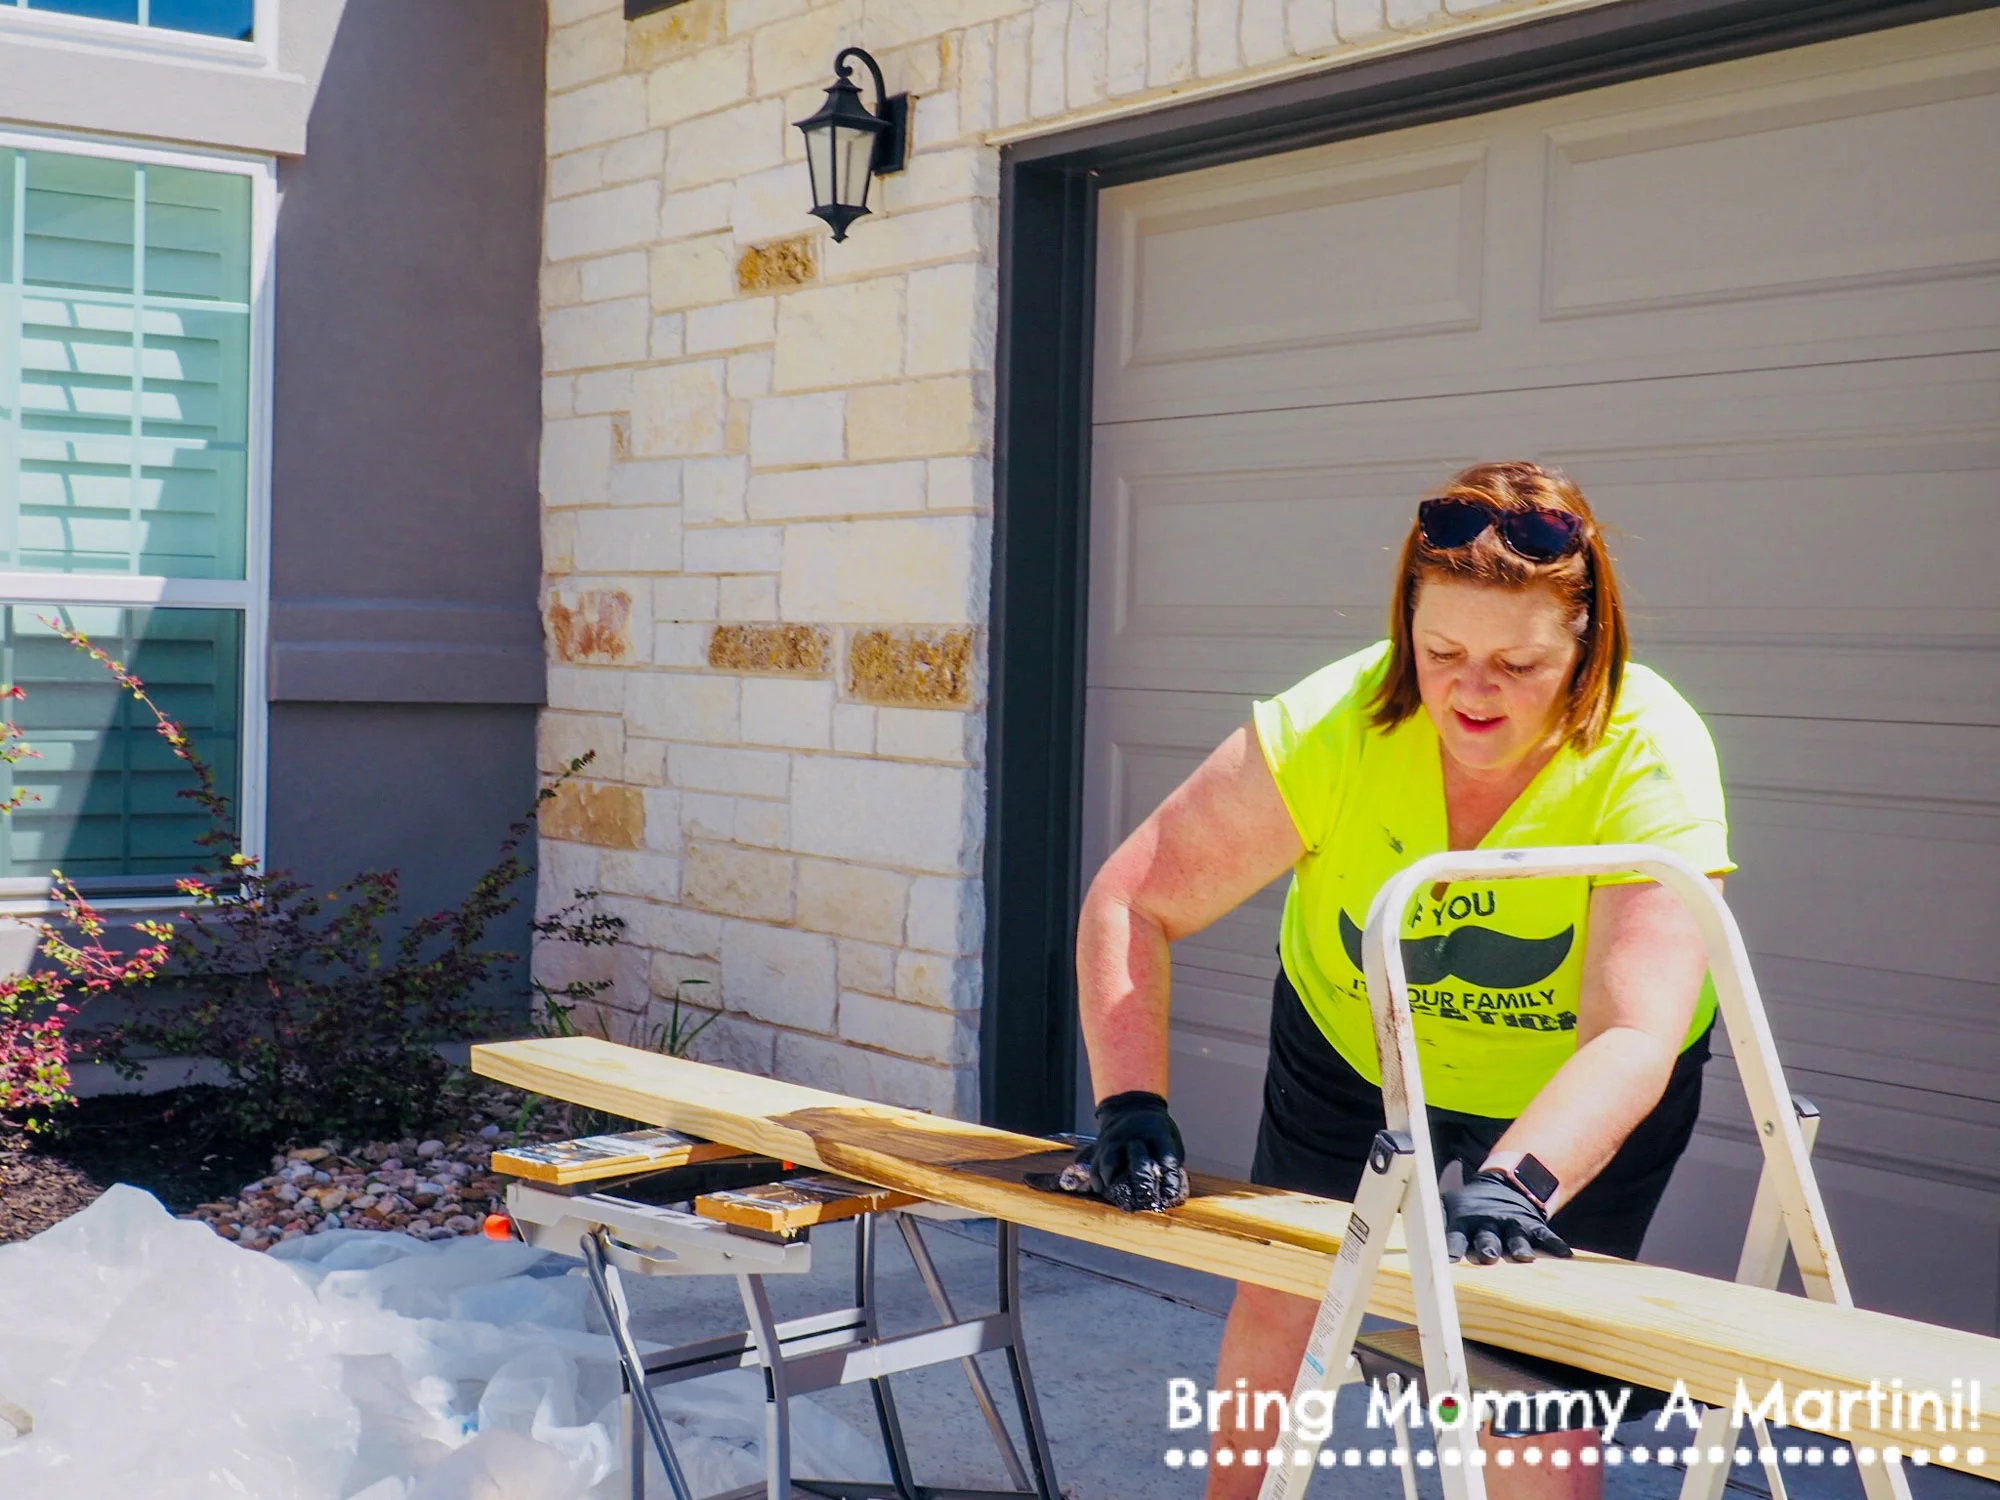
You can see that this isn't a very precise process. I dipped the cloth into the stain and rubbed the liquid into the wood. I rubbed it in circles to get the stain into the grain of the wood, then smoothed the cloth along the grain to smooth out any excess liquid and to remove my strokes.

After staining each piece, I'd stand the planks against the house until the stain was no longer tacky. We brought them back inside and put them on a painter's cloth, just in case there were areas that weren't completely dried. The wood hung out here until Mark was ready to build them into a door (about another week).

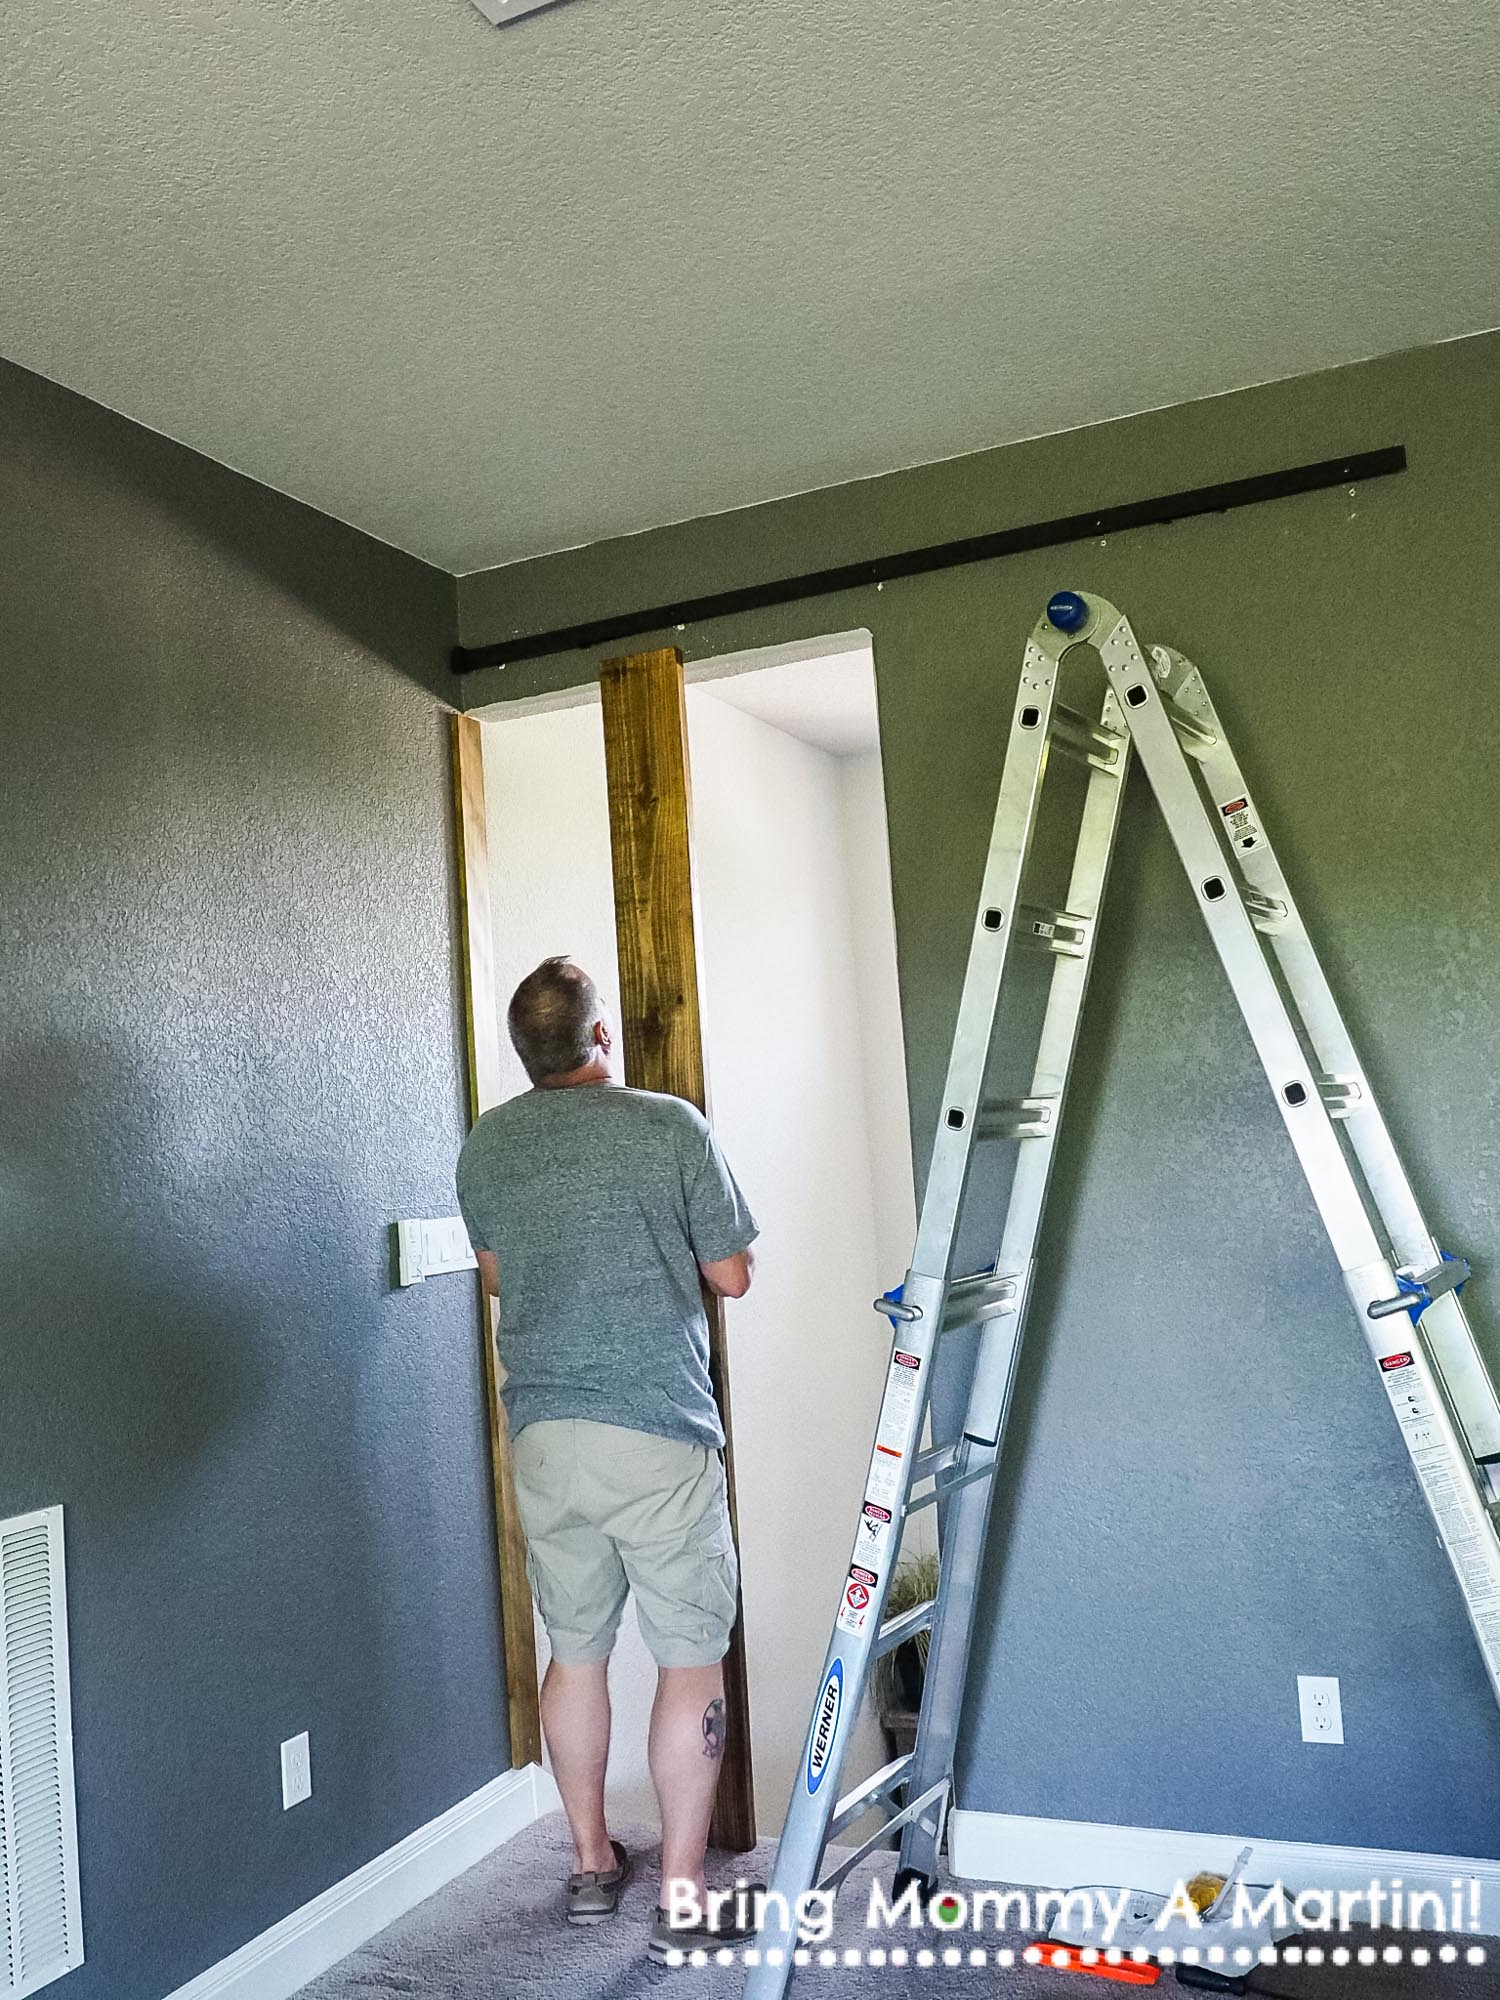
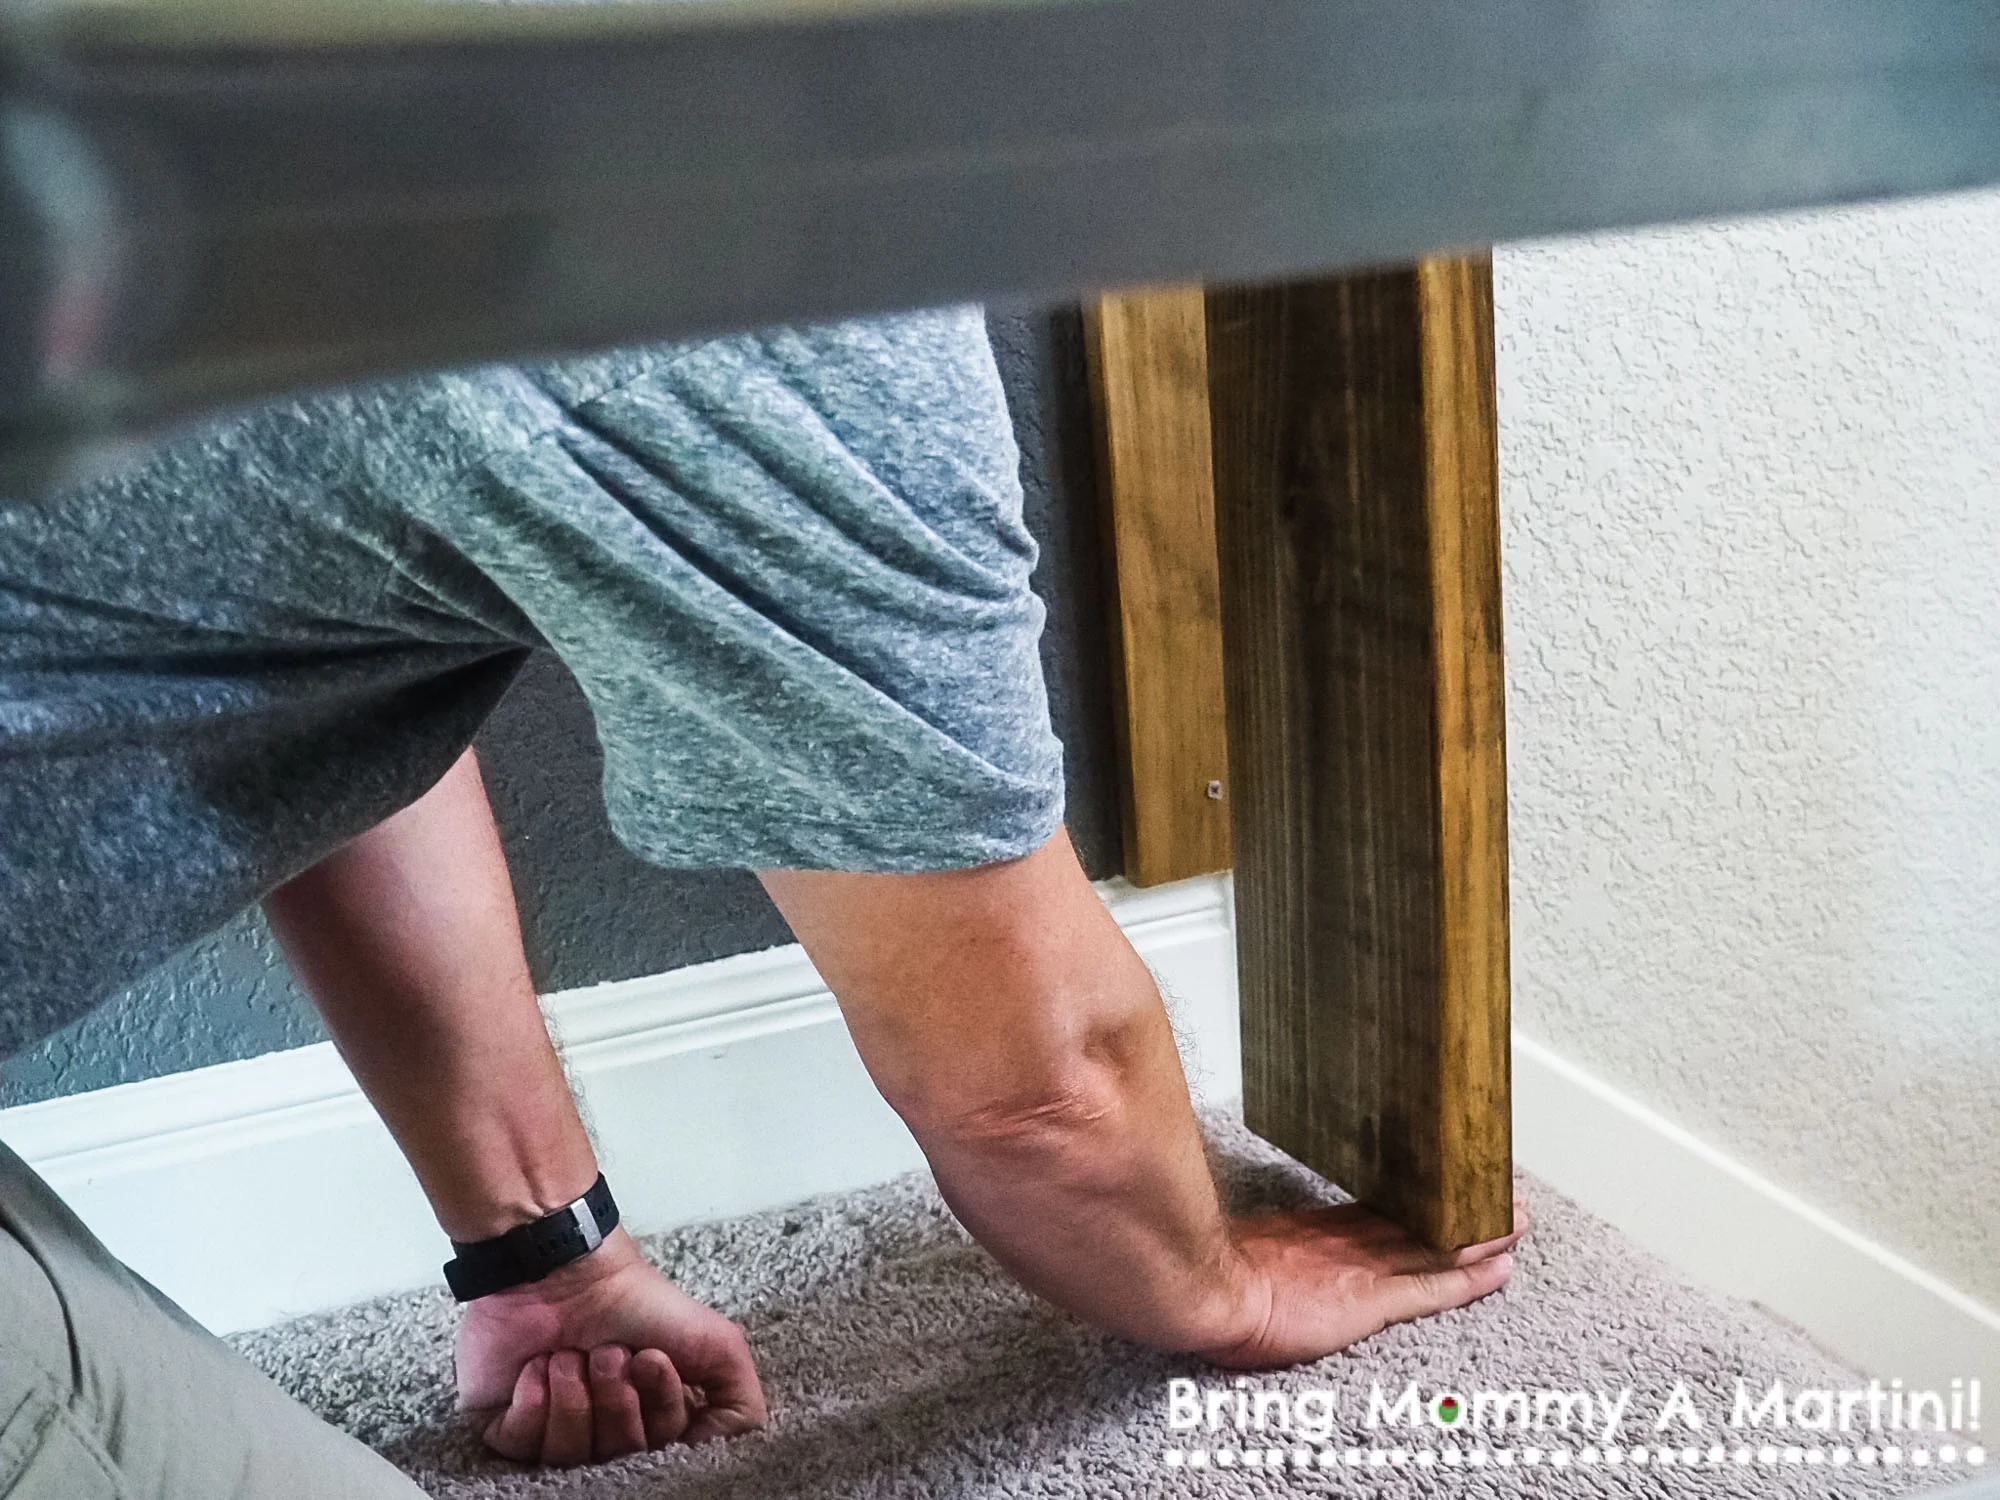
Since the door opening wasn't originally a door opening (when the wall to the right was a half-wall), and since there's all that trim work at the bottom, we knew the door would leave a gap when closed because the trim sits out almost an inch from the wall. We put a stained piece of 2x4" pine as a kind of "trim piece" to serve as a bumper for the door and also to keep from having an inch-wide opening when the door's closed.

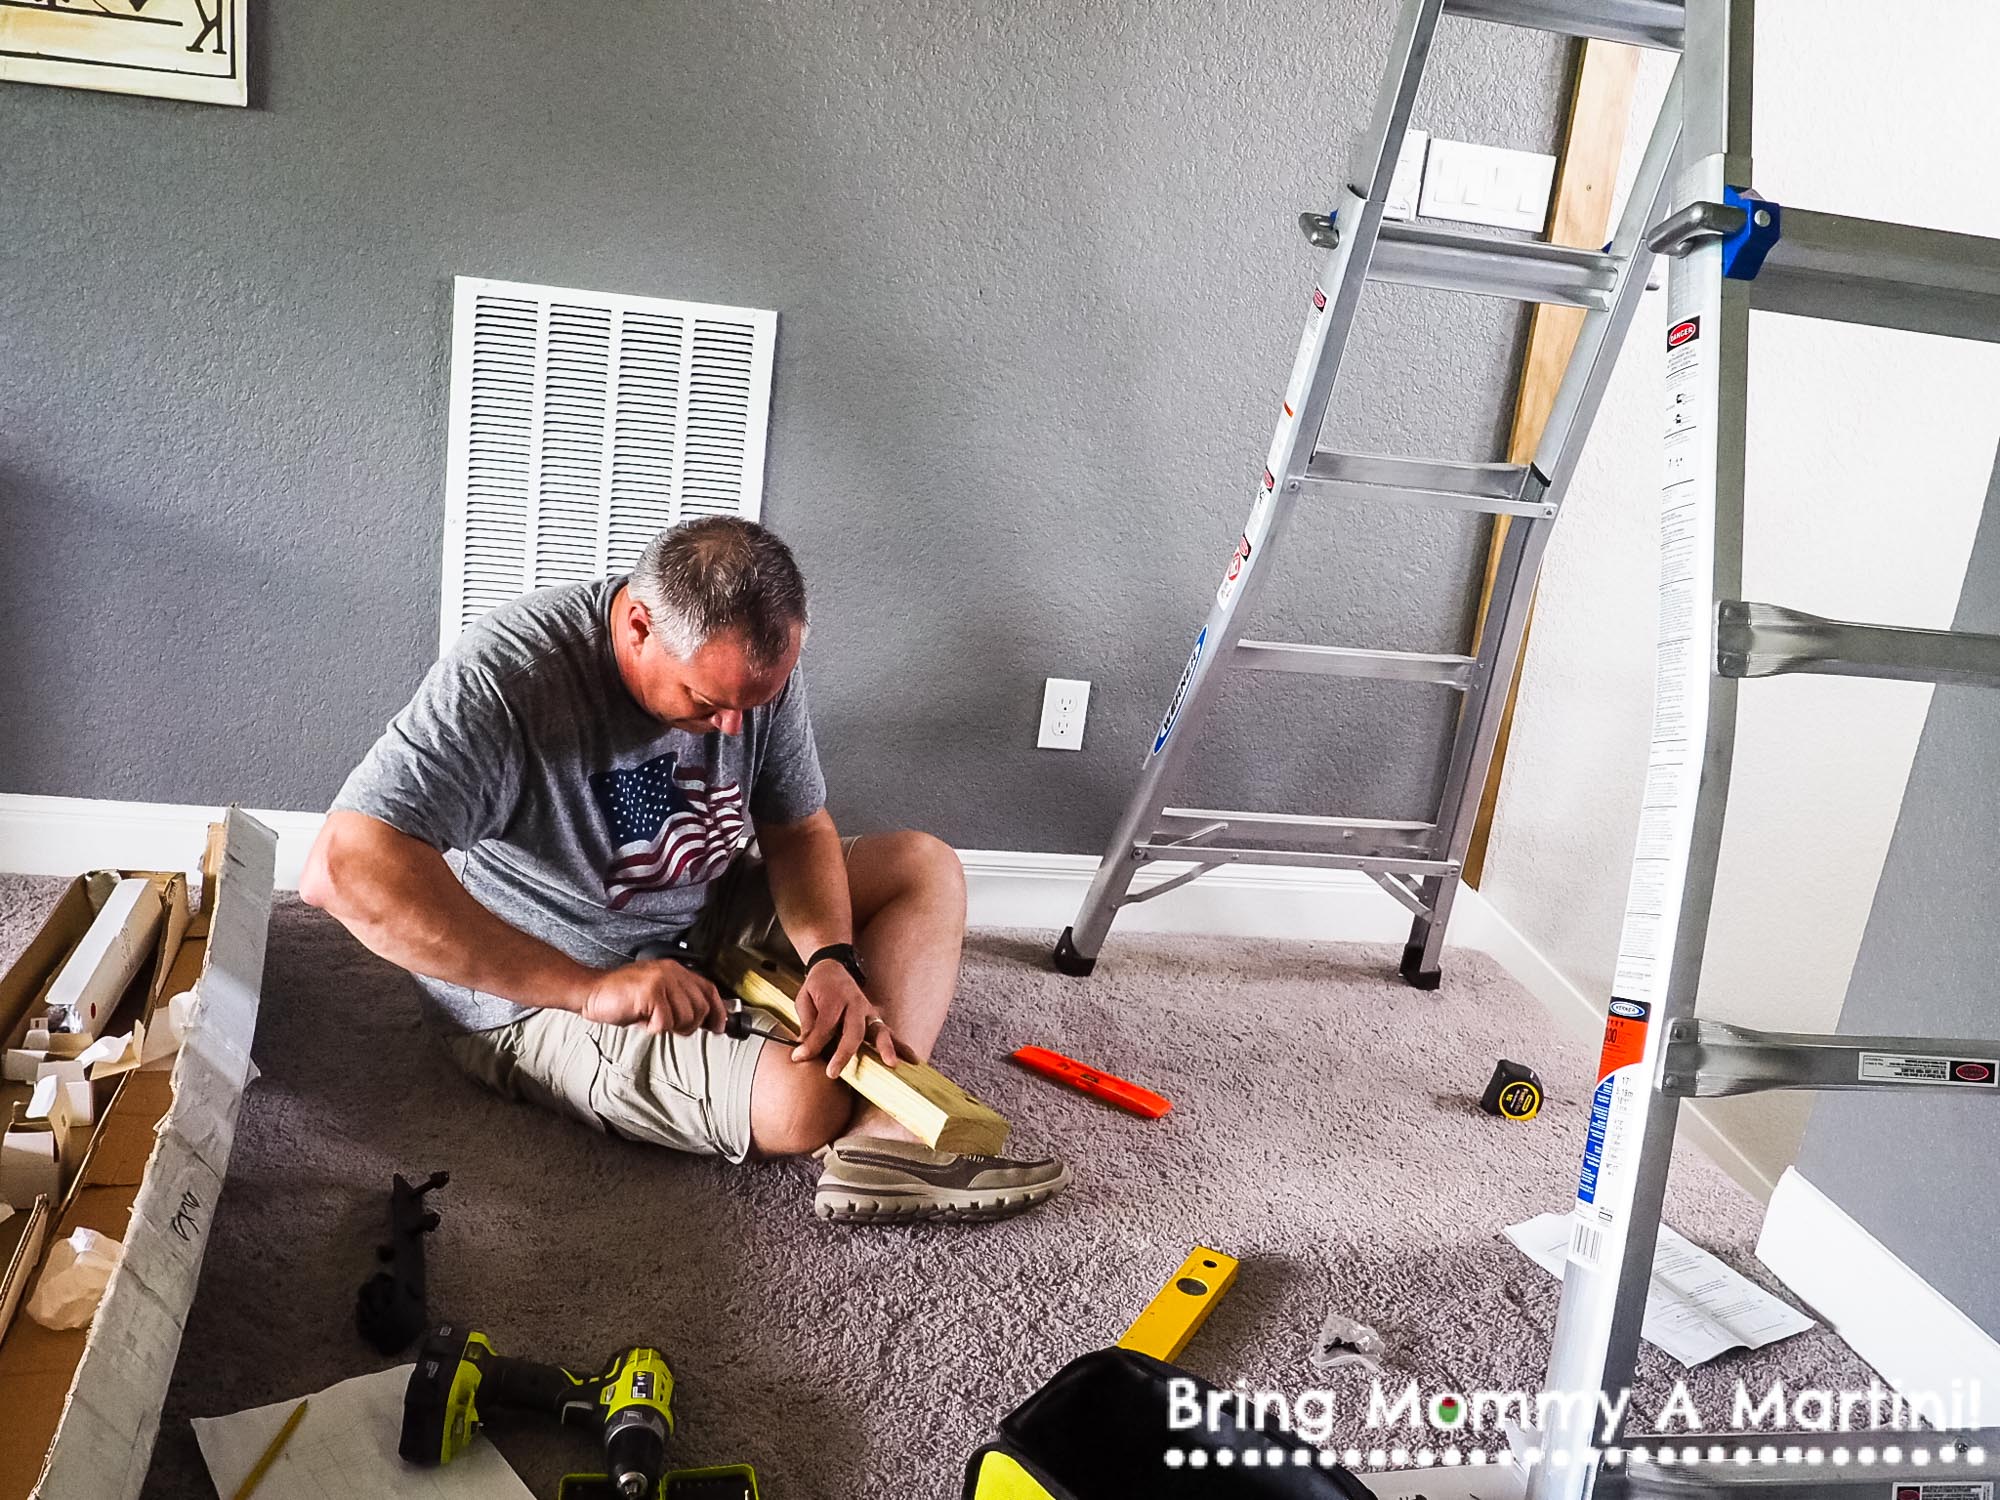
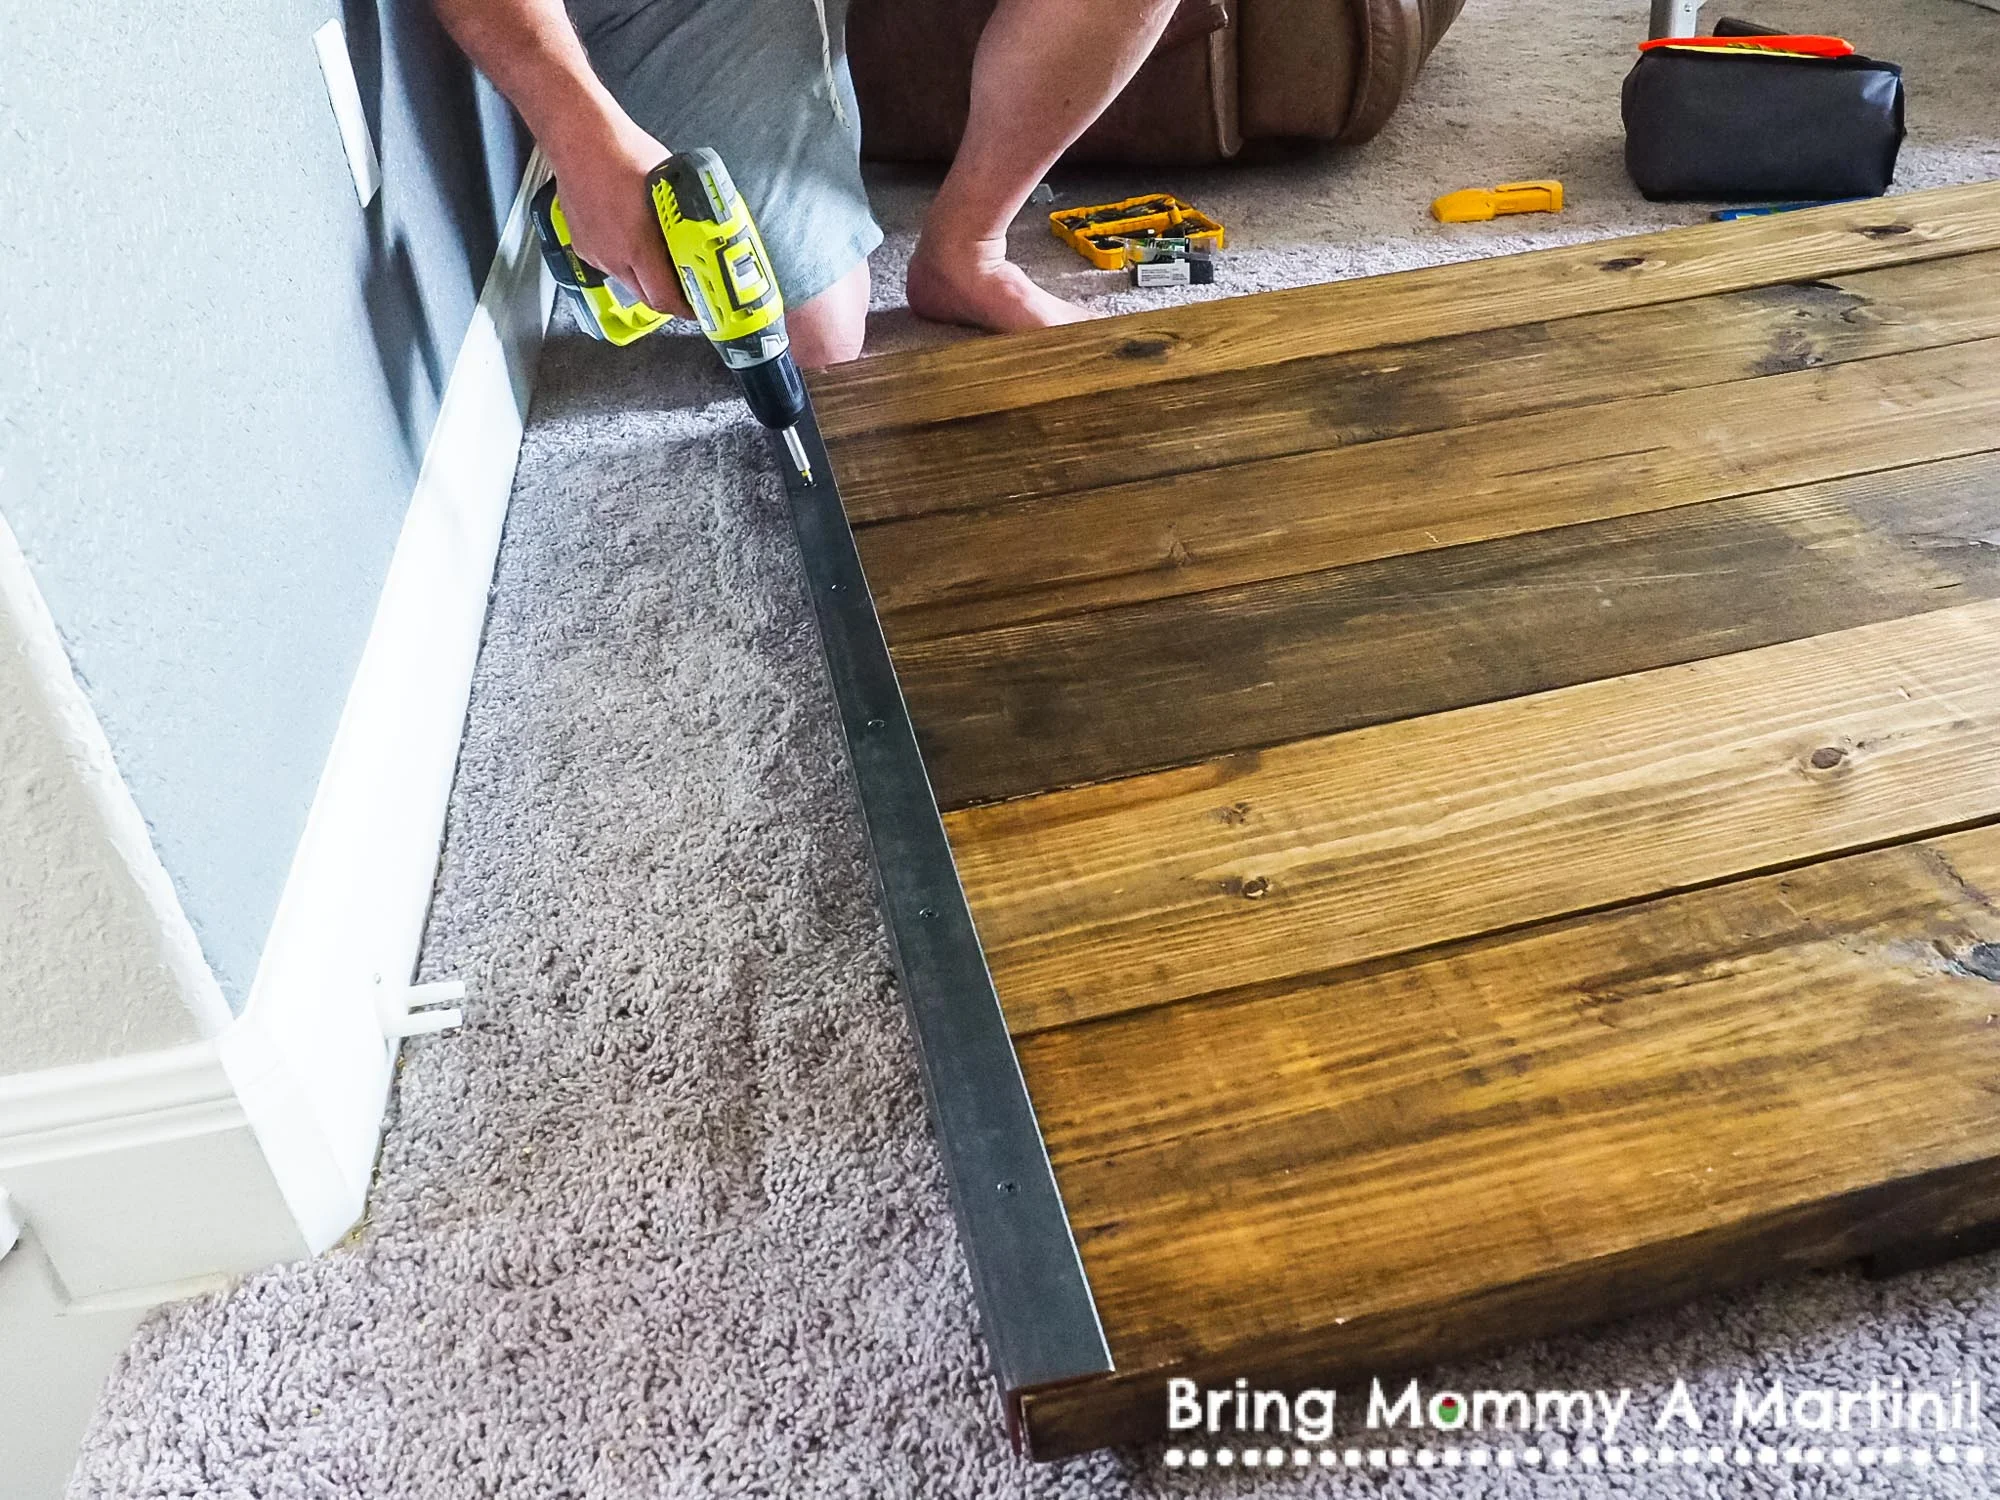
Ack! The tricky part (one of): hanging the track. Tricky because (1) it had to be level, and (2) we wanted to make sure we screwed into studs to hold the weight of the door, but we were getting wonky readings from the stud finder. Mark got anchor bolts (which hold heavy materials in sheetrock) for the parts of the track that lined up where studs weren't located. But he drilled a few of those monster holes and hit wood each time, so we now have a few nickel-sized holes to patch.
This is also when Mark started getting agitated with me because I was taking pictures when he was trying to work some kinks out. "Ok, I'm not doing this," he said at one point, and tossed some of the tools in the floor like a third grade little girl, but he did do it.
We measured from the bottom of the track to the floor, then subtracted an inch and a half, per the hardware instructions. That's how long our board should be cut.
We cut just one board, just in case we didn't like the length.
Mark installed one of the door rollers onto a scrap piece of wood so he could test the soft-close triggers in the rack. The activator pieces have to be installed exactly in the right place, so this test piece helped him figure out how it would all work.
Building The Door
After pulling the hardware off the test piece, we were ready to attach it to our door. Well, our door wasn't assembled, yet. So it was ready to attach to a piece of wood, which would be one of the end pieces of the door.
We did it this way - before building the entire door first - so we could make sure the bottom of the door was the right height from the floor. We wanted to make sure of that before we had the full 150-pound door assembled.
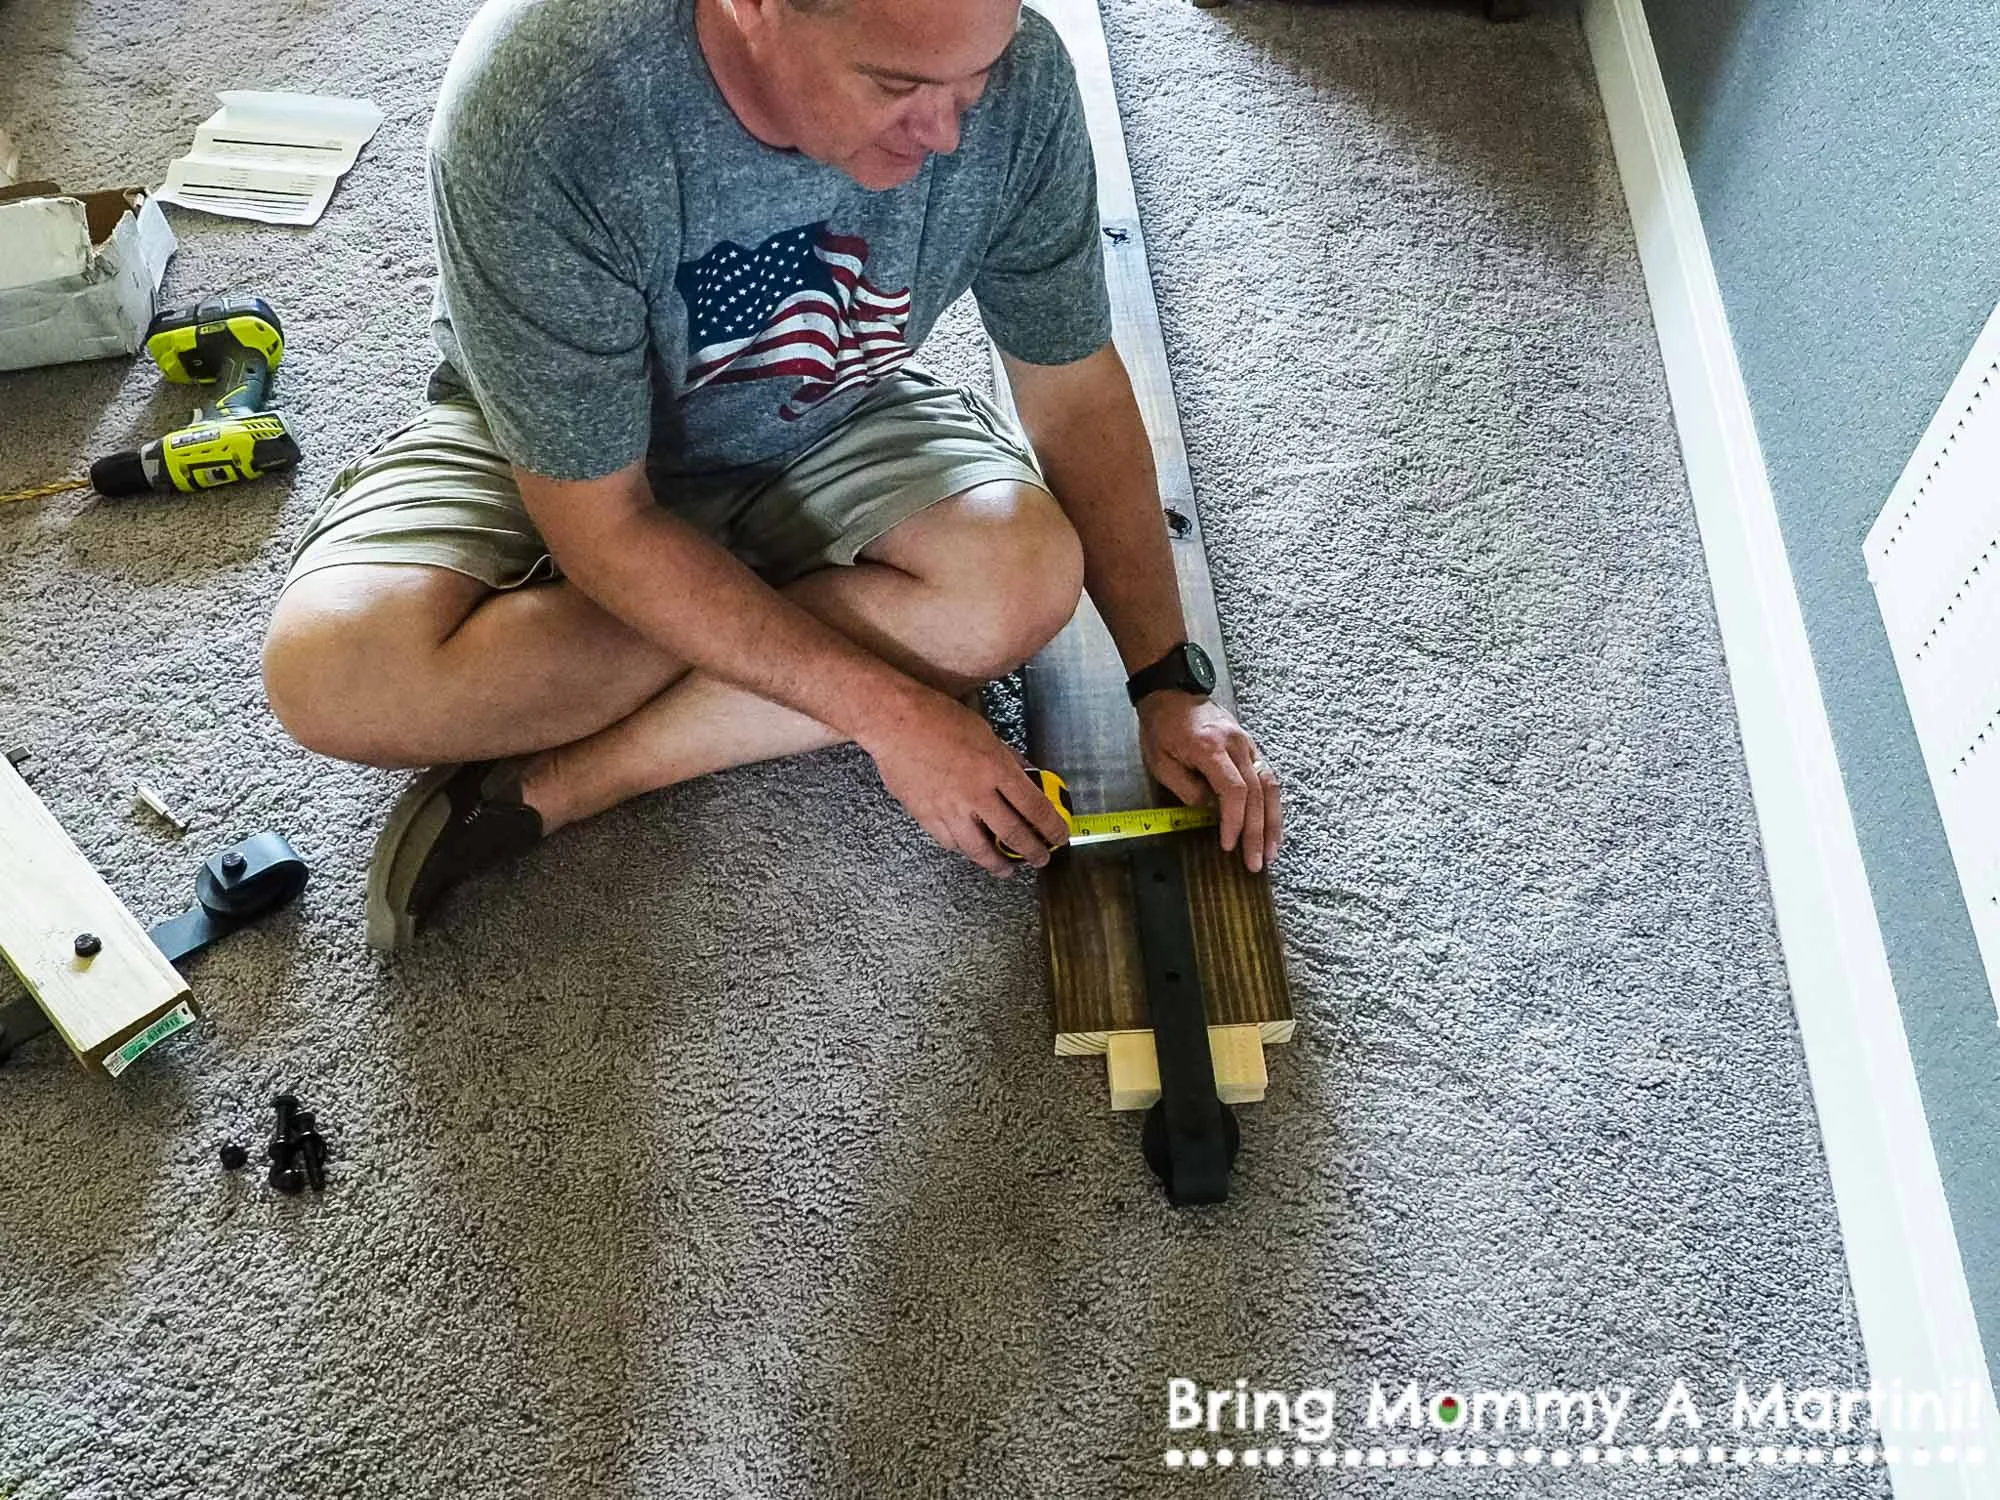
Measuring to get the hardware centered
There's a protector thing under there, don't worry!
Just right: one inch! We felt like it might be too much of a gap, but we measured the gap under a few other doors around our house and they sit an inch up, too, so we left it.

Next, we arranged the wood how we wanted it to look - balancing out dark pieces and light ones. We wanted a few cross pieces, too, and our plan was to use a 7th plank, cut into shorter pieces, but they were way too wide and thick and didn't look right. We went back to Lowe's for a few planks of 1x6" pine to use as our horizontal pieces.
Before I stained the horizontal pieces, I sanded the edges so they weren't so sharp and square. Then I wiped the wood with a cloth to get all the dust off.
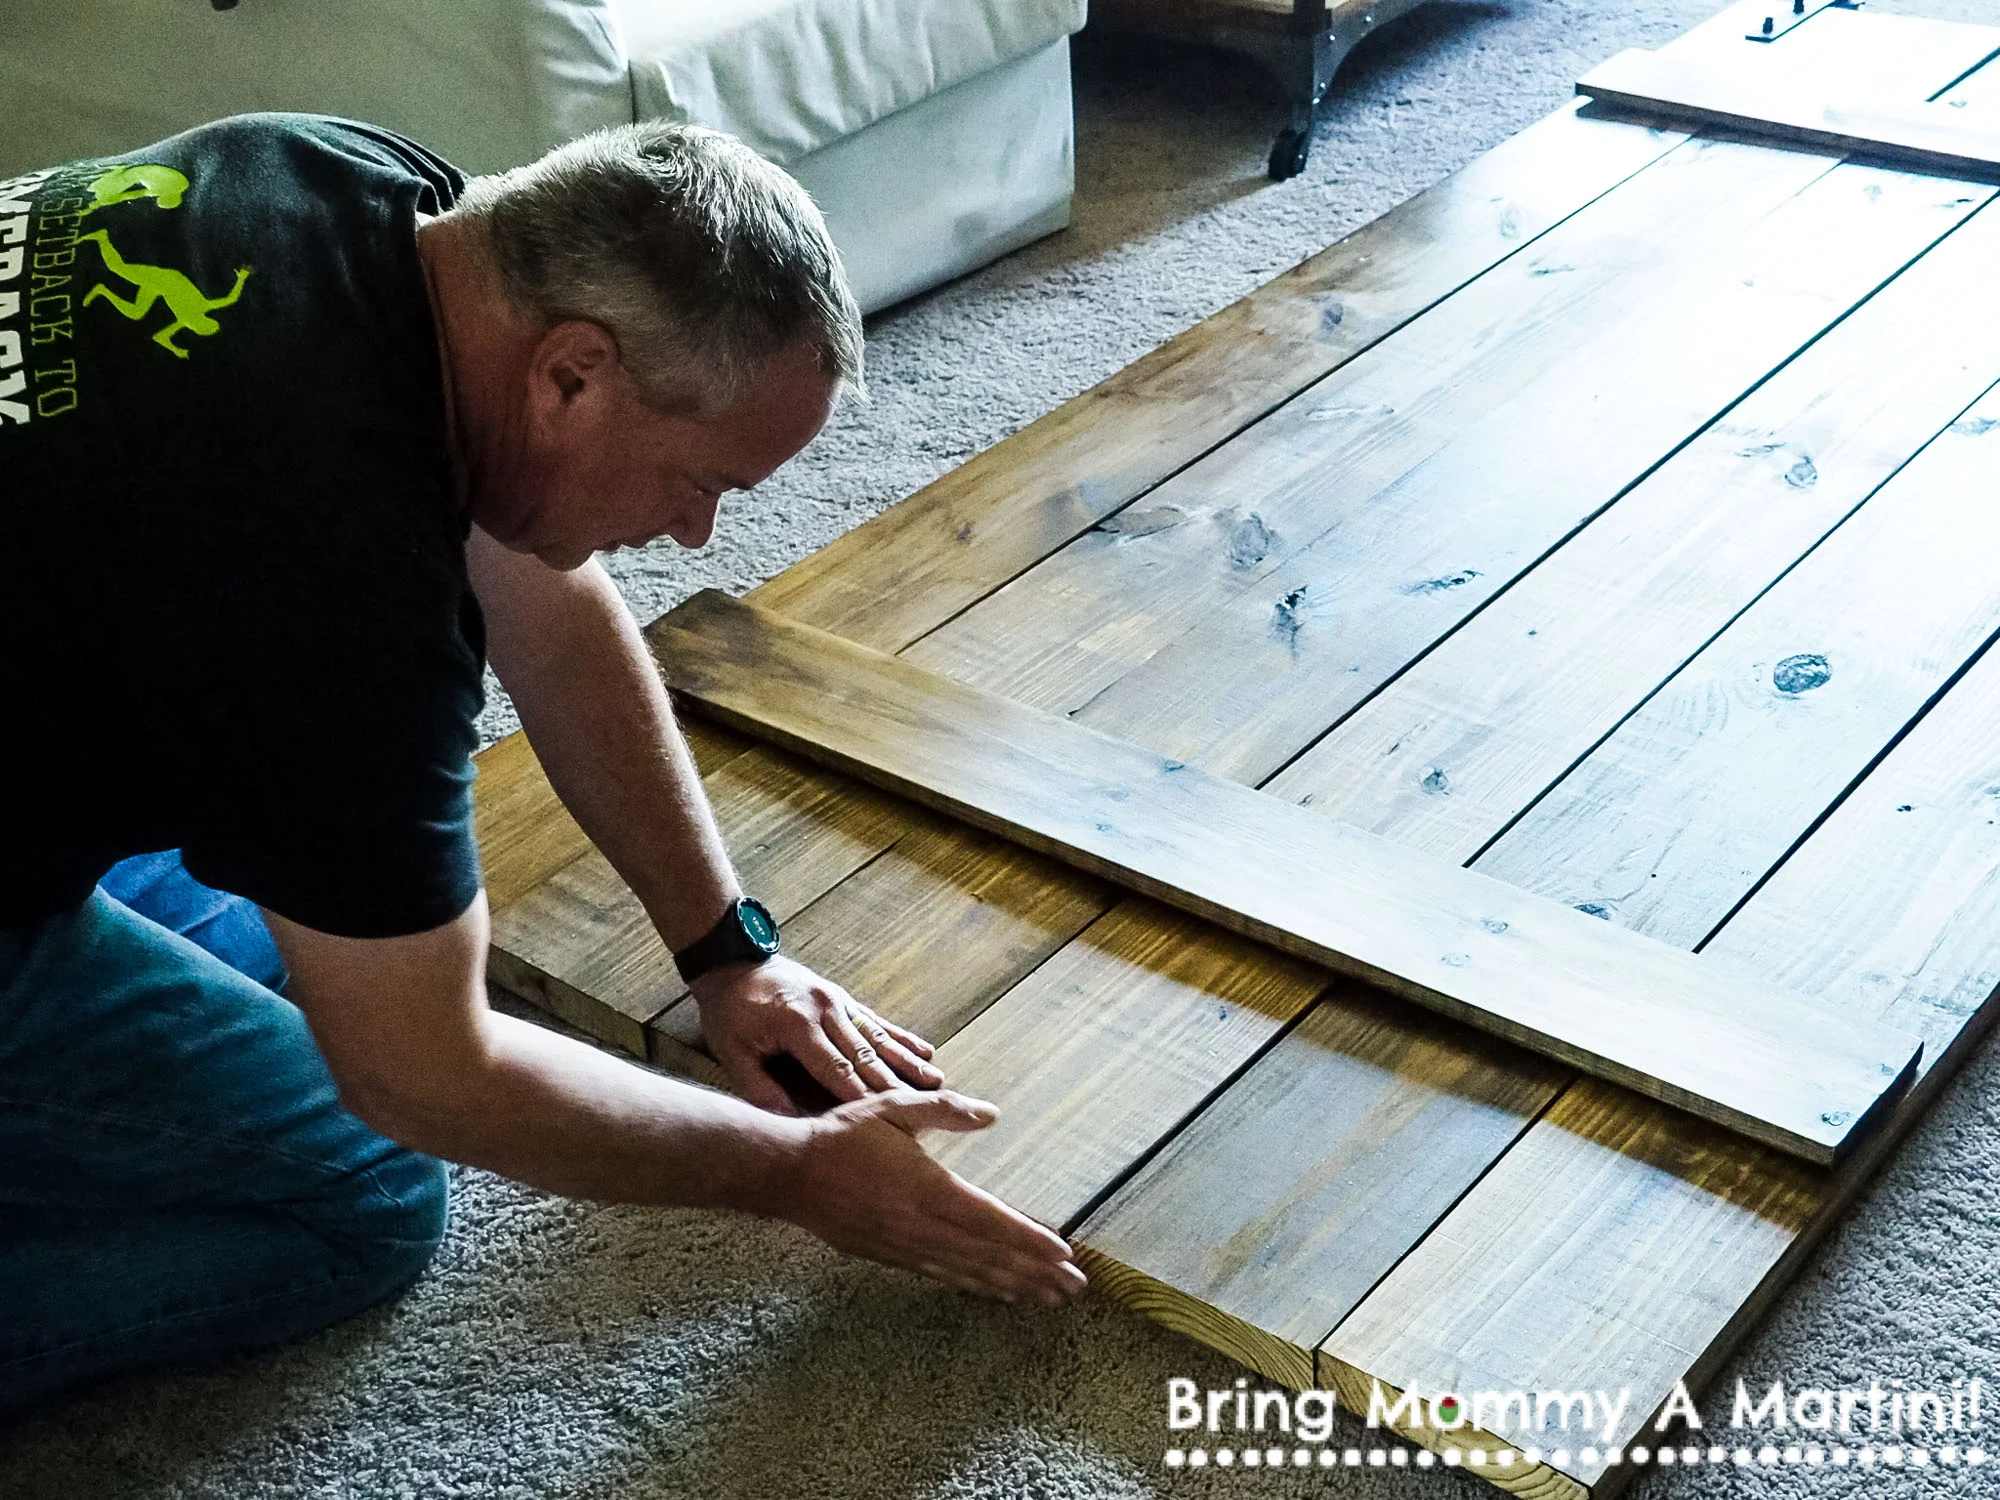
Mark did a great job cutting the boards to the right length, but there was a tiny hair of a difference in length once they were lined up next to each other. We wanted to bottom edges to line up exactly because that's where your eye goes. Any edges that are off at the top won't be noticeable.
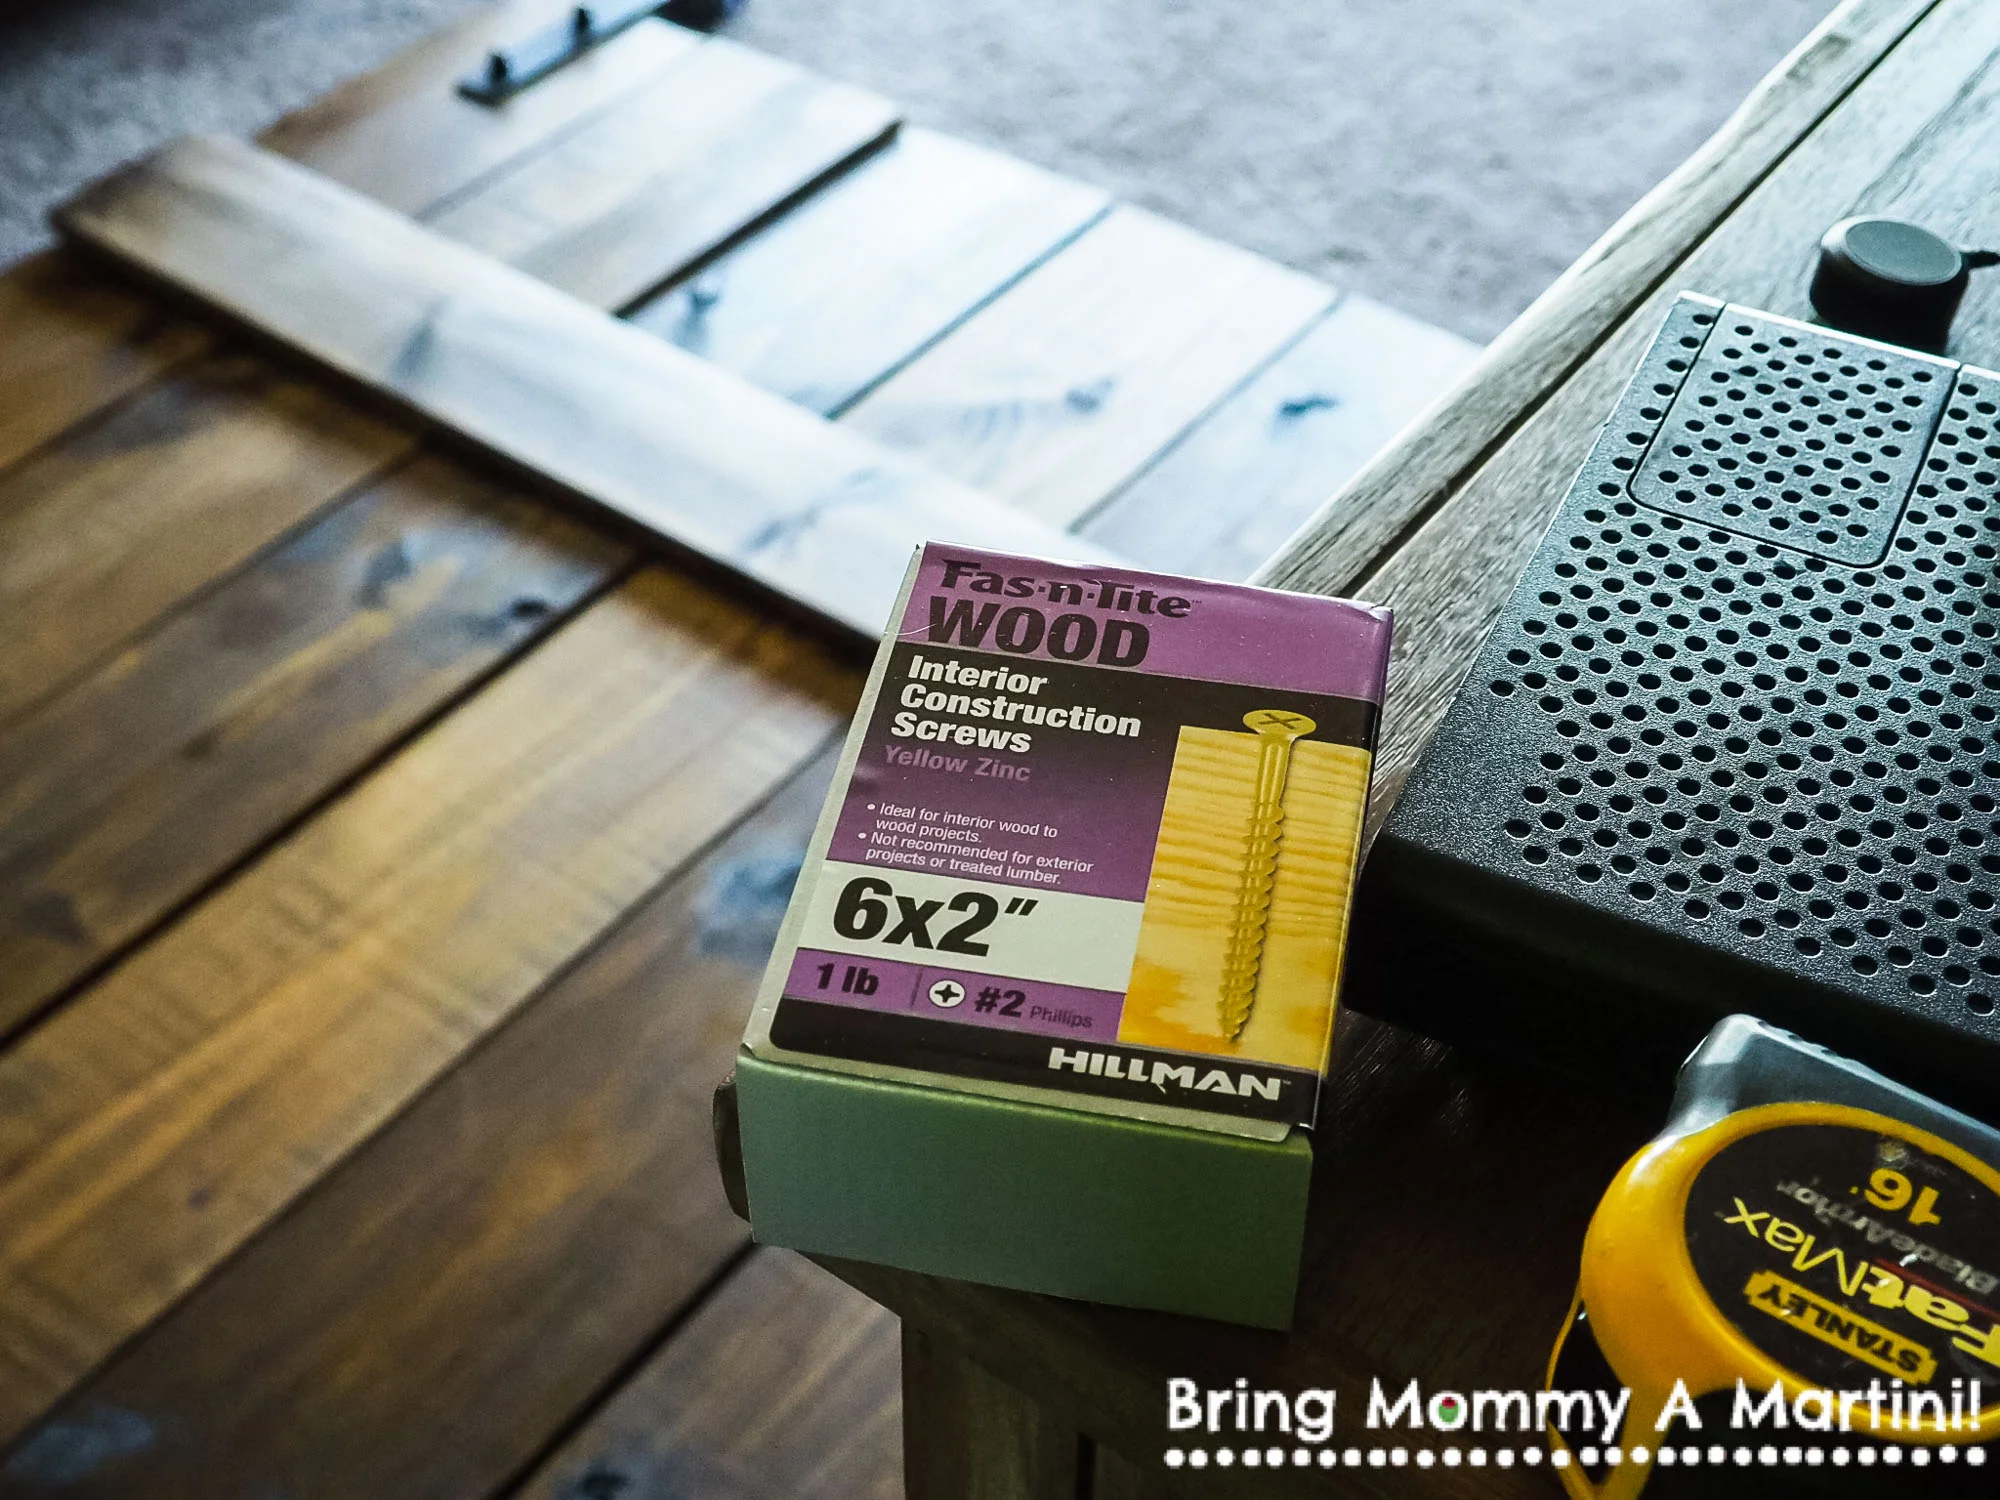
These are the srews we used to install the horizontal pieces. We needed them to be secure because those cross-pieces are holding the whole thing together.
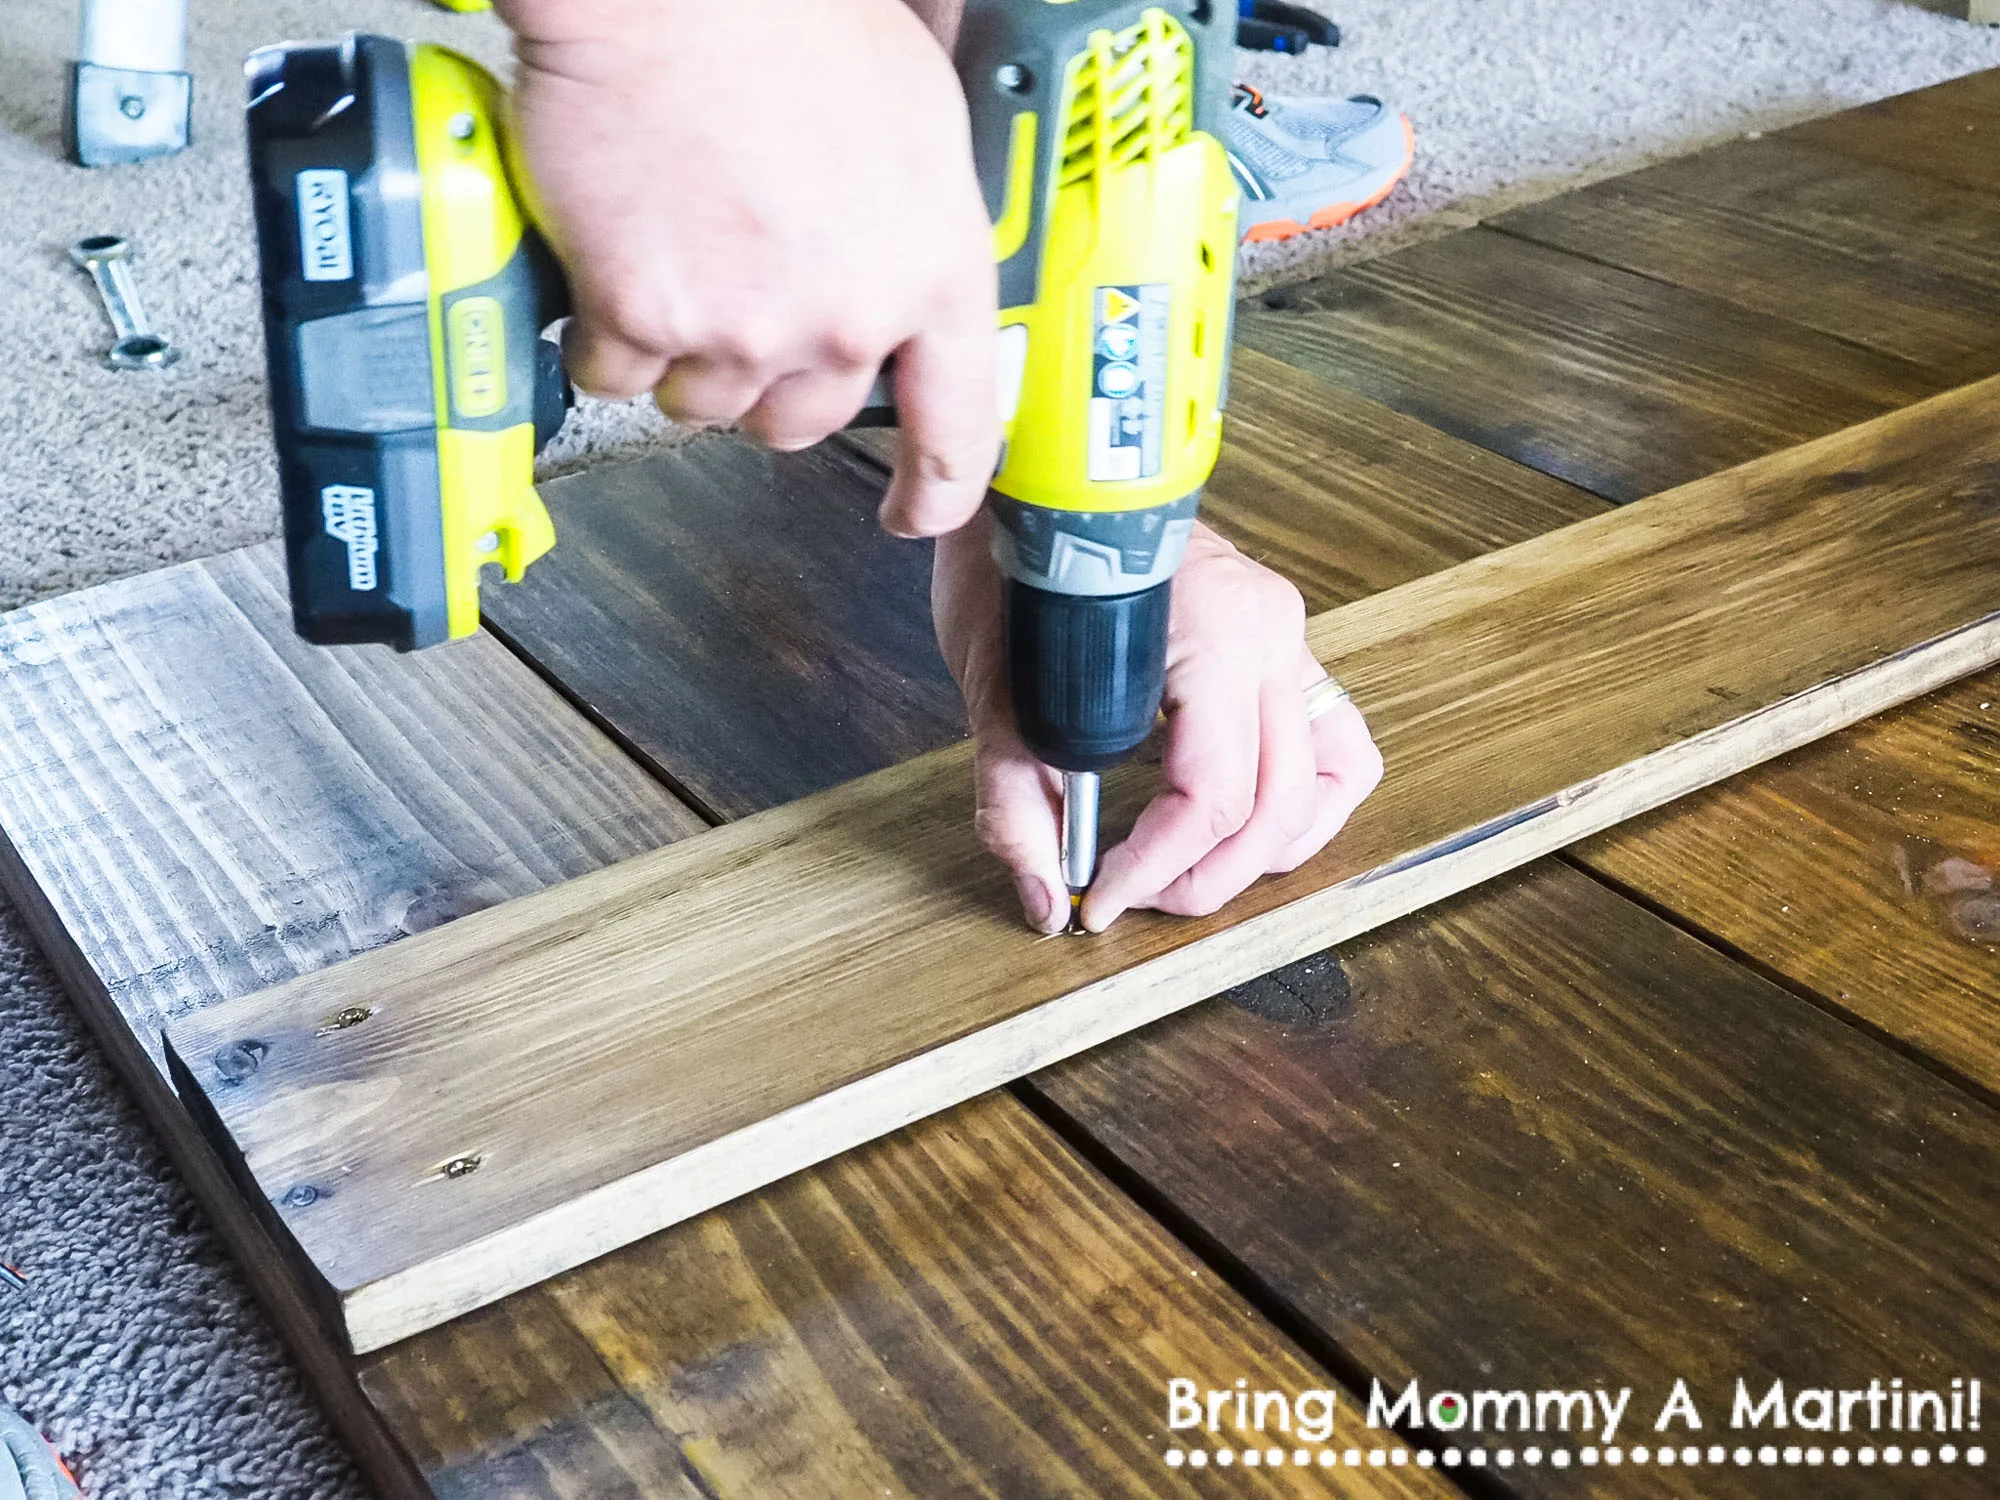
We measured the distance from the bottom of the horizontal board to the bottom of the door at 3 different spots to make sure it's level. Then I held it perfectly still while Mark drilled.
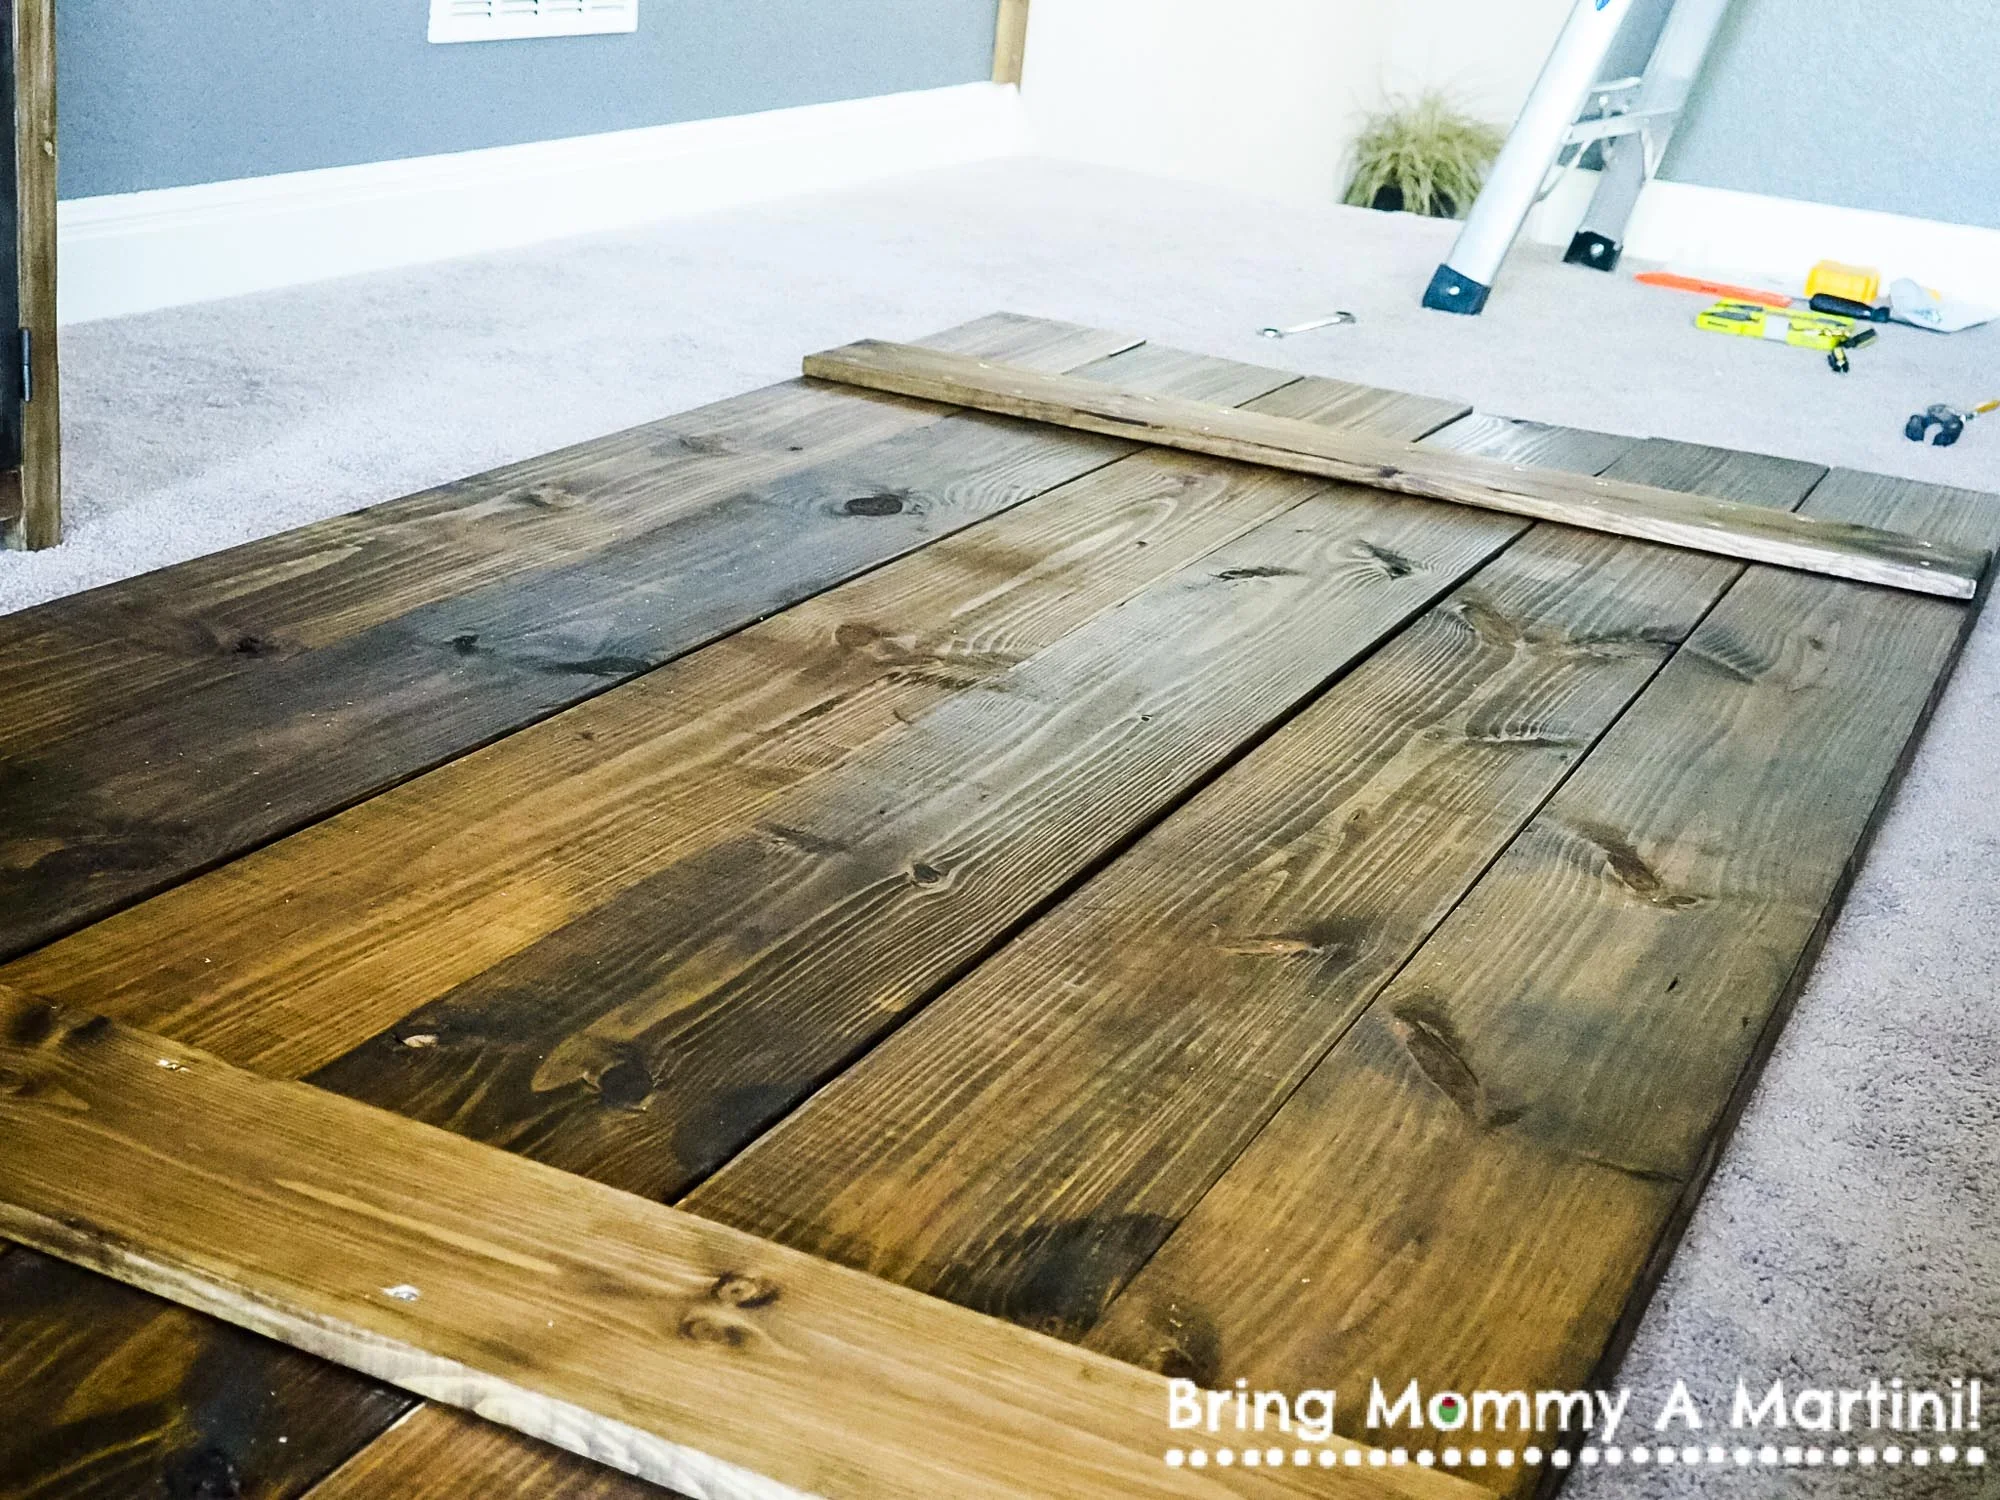
Ok - the door's assembled! See that warped middle piece? See how it bows out? We love that imperfection about it, but it's going to cause some functionality problems....
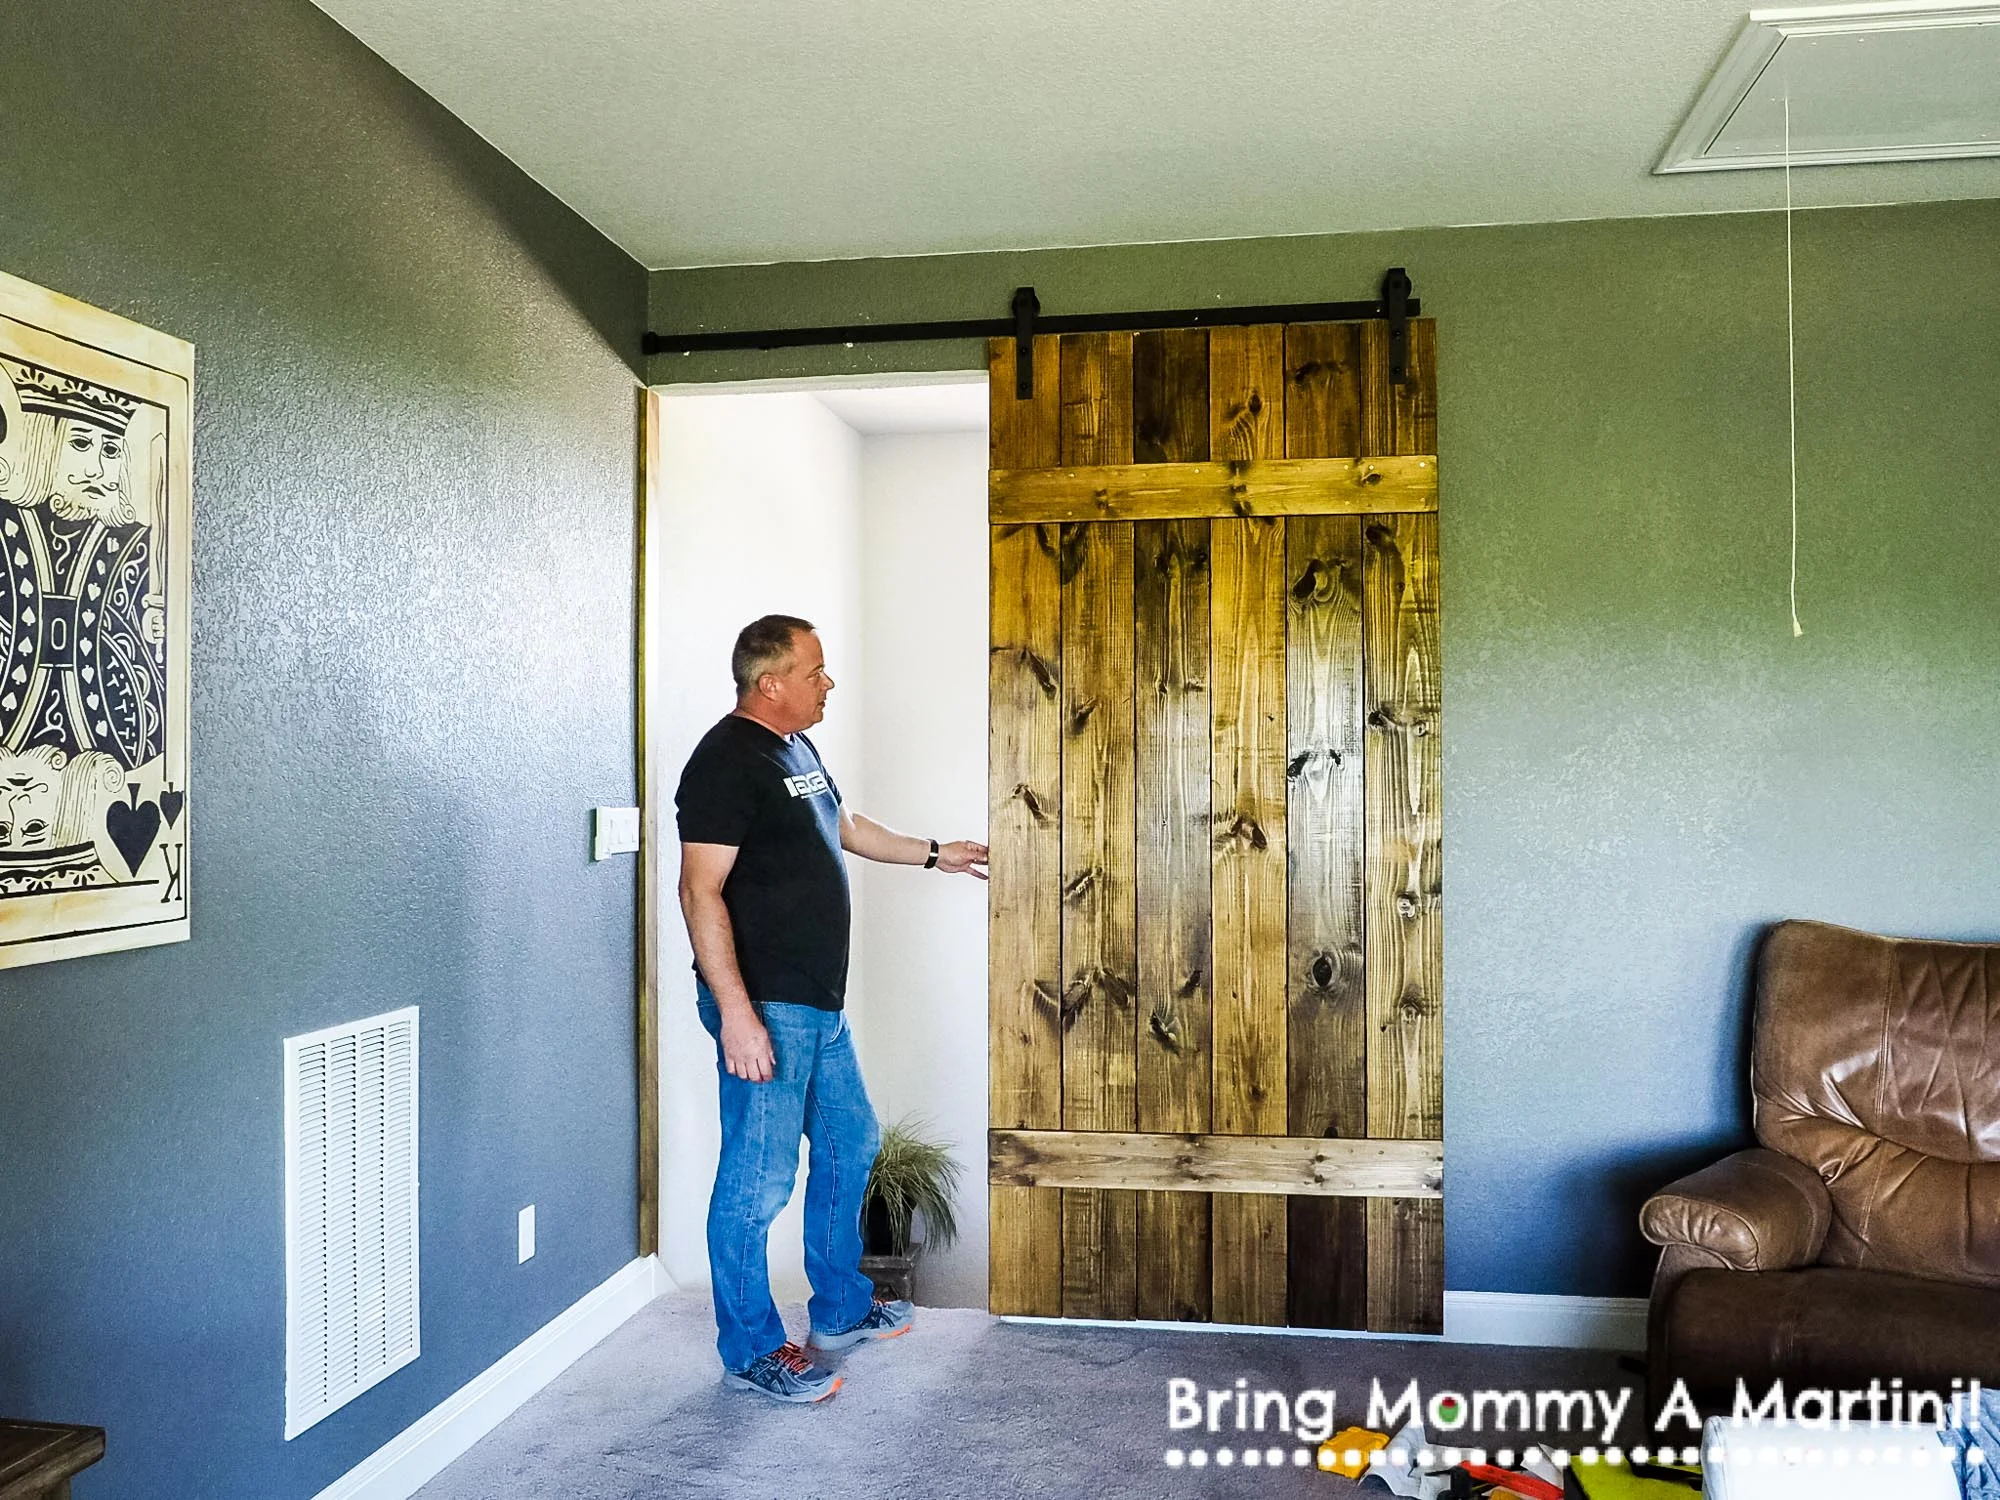
Hung it up to see if it fits (it fits!), see if it rolls (it rolls!), to see where the soft-close actuators need to be affixed, and to install the guide piece at the bottom (to keep the door from swinging out)

Let's talk about this little gadget. It's the guide piece that attaches to the wall's trim-work on one side, and to the outside of the door on the other. This flimsy li'l fella is going to secure the entire door to run in a straight line so that the bottom doesn't swing out. Problem #1: We're not feeling solid on the quality of this guy, so we've ordered a more solid one.
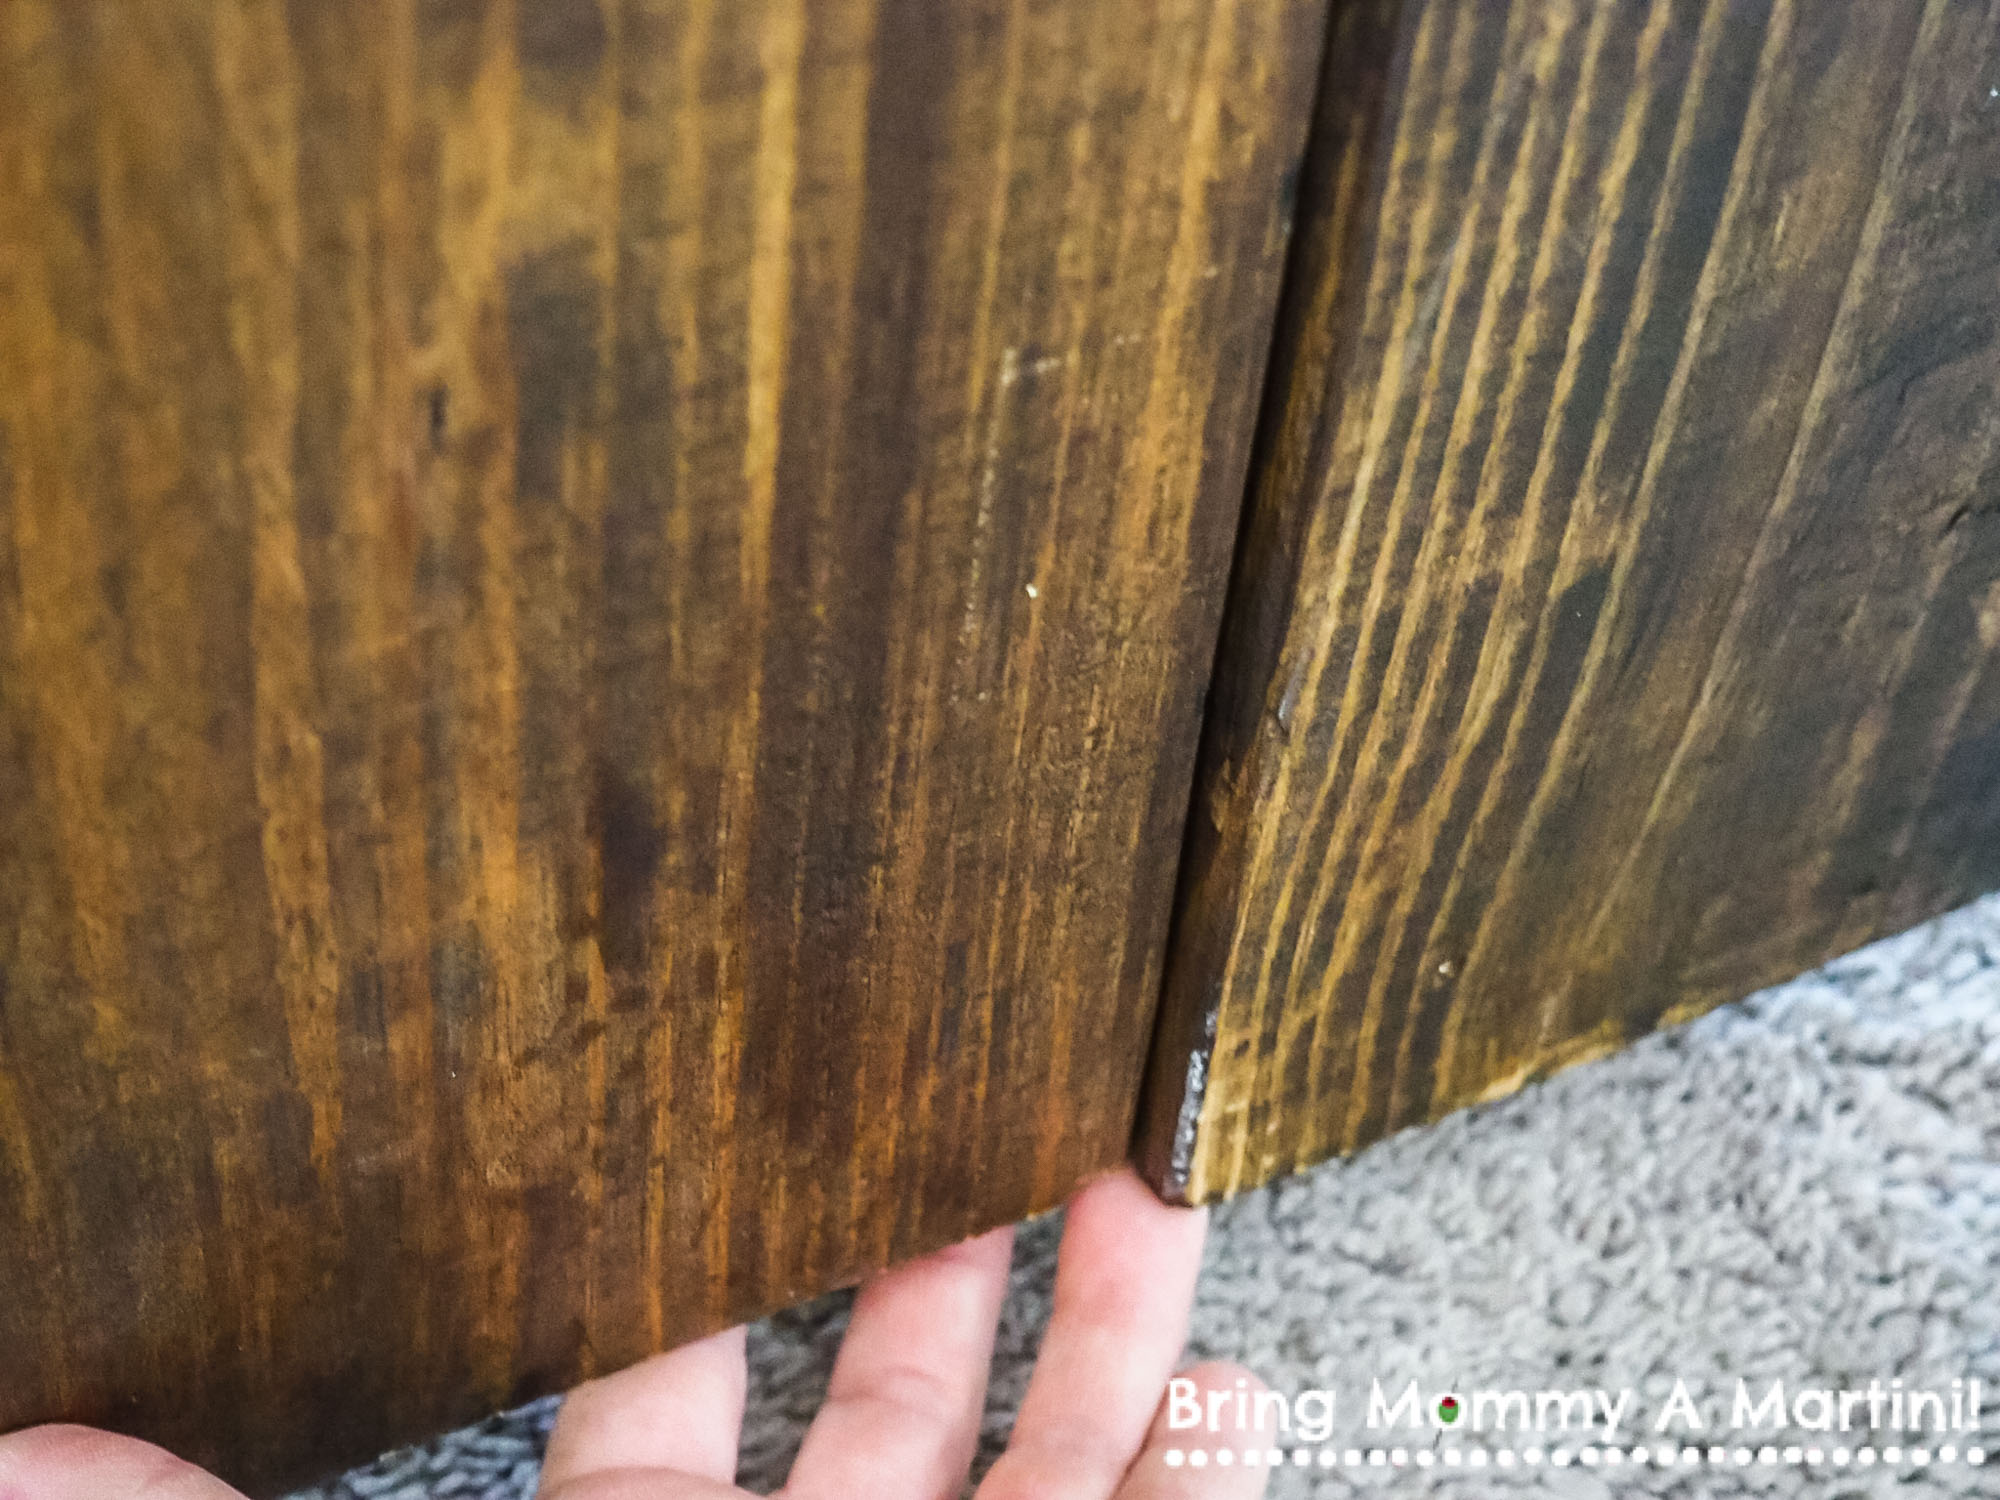
Problem #2: the edge of that warped center plank catches on the guide.
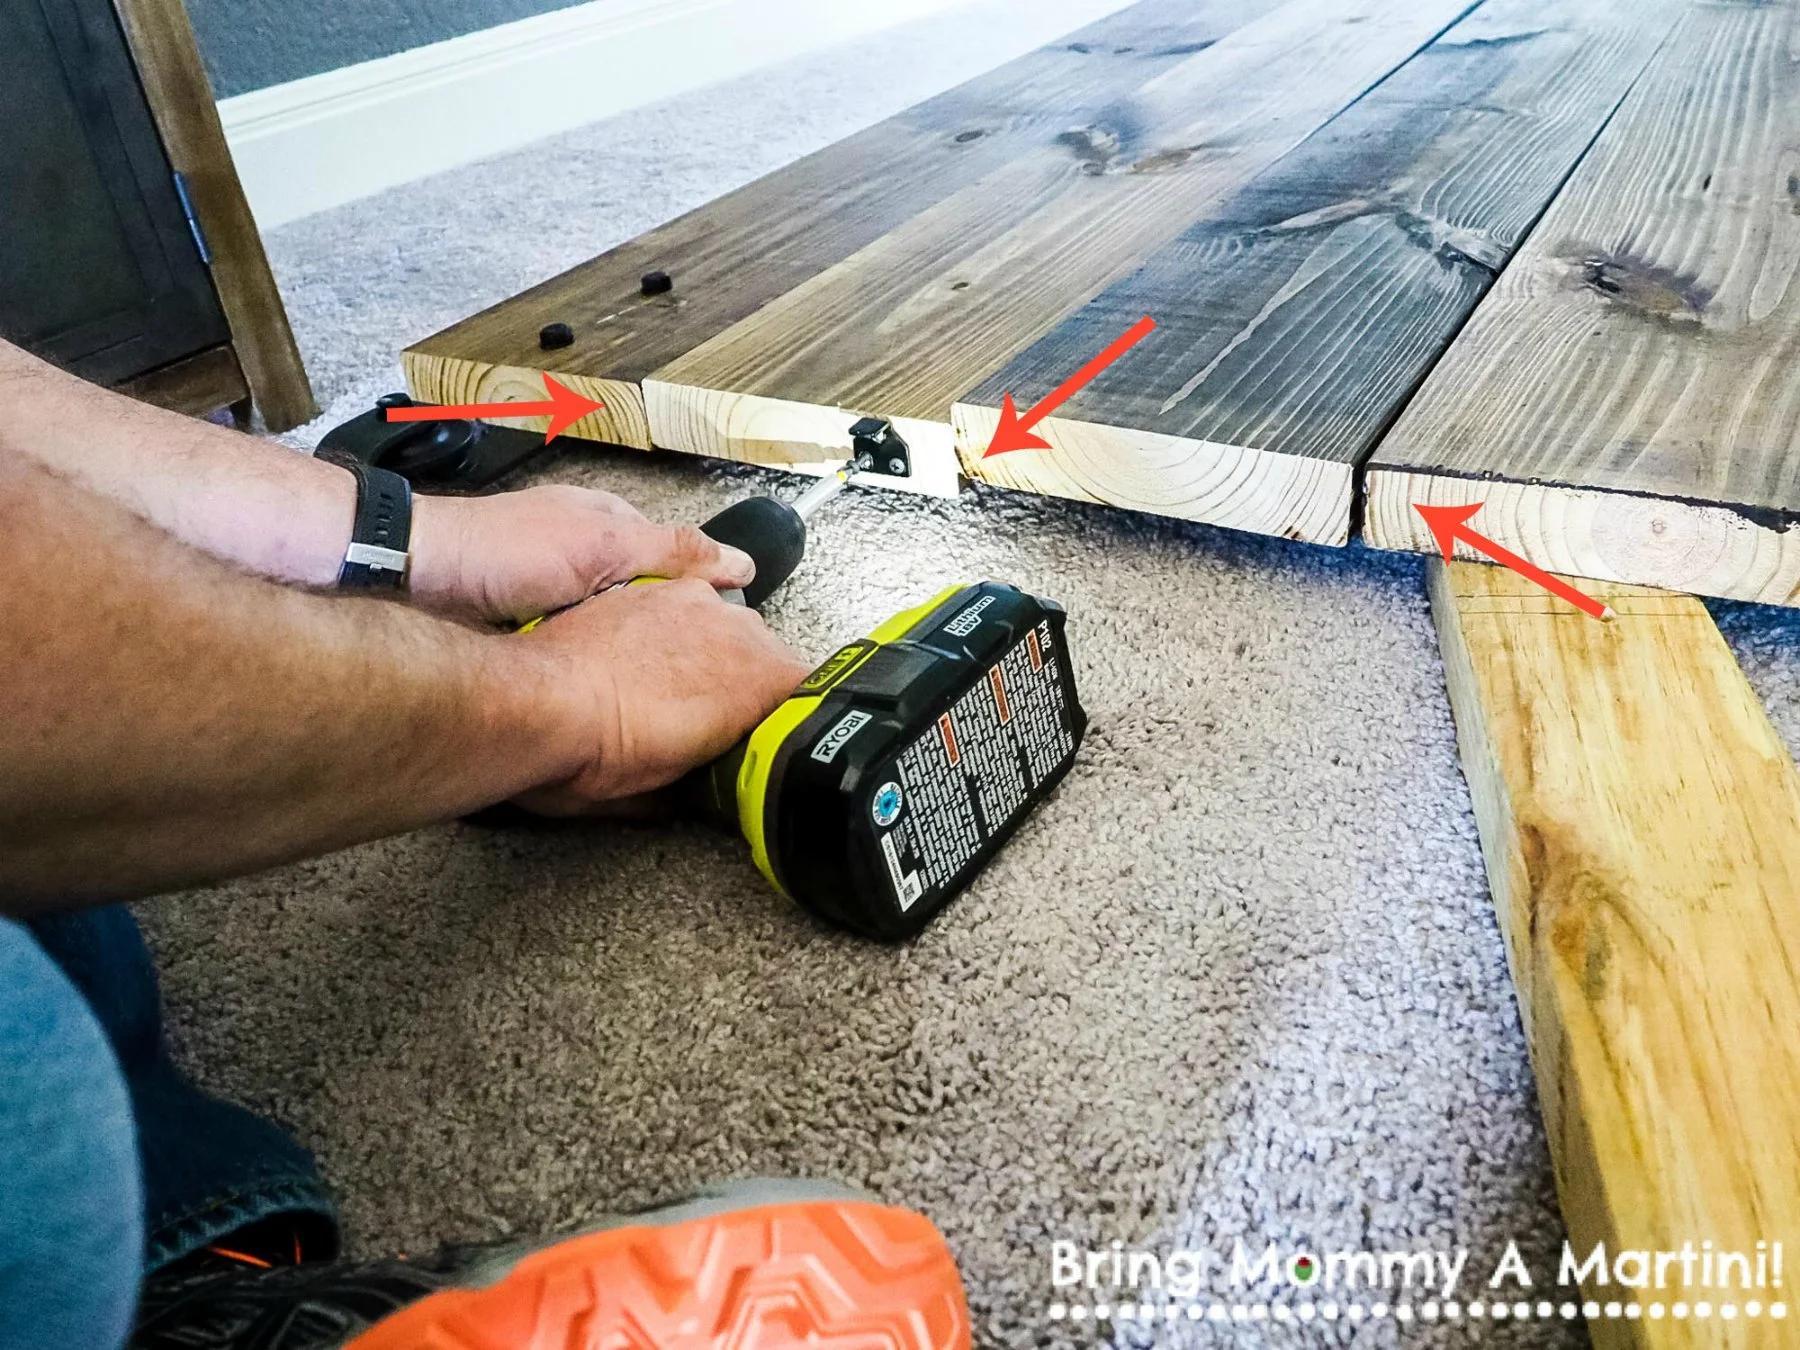
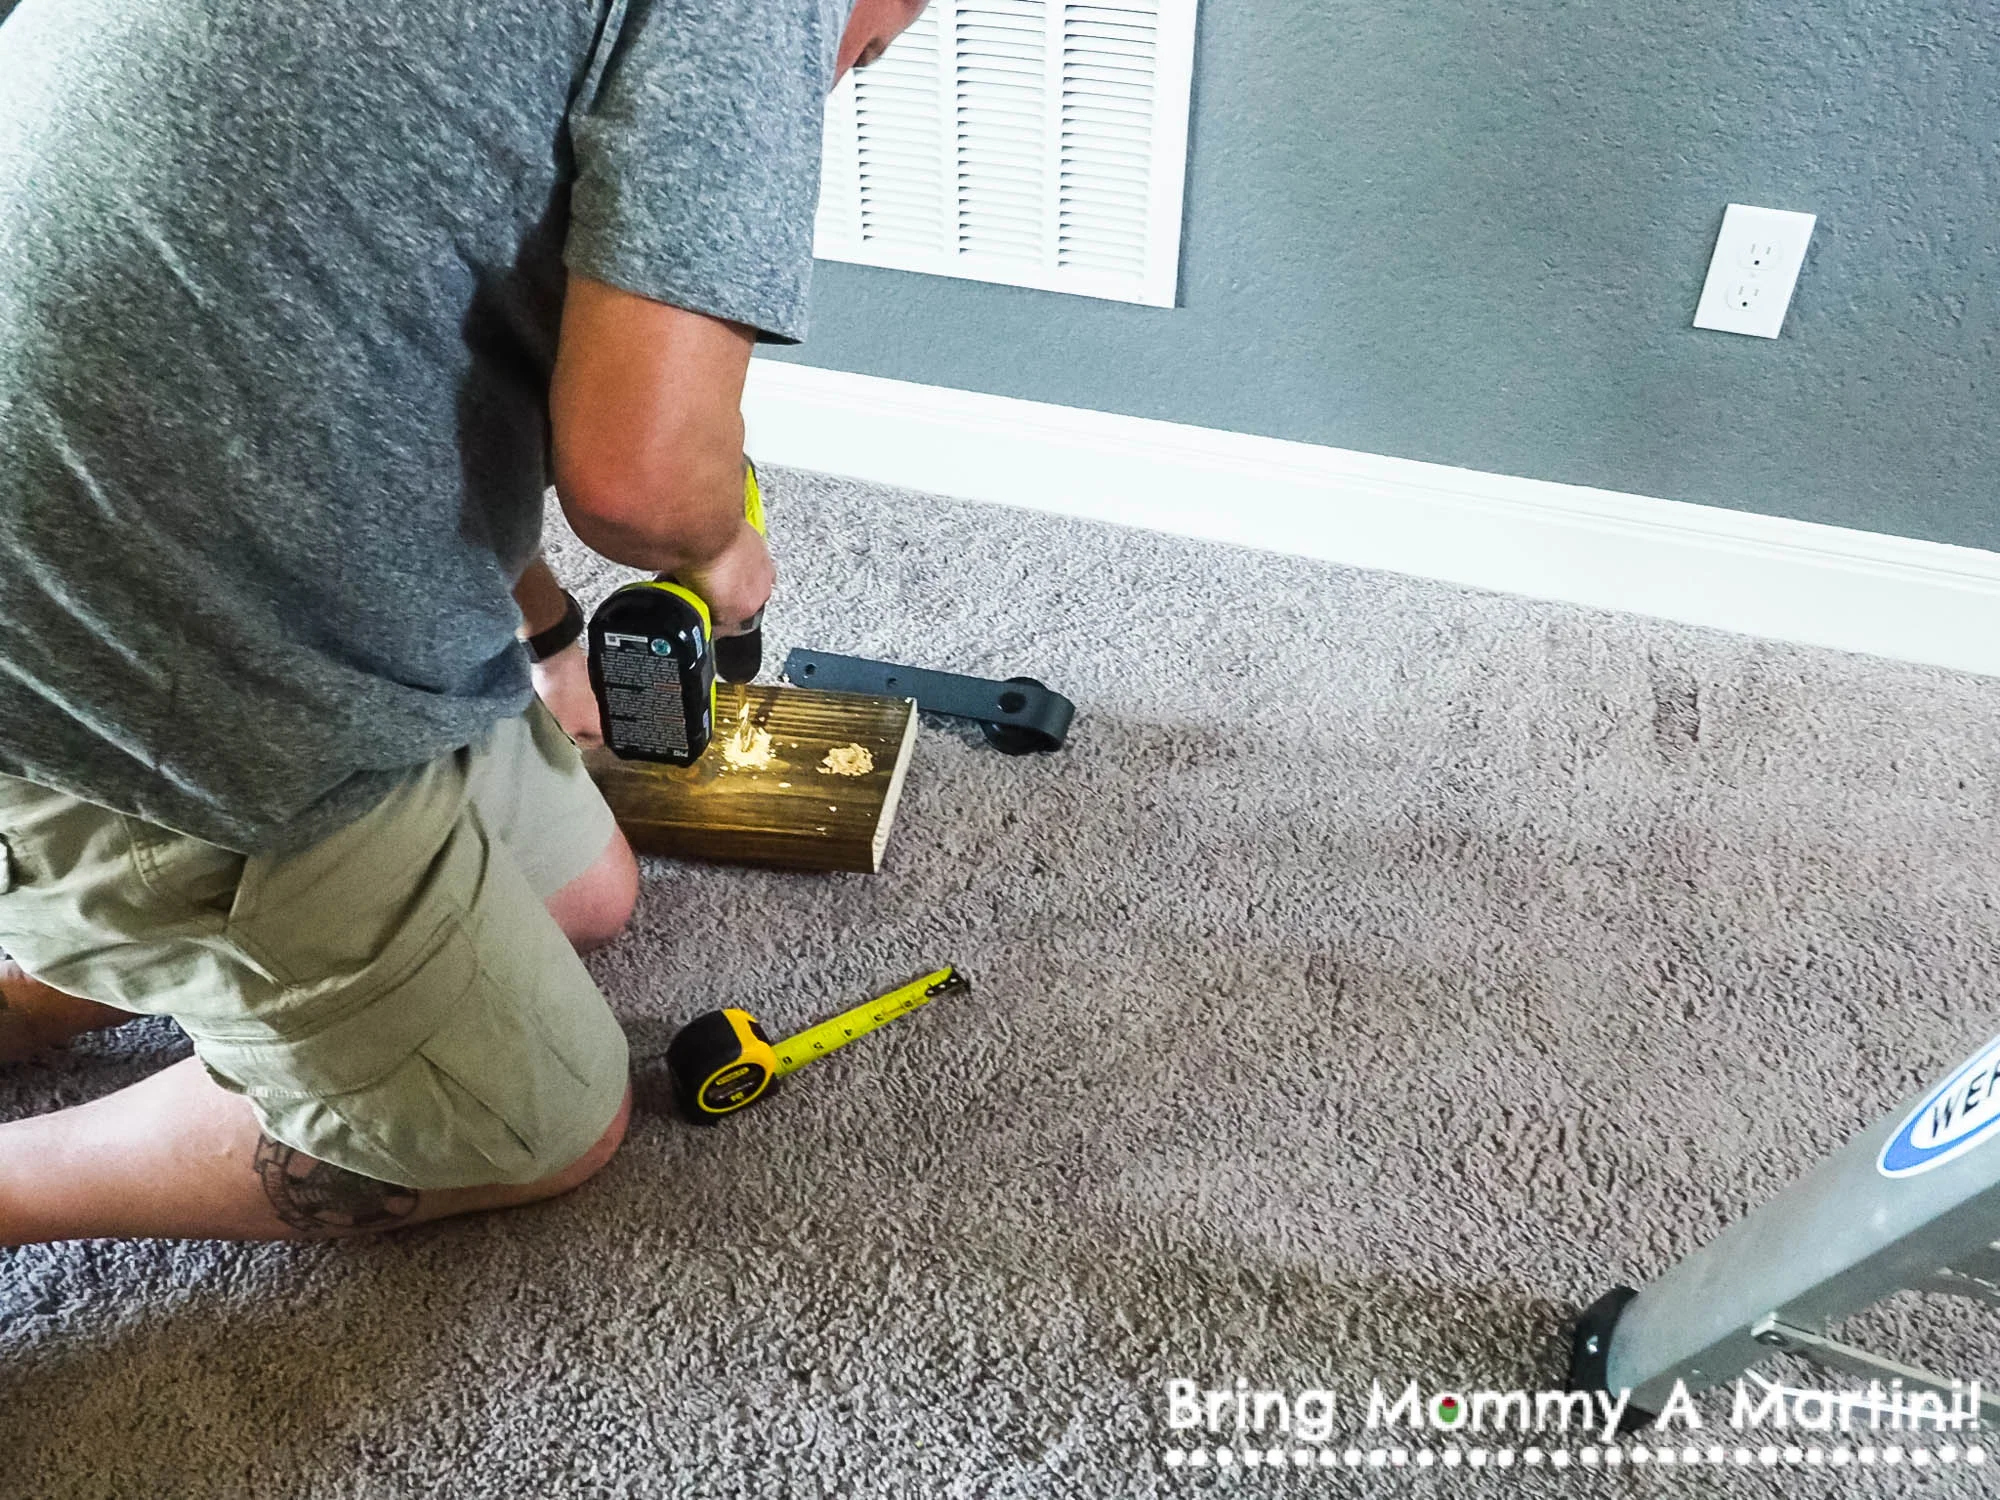
Mark is attaching the soft-close actuator piece here, and here's where we also fixed the edge that was catching at the bottom of the warped plank by screwing 5" wood screws into the bottoms of each plank - at an angle - to pull the bottoms in line with each other. I've put red arrows to show you the placement and angles we screwed those in.
We bought a strip of angle iron at Lowe's to put across the bottom to help give support to the screws we put in at angles, and hopefully help hold the bottom straight. Mark cut it to size, drilled holes into it with a metal drill bit, then used a counter-sink bit to counter-sink the holes so the screws would be flush with the metal.

The help. They're as useless as they appear.

All done (except patching and painting the holes below the rail) - we love the way it turned out!
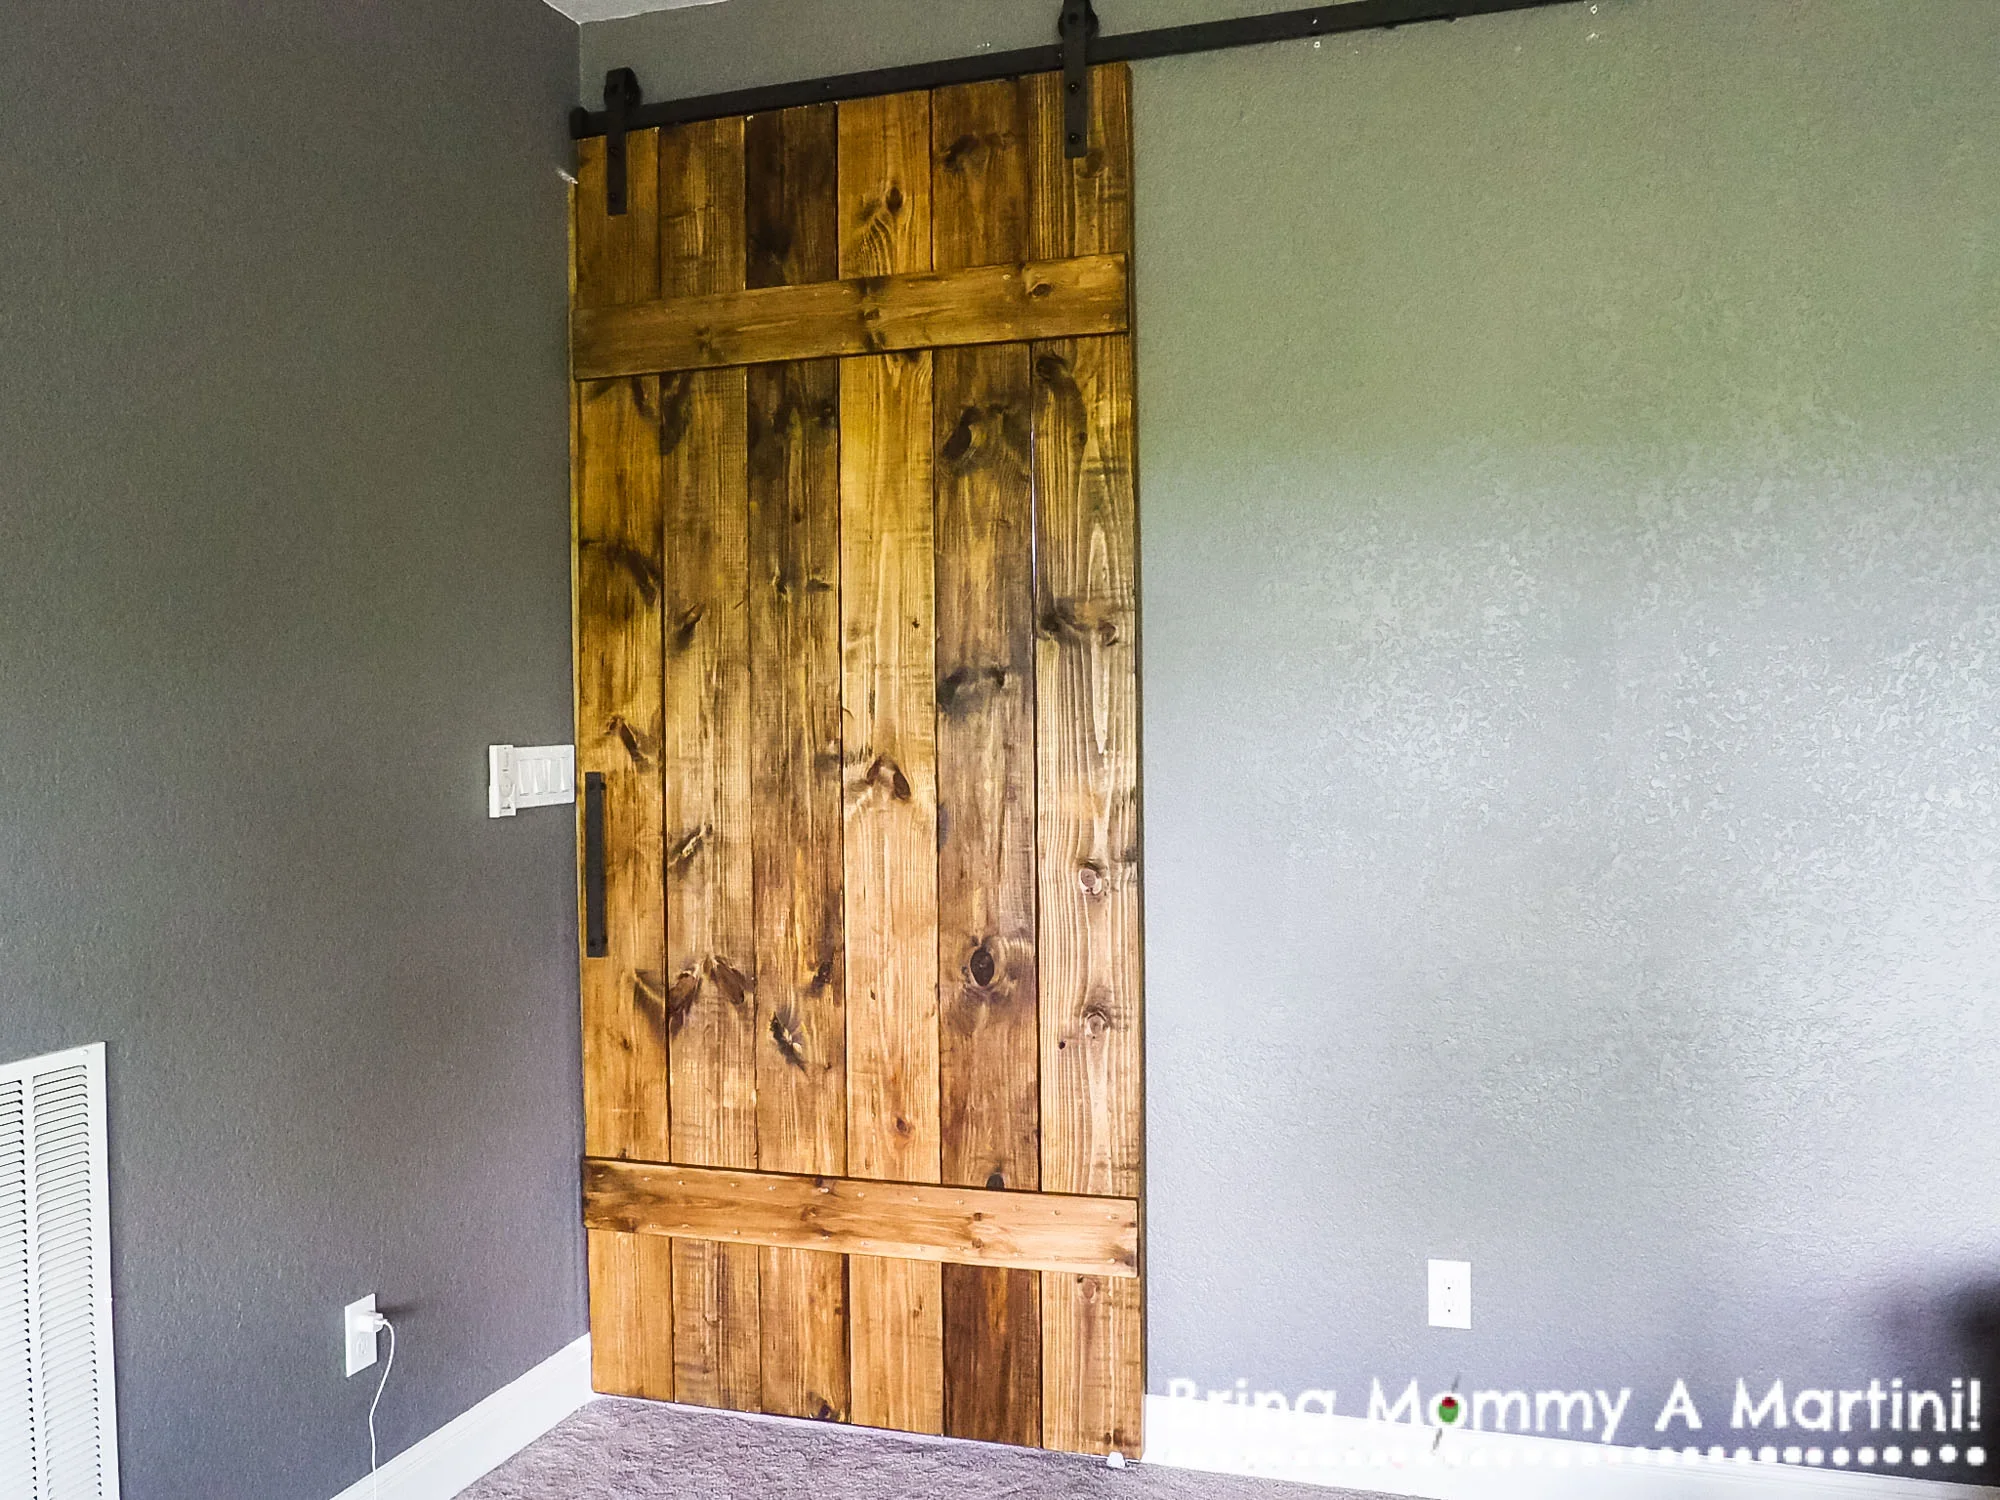
Here it is, closed.
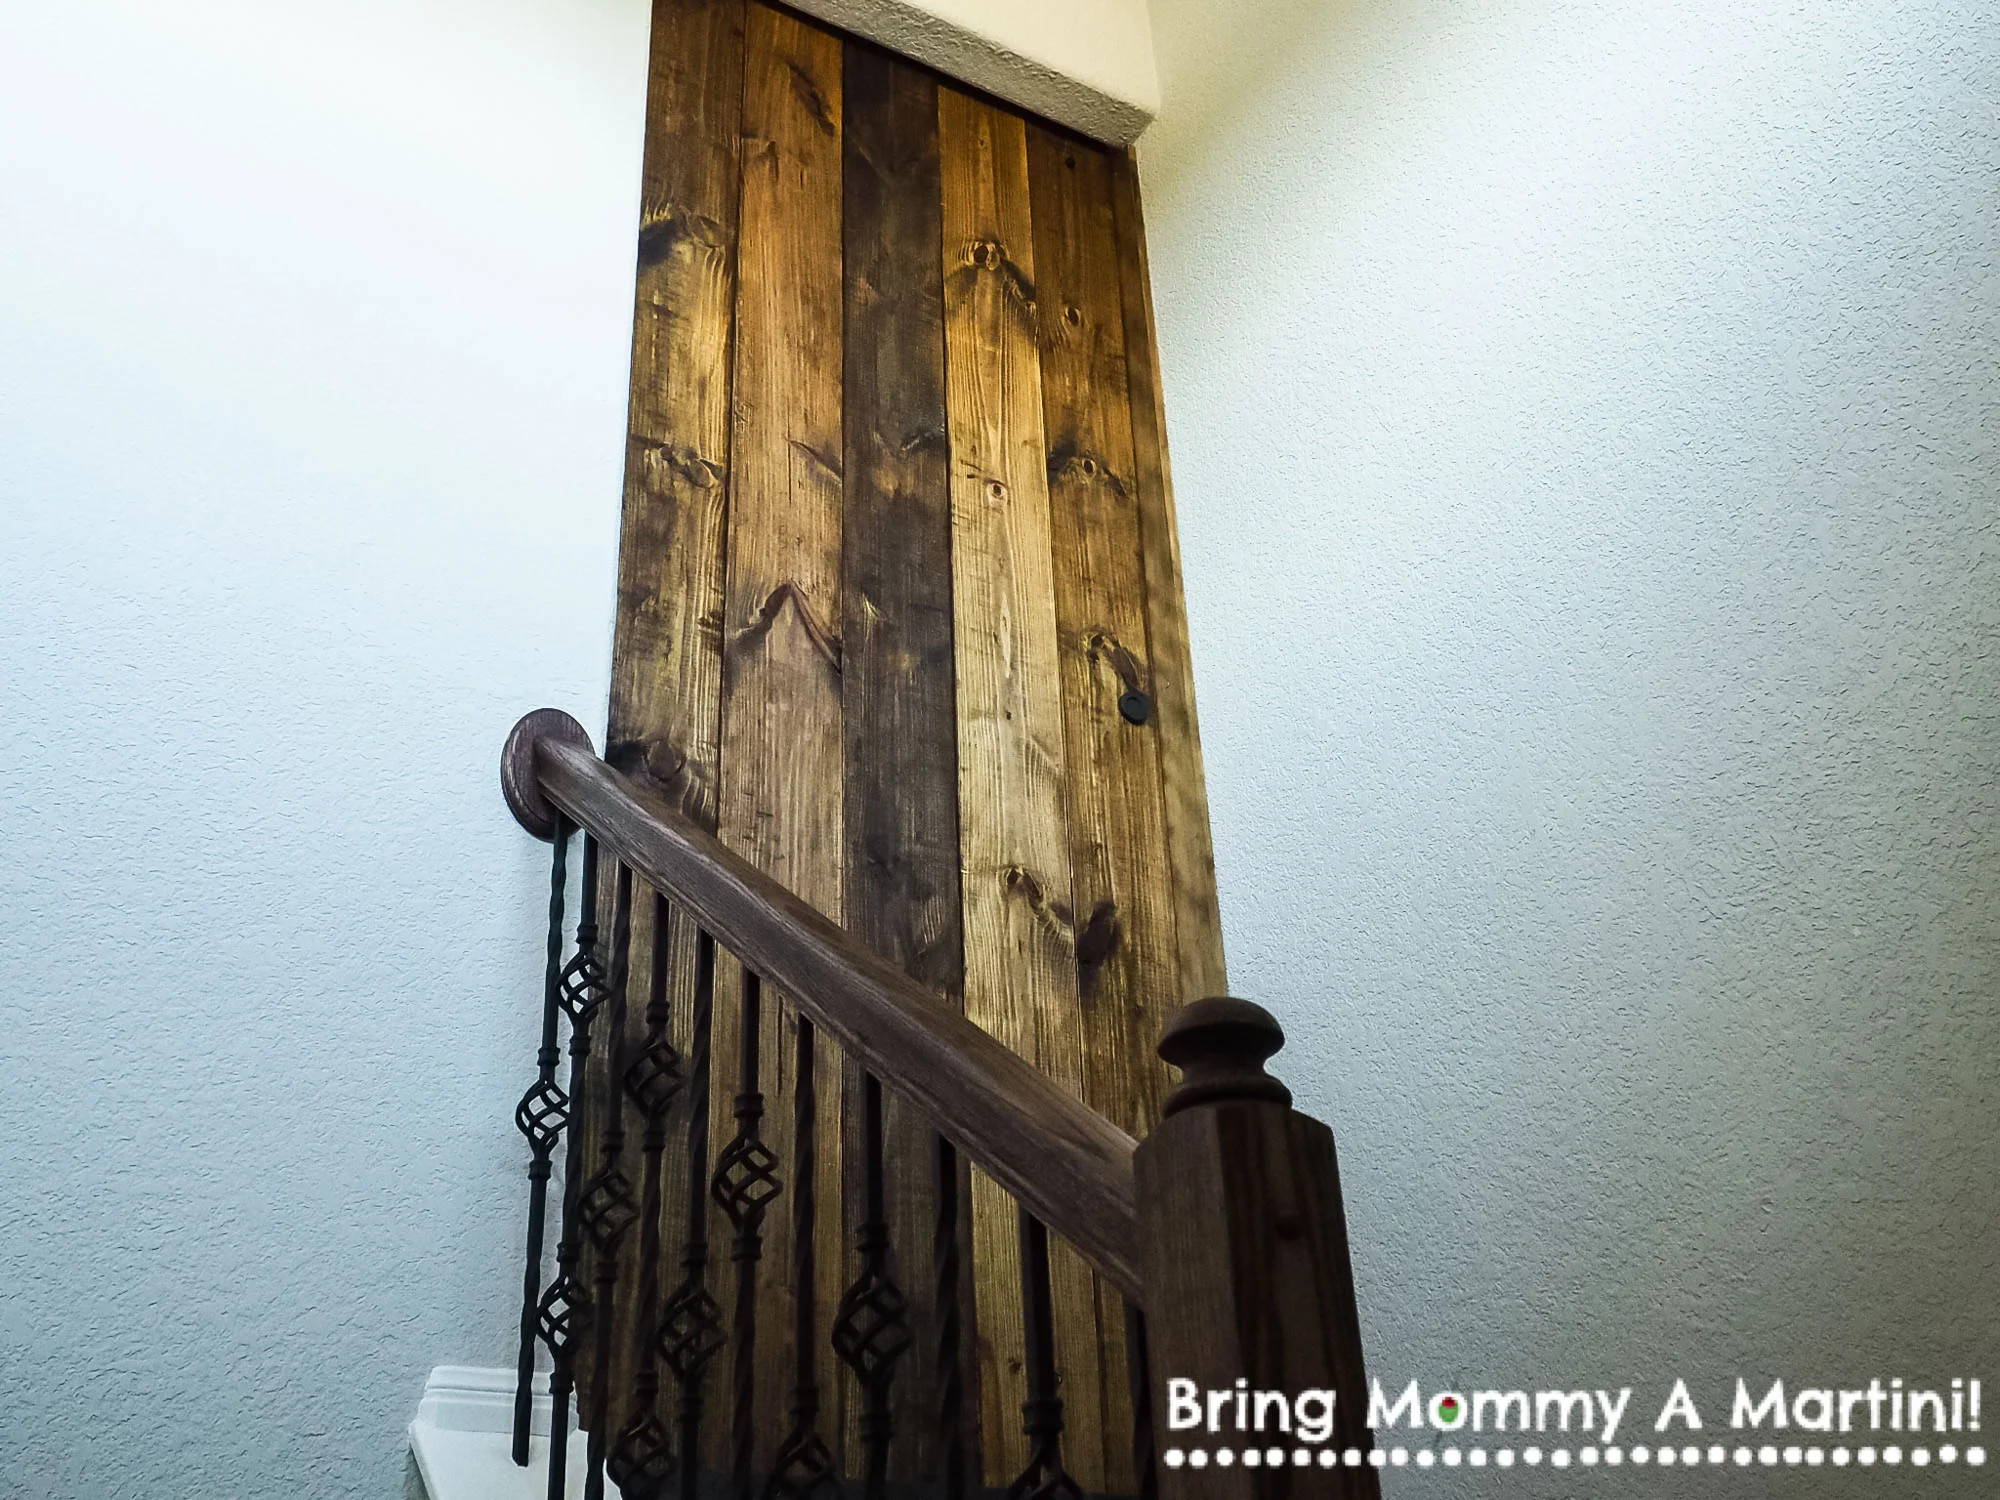
From the stairs